Bridlington Comicon

I’ve been to Comicon in Birmingham before. But I’ve never been to the one in Bridlington. Today I fixed that. It was wonderful. I took along a camera (of course) in this case the Mamiya 645. This is a medium format roll film camera that weighs a ton. It weighs even more when you add a large flash gun to it. The good news is that the folks in cosplay were very impressed with the camera. The better news is that some of the pictures came out quite well. I’m really taken with these two heroes of the rebellion.

I also rather like this shot of Gotham’s finest. The whole event was great. There were some lovely stands selling really nice stuff, along with some great artists. It’s obviously very popular, by mid afternoon the Spa Hall in Bridlington was packed. My tip, arrive a little before the start and grab a coffee and “the scone of the day” (so named because it looks like it will take you around a day to eat it). We’ll be there next year. Wonderful stuff.

Cheap film

That should last the month….

Film photography is expensive. Unless you compare its price with things like beer, at which point it starts to look like quite good value. If you want a good place to get cheap inexpensive film stock I can recommend S&J Foto who have Fomapan black and white film at rather good prices (although you do have to remember that the prices shown on their pages don’t include 20% vat).

Getting better all the time...

I’m very pleased with how this turned out

After the mild disappointment of the pictures I took on Monday I was pleased to find that the second roll of pictures I developed today have come out a lot better. I’ve no idea why this is; although I suspect I might be getting better at working out the exposure. Or some days I’m lucky and some days I’m not. Either theory works with the evidence to hand.

Coming to a project near you soon…

I really like the idea that these images were created by chemicals and physics. And they pop out of the page in a most satisfactory way. At least for me.

Taking pictures of cameras is a thing

For your information (and so I don’t forget) I used 1+50 dilution and developed for 7.5 minutes at 21 degrees which is supposed to be for 50 ASA exposure. This seems to have produced some very tidy looking negatives though. Alternatively, it might just be that FP4+ is nicer film than the first roll I was using.

Camera Mystery Solved

Turns out mum had a pretty good eye for a good picture

Got the pictures back from the mystery camera today. Some shots were taken by my mum around 20 years ago. So the camera must have belonged to her, and then found its way to me mixed in with a bunch of bits and bobs passed down by dad.

I’m amazed that they could still be developed today, and look pretty good. Next thing to do is put another film in and see if the camera still works.

Blurs in the woods

This is one of the better pictures

I took one of my lovely lenses for a walk today. We were celebrating being married for an unfeasibly long time and we went to Dalby Forest, one of my favourite places in all the world. I was hoping to take lots of pin sharp pictures of the scenery but when we got back and I developed the negatives I was a bit disappointed. I need to work on my exposure, and remember that wildly different colours might all end up looking grey when rendered into black and white.

The return of the sticky lenses

A while back I sent a couple of lenses to have them fixed. They both kind of worked, but one had a bit of fungus growing inside (never nice) and the other had super-slow iris blades so it was impossible to pictures at anything other than maximum aperture. I think someone had thought they could improve its performance by adding oil. Which is never a good idea where lenses are concerned.

They came back today and they seem to be quite splendid now. I’m looking forward to taking them out and grabbing a few pictures with them.

Found a camera...

It’s a very neat device

I think my camera collection has grown to the point where it has its own gravitational pull and attracts other cameras. Which is a good thing. This morning I was tidying up the garage so that we could find the car (or something) and I found the camera above. It is a very neat little thing, but I’ve no idea where it came from. It has a nearly completed film in it, so I’m going to have it processed and see what we get.

Working with old film

I only did a tiny bit of post processing

A few years ago I bought some cheap film. It was cheap because at the time film photography was in what looked like terminal decline. Things have changed. Film is now popular and also super expensive. So I’ve dug out some of my old cheap stuff and I’ve been using in an old Pentax that I also bought a few years ago.

Today I took the exposed film into Max Spielman in Beverley to get it processed. When I picked it up they told me that the printing hadn’t worked too well for some of the shots and gave me a CD-ROM with the pictures on it by way of apology. I had a look at the negatives and they were very, very “thin”, which means that they didn’t get enough light to expose properly. This might be because the film is old, or perhaps my ancient Spotmatic has got the exposure wrong. Kudos to the Max Spielman folks for being so helpful. Back in the day all you used to get was a sticker on badly exposed prints telling you that it wasn’t a processing problem….

I’m getting to really like film photography.

Pentax 67 at Hornsea Mere

Quite pleased with the detail in the clouds. Less pleased that the clouds were there in the first place…

Hornsea Mere is one of my favourite places on earth. Which is nice because it’s just down the road from our house. We went there for a coffee today. We could have had a round of golf too, but the weather didn’t really merit it, and we were missing our golfing enthusiast.

It was a bit windy for rowing

I took some pictures with the Pentax 67 camera. This takes huge pictures (you could fit around 50 Minox pictures on one Pentax frame). It is great fun to use but I’m still getting used to it. I was using some outdated film (expired in 2016) but I still got some reasonable results from it.

It looks even better with the lens cap off..

The Pentax 67 is a big heavy camera which is a bit hard to use and difficult to focus. I love it.

Focus is important

I think I still might have a light leak…

It’s taken me a couple of goes to get this picture, taken on using my 3D printed camera. The first version was horribly blurred because I assumed that I could set the focus distance approximately and it would come out OK. This turned out not to be the case. The bigger the negative, the more important it is to get the focus right. The cameras uses film which is 4 inches by 5 inches, which is rather large. There’s a lot of detail there, but you only get it if the focus is correct.

Up town photography

Apparently they’ve cleaned the windows on Hepworth’s Arcade.

We went up town today. Not the best of moves as it turned out, what with one of the main roads being totally shut. We spent a lot longer in the car that we expected. I’d taken one of my film cameras and I was looking forward to taking some “proper” pictures with it. Thing is, the picture above wasn’t taken with a proper camera. It was taken with the phone. And I’m really, really pleased with it. The overall quality is excellent and the way that the people and items in it just arranged themselves in front of me was lovely. I would have had to work quite hard with a proper camera to get this result.

Mamiya 645 camera on Kentmere film developed in Rodinol

The picture above was taken on a medium format camera. I suppose a phone could have produced a result as good, but I’m pleased with it too.

The art of film development

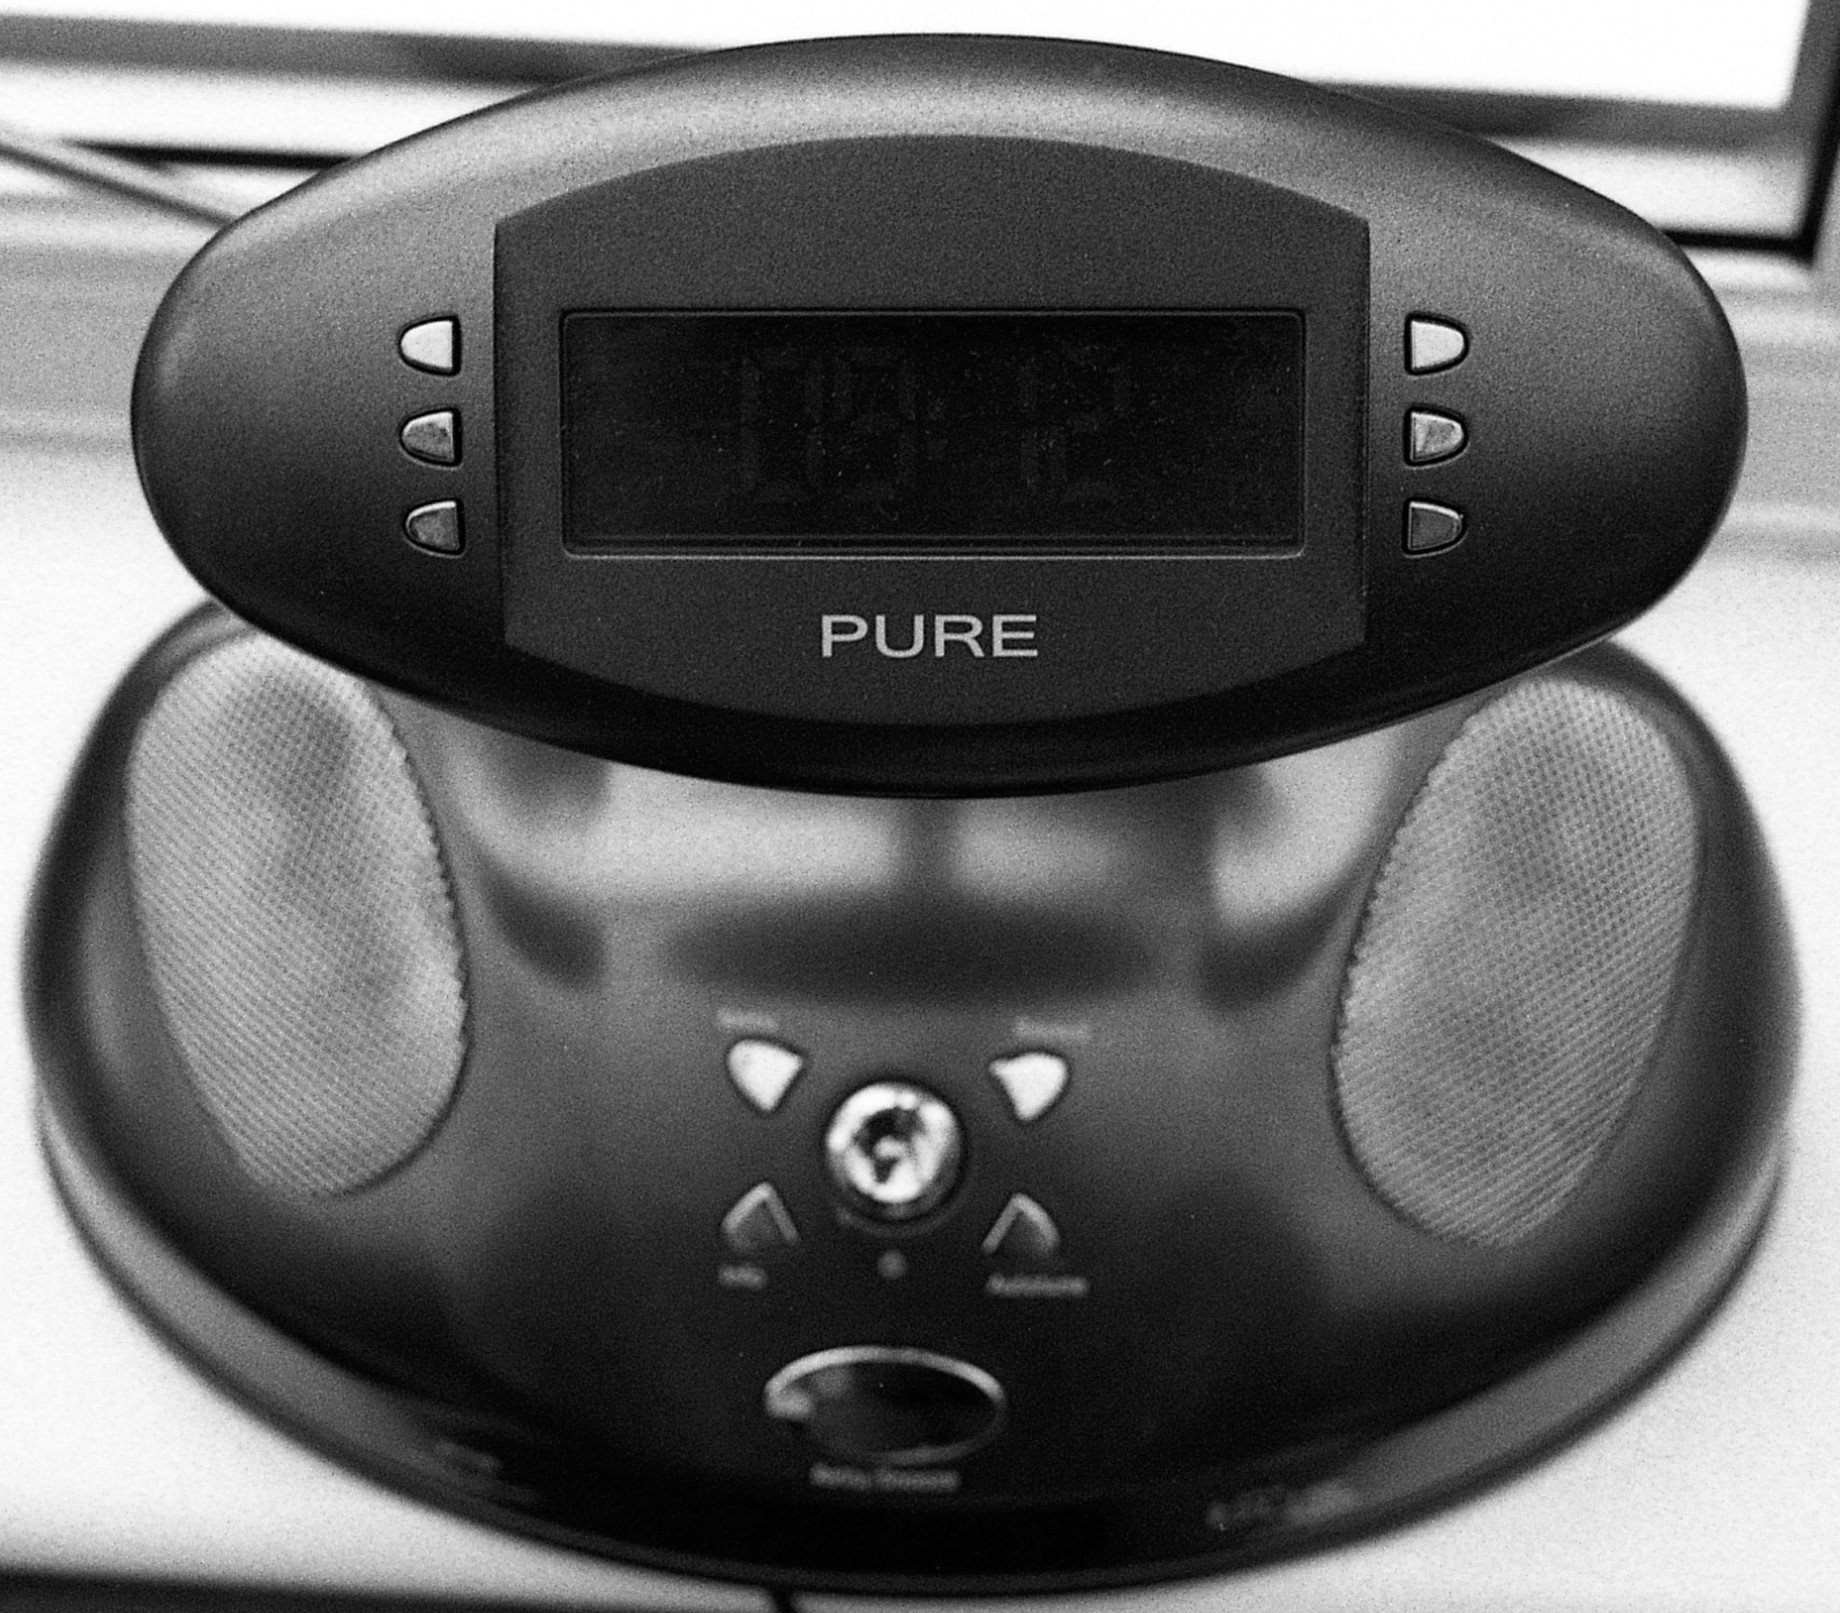
the radio still mostly works - which makes it something of a rarity apparently

It turns out that developing film is an art. Who knew? It’s a chemical process. The parts of the film that were exposed to light react with the developer to make particles of silver which end up on the negative as dark spots called “grain”. The more light, the darker the spot. Hower, the amount of developer you use and the time you leave the film in it are important, as is how you agitate the film to put fresh developer into contact with the film surface.

And then there’s acutance. This happens along the borders between bright and dark areas on the image being developed. The developer in an exposed area is “used up” as it reacts to make the silver film grains.. This causes developer to migrate over from an unexposed part, resulting in the enhancement of edges in the finished picture and making brighter areas “pop” out of the image. The amount of acutance you get depends on how much agitation you give the film. There’s also “stand development” where you just leave the film standing in the developer for an hour or so.

And then there’s how much you dilute the developer and the number of minutes you leave the film in it, as well as the exposure you used when you took the shot. I’ve been working with 1+50 dilutions of Rodinol developer. This seems to work quite well. It also makes developing film very cheap. I’ve got a bottle of developer and think it might last a long time.

If you want to get into this (and it is rather fun) I can recommend the Massive Dev website for development times (there’s also a really good app) and this video.

Avoiding Photo Heartbreaks

This is a nice part of cottingham

I now regard a new ten shot roll of film as “ten potential heartbreaks”. This is perhaps a rather depressing, but I think it’s is realistic. Digital camera users don’t really experience the sinking feeling film photographers get when they see the developed renditions of the lovely scene they composed in the viewfinder. And for a digital photographer; if a photo comes out wrong you can always take another one there and then.

Today I took the Pentax 67 for a walk and took ten shots. Then I developed them. Most of them were not exposed correctly - including the one above which required some serious fettling to get it to look reasonable. Robs black and white photography tips (which he really should follow himself):

  • Exposure is really important. Getting the right amount of light onto the film is crucial. I was trying a technique where you get a light reading from the darkest part of the image that you want to see, go back two stops and then use that as the exposure. I got this wrong (didn’t find a dark enough place) because the photographs were all horribly over exposed (I’d let too much light in). Before you dial in the settings do a quick “sanity check” to make sure that the numbers make sense. If I’d done that I’d not have ended up with the bad shots that I got.

  • Focus is really important. A perfectly exposed picture is of no use to you if it is blurred. Aim for sharpness and make sure that all the subjects that need to be sharp are sharp. If the people in the scene are different distances from the camera you need to either move to line them up or adjust the focus so that you have enough depth of field (the distance range in which things are sharp) to make the picture look right. The only good news is that you can make your out of focus pictures look a lot better by only using very small versions of them. So make a mosaic of your blurred shots.

  • Holding the camera still is really important. If you get exposure and focus right and then wave the camera around like a fire hose when you take the shot you will end up with a blurred photo. If the focus for a picture is wrong some parts of the picture will be blurred. If you don’t hold the camera still every part of a picture is blurred, and you will have to print it the size of a postage stamp to make it look right. If the shutter speed (the time the film is exposed to light) is less than a sixtieth of a second you need to steady the camera somehow. Use a tripod, put your elbows on a table or wall. Breath in and hold your breath for the time it takes to take the shot. Squeeze the shutter button, don’t press it.

There are of course lots of other things you can do wrong. Particularly if, like me, you’re daft enough to process your own film at home. But I do find that in the shots that I take there are some which are good enough to make me keep going.

Adventures in colourizing

I’ve no idea how it knew that the dog was blue-grey. Or that the carpet had that pink bit

I’m taking lots of black and white pictures now. I thought I’d put one through the new Photoshop colorizing filter to see what it could do with it. The result is above. I’m actually very impressed. I made a few colorized pictures of people and it did a very good job on them too - even managing to spot the correct hair colour. If you really want a colour picture you should probably take it in colour, but it is nice to know that there are ways of adding colour that seem to work quite well.