Return of the PICO MIDI CheeseBox

this passes for a tidy desktop in my house

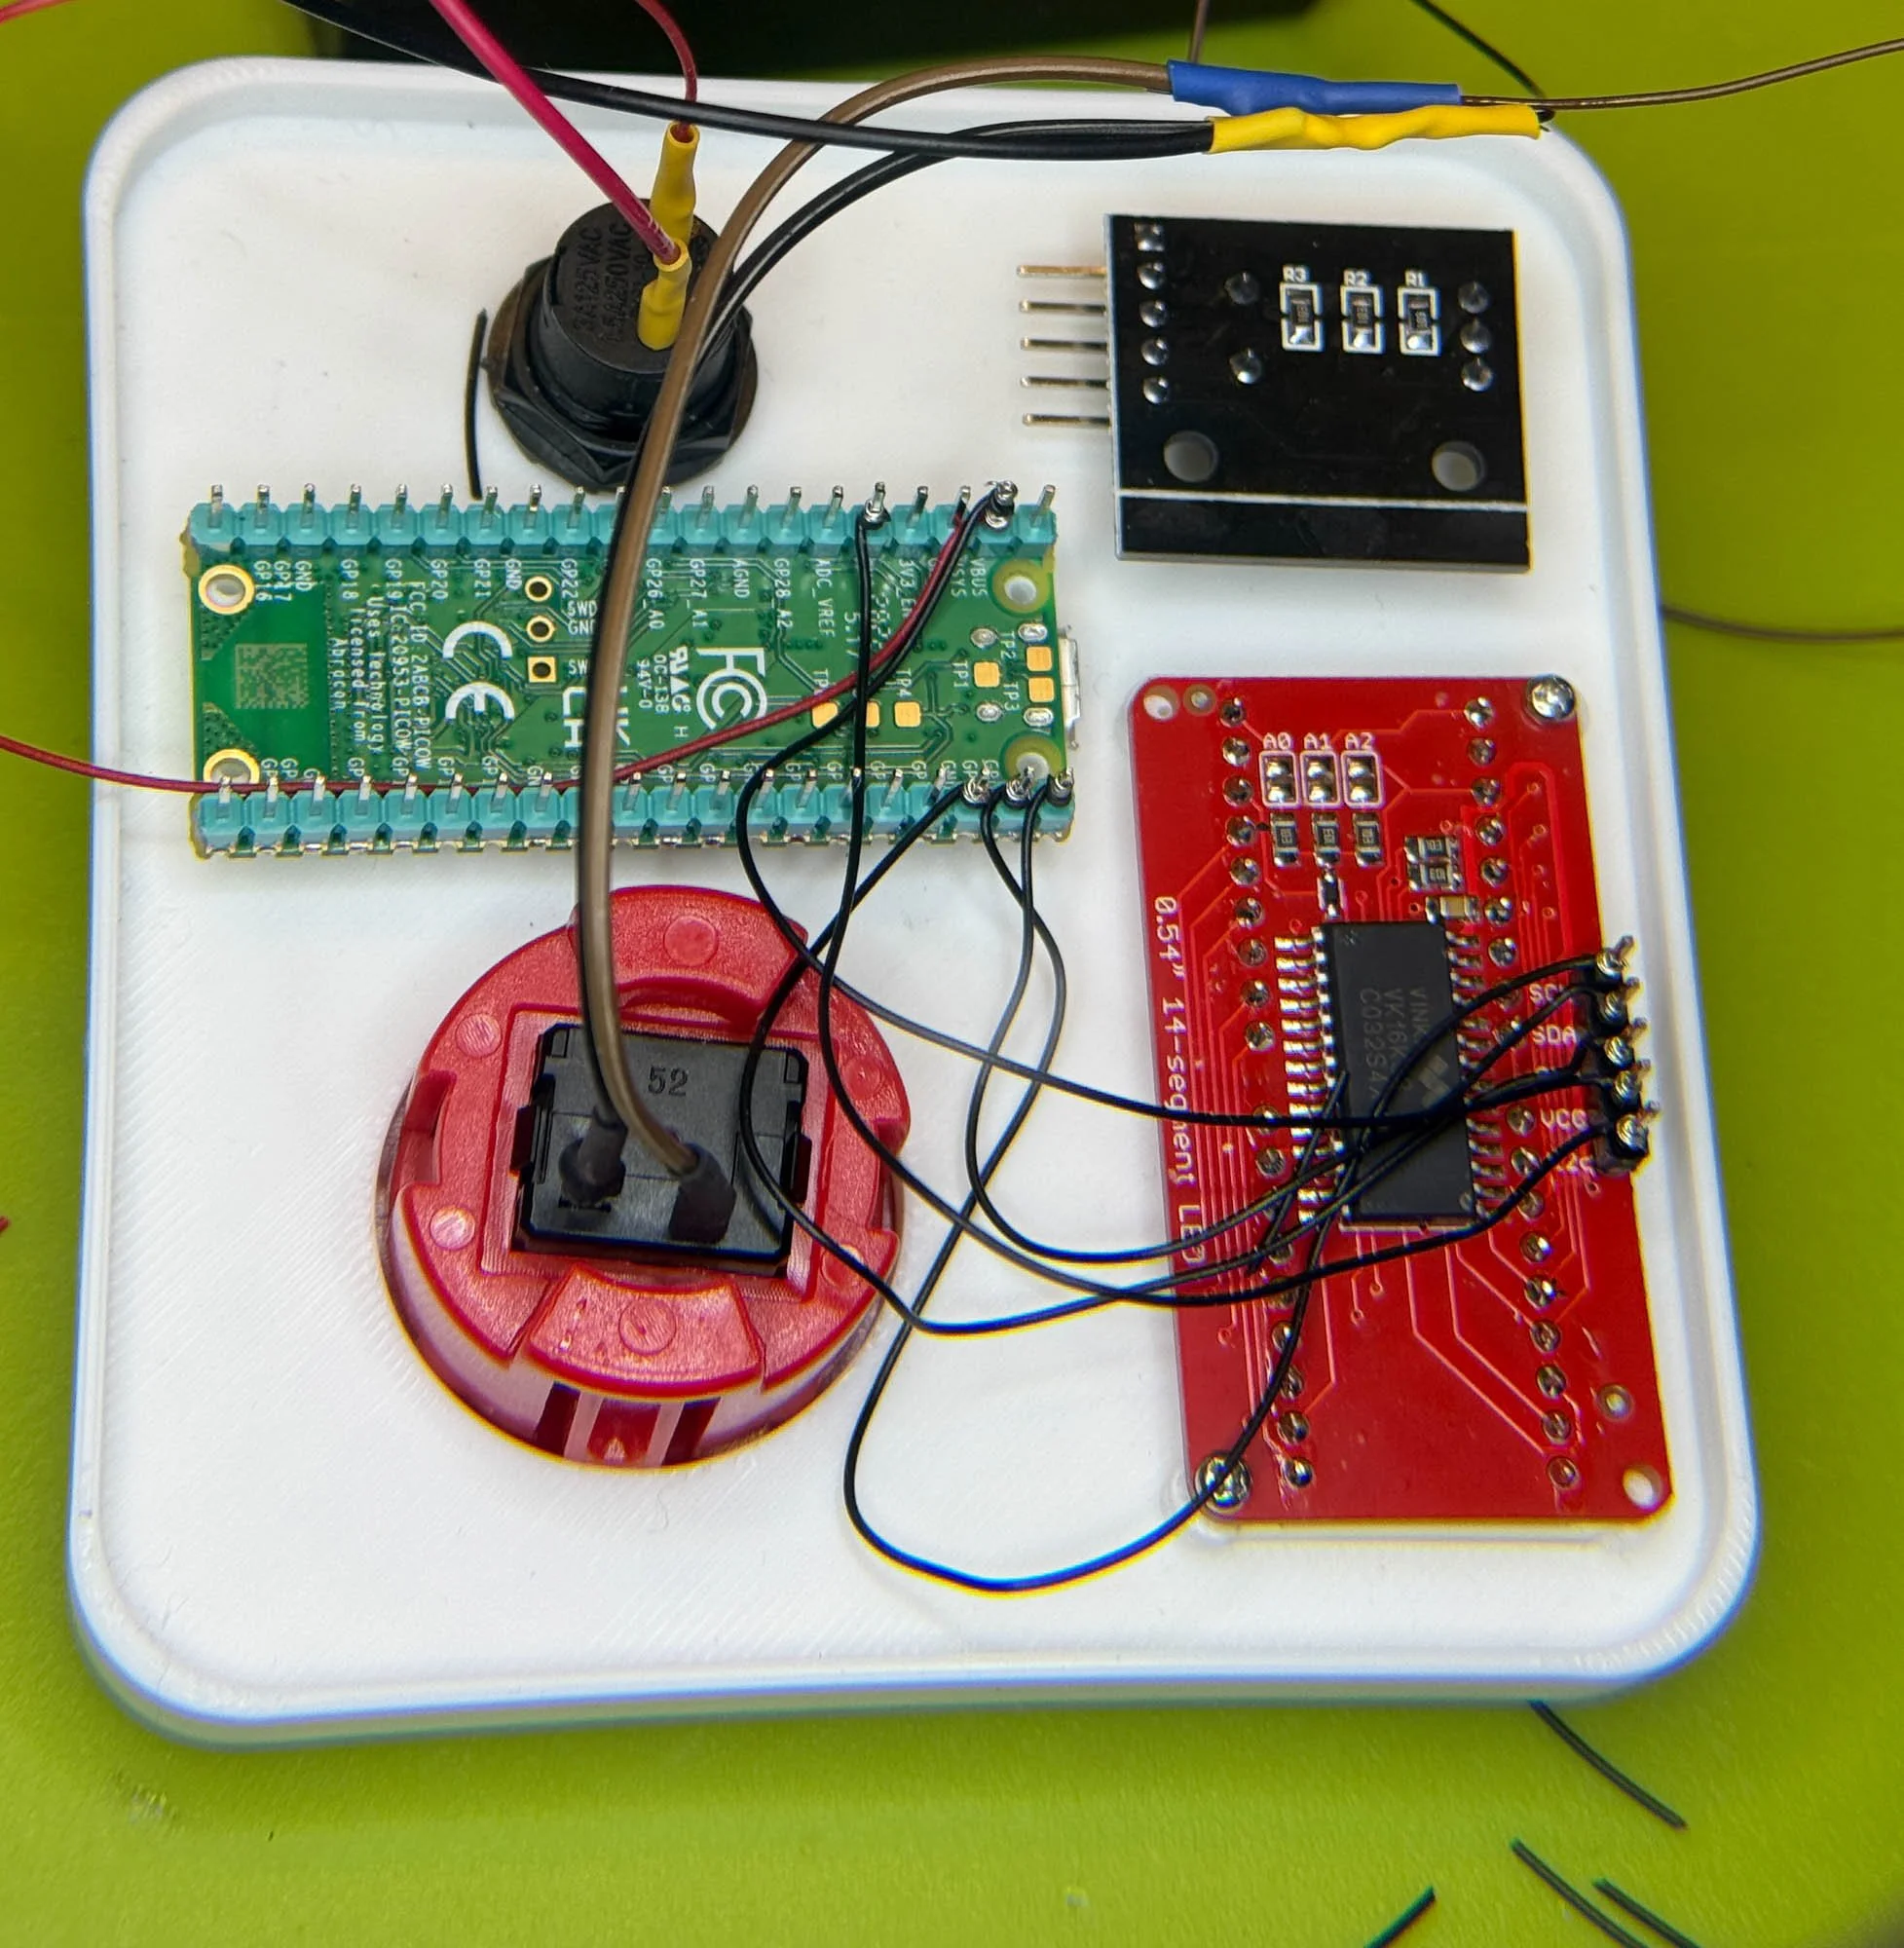
I invented the PICO Midi Cheesebox a while back. It was great fun to make. It performs as a mini-sequencer keyboard, powered by a PICO and using a 12 pixel ring and 12 buttons to control it. A Python program inside gives you a three track sequencer with keyboard input.

The cheesebox is designed to be used as a MIDI input device, it doesn’t have any sound generation built-in. It works really well with my Chocolate Synthbox which contains a Raspberry Pi running a Pure Data synthesizer program.

Then, just before Christmas, Brian put me onto a new device from M5Stack. The Unit Synth contains an SAM2695 audio synthesizer and responds to General Midi commands to make sounds via a tiny built in speaker. I got one to play with and one as a present for number one son. It works really well, although the speaker is a bit weedy.

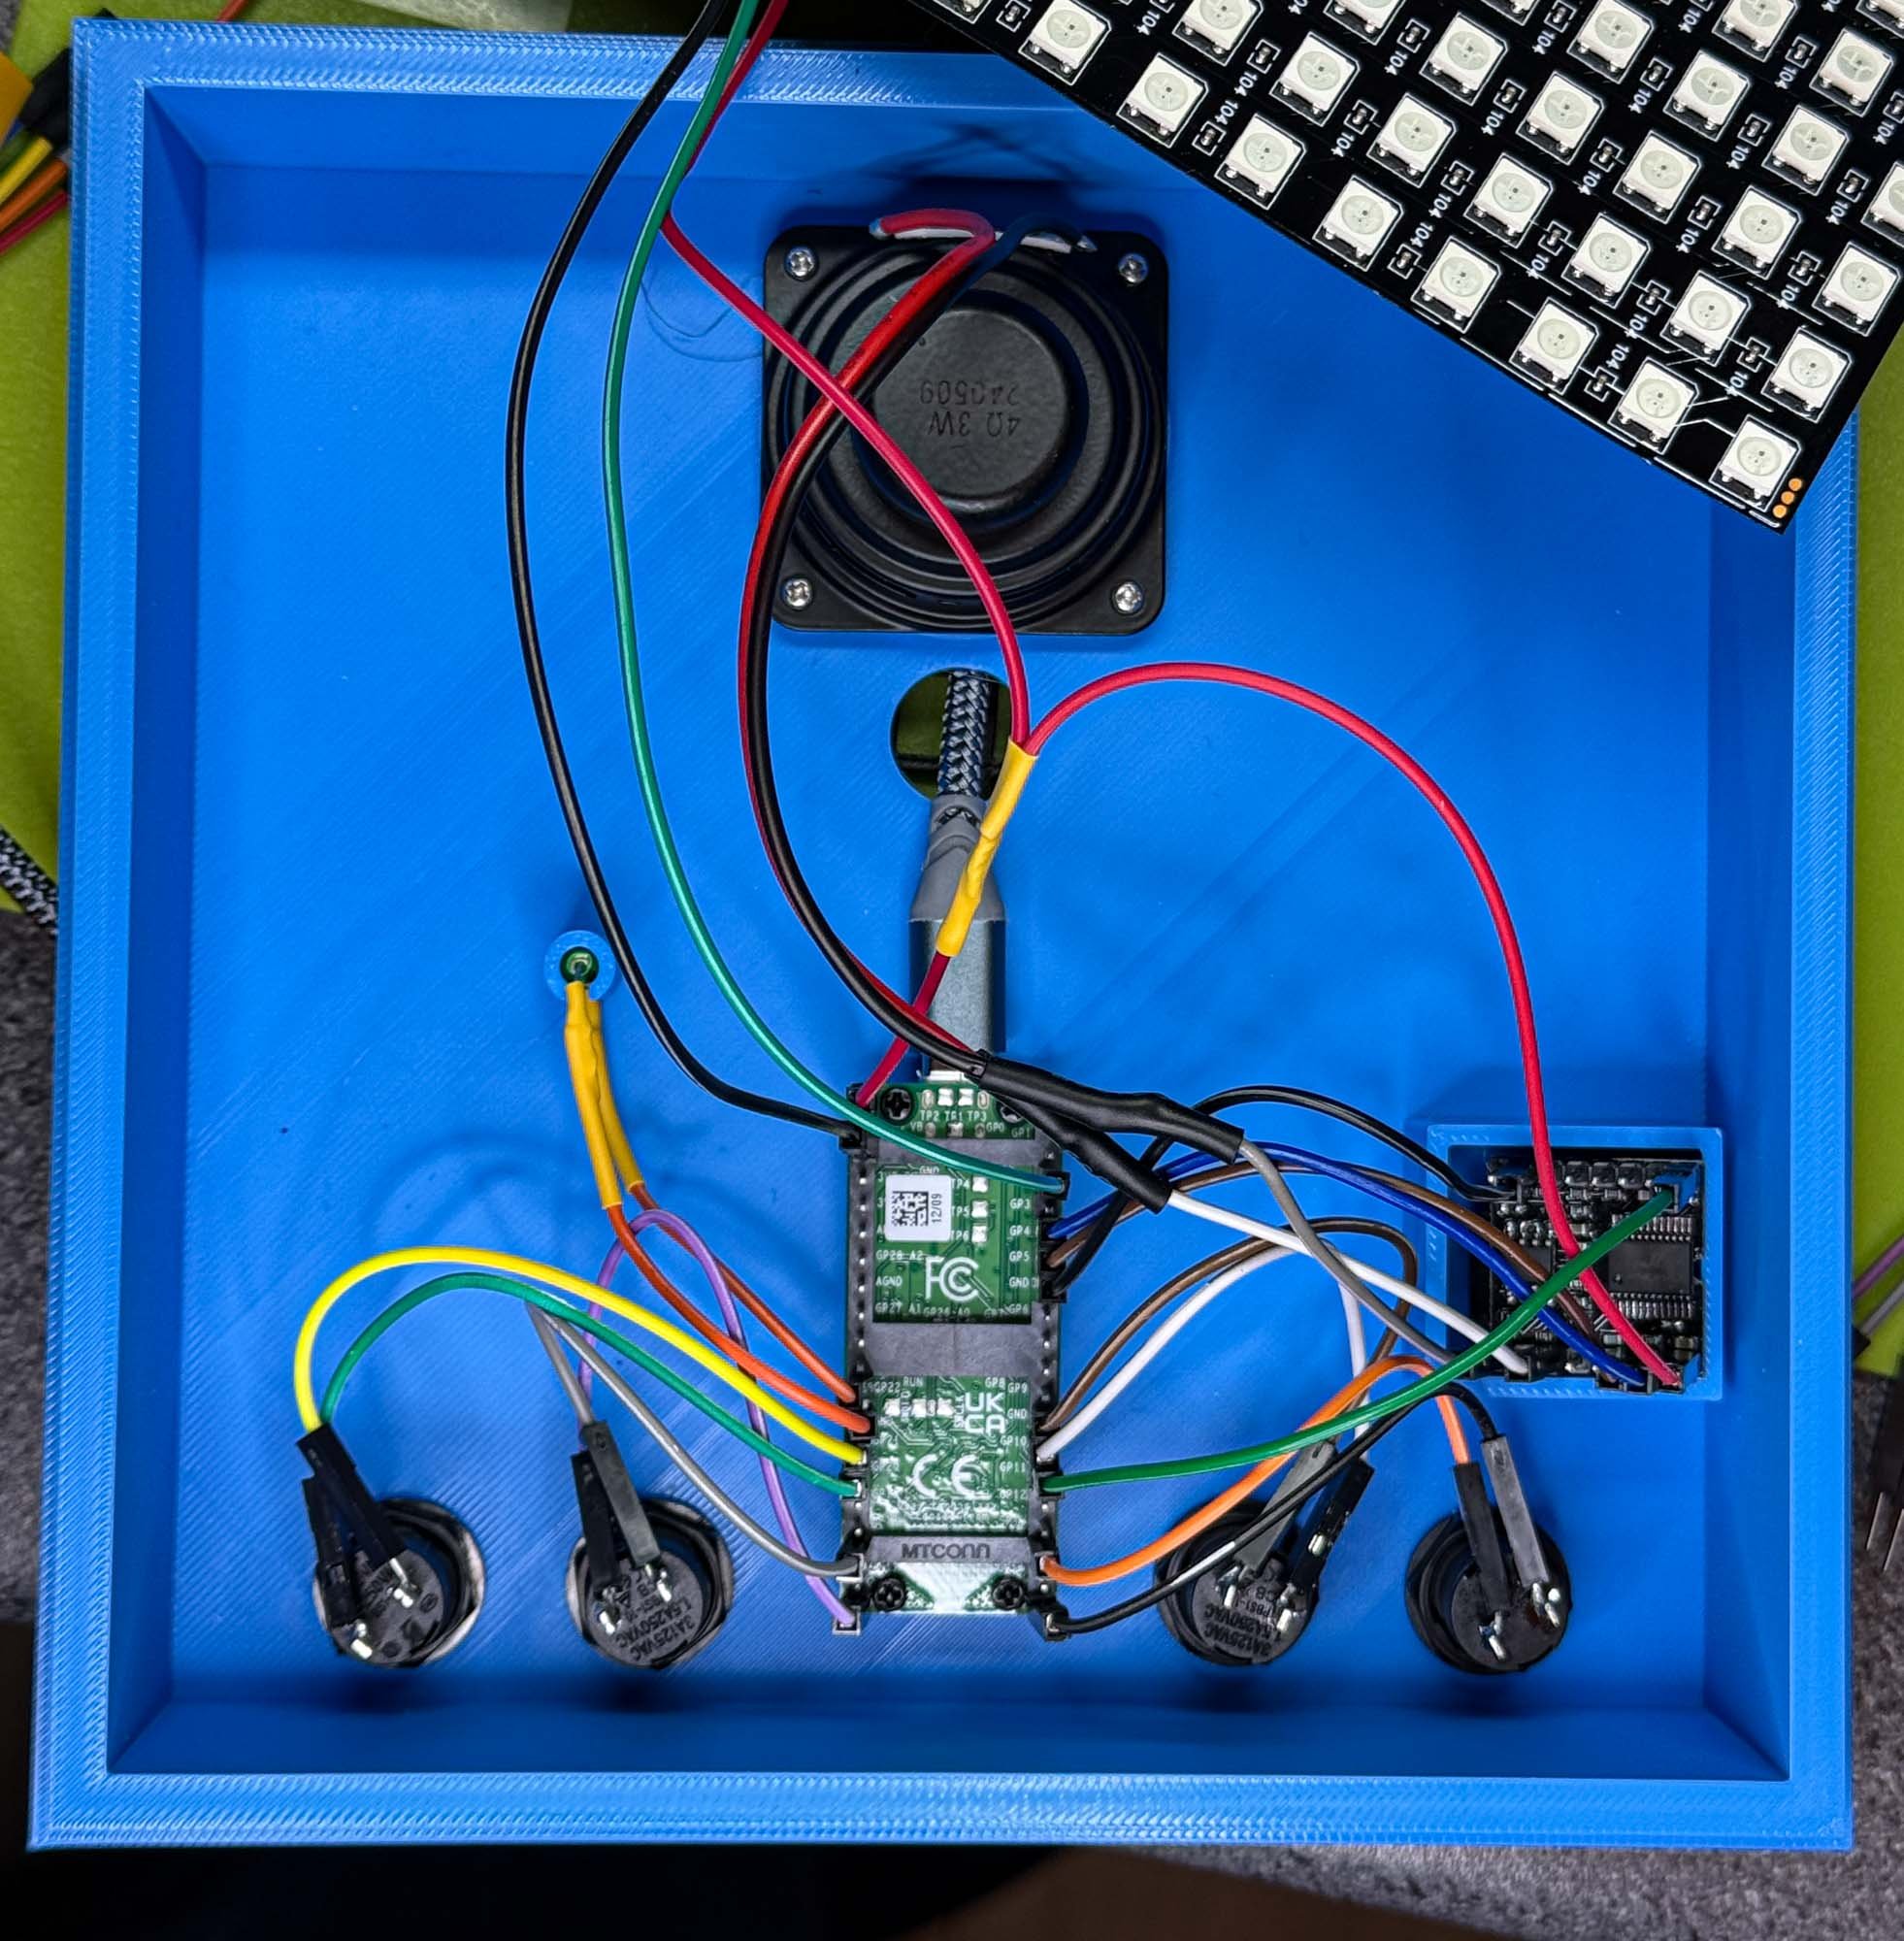
I did some more digging and discovered the Unit MIDI which contains the same synthesizer chip, replaces the speaker with a 3.5mm stereo jack socket and adds a couple of proper MIDI connections. So I got one of those as well. the aim now is to make a super-cheesebox which contains a Unit MIDI and some proper speakers. I’ve got the cheesebox controlling the synth, next thing to do is package it and then tidy up the software a bit.

The OLED screen doesn’t work at the moment.

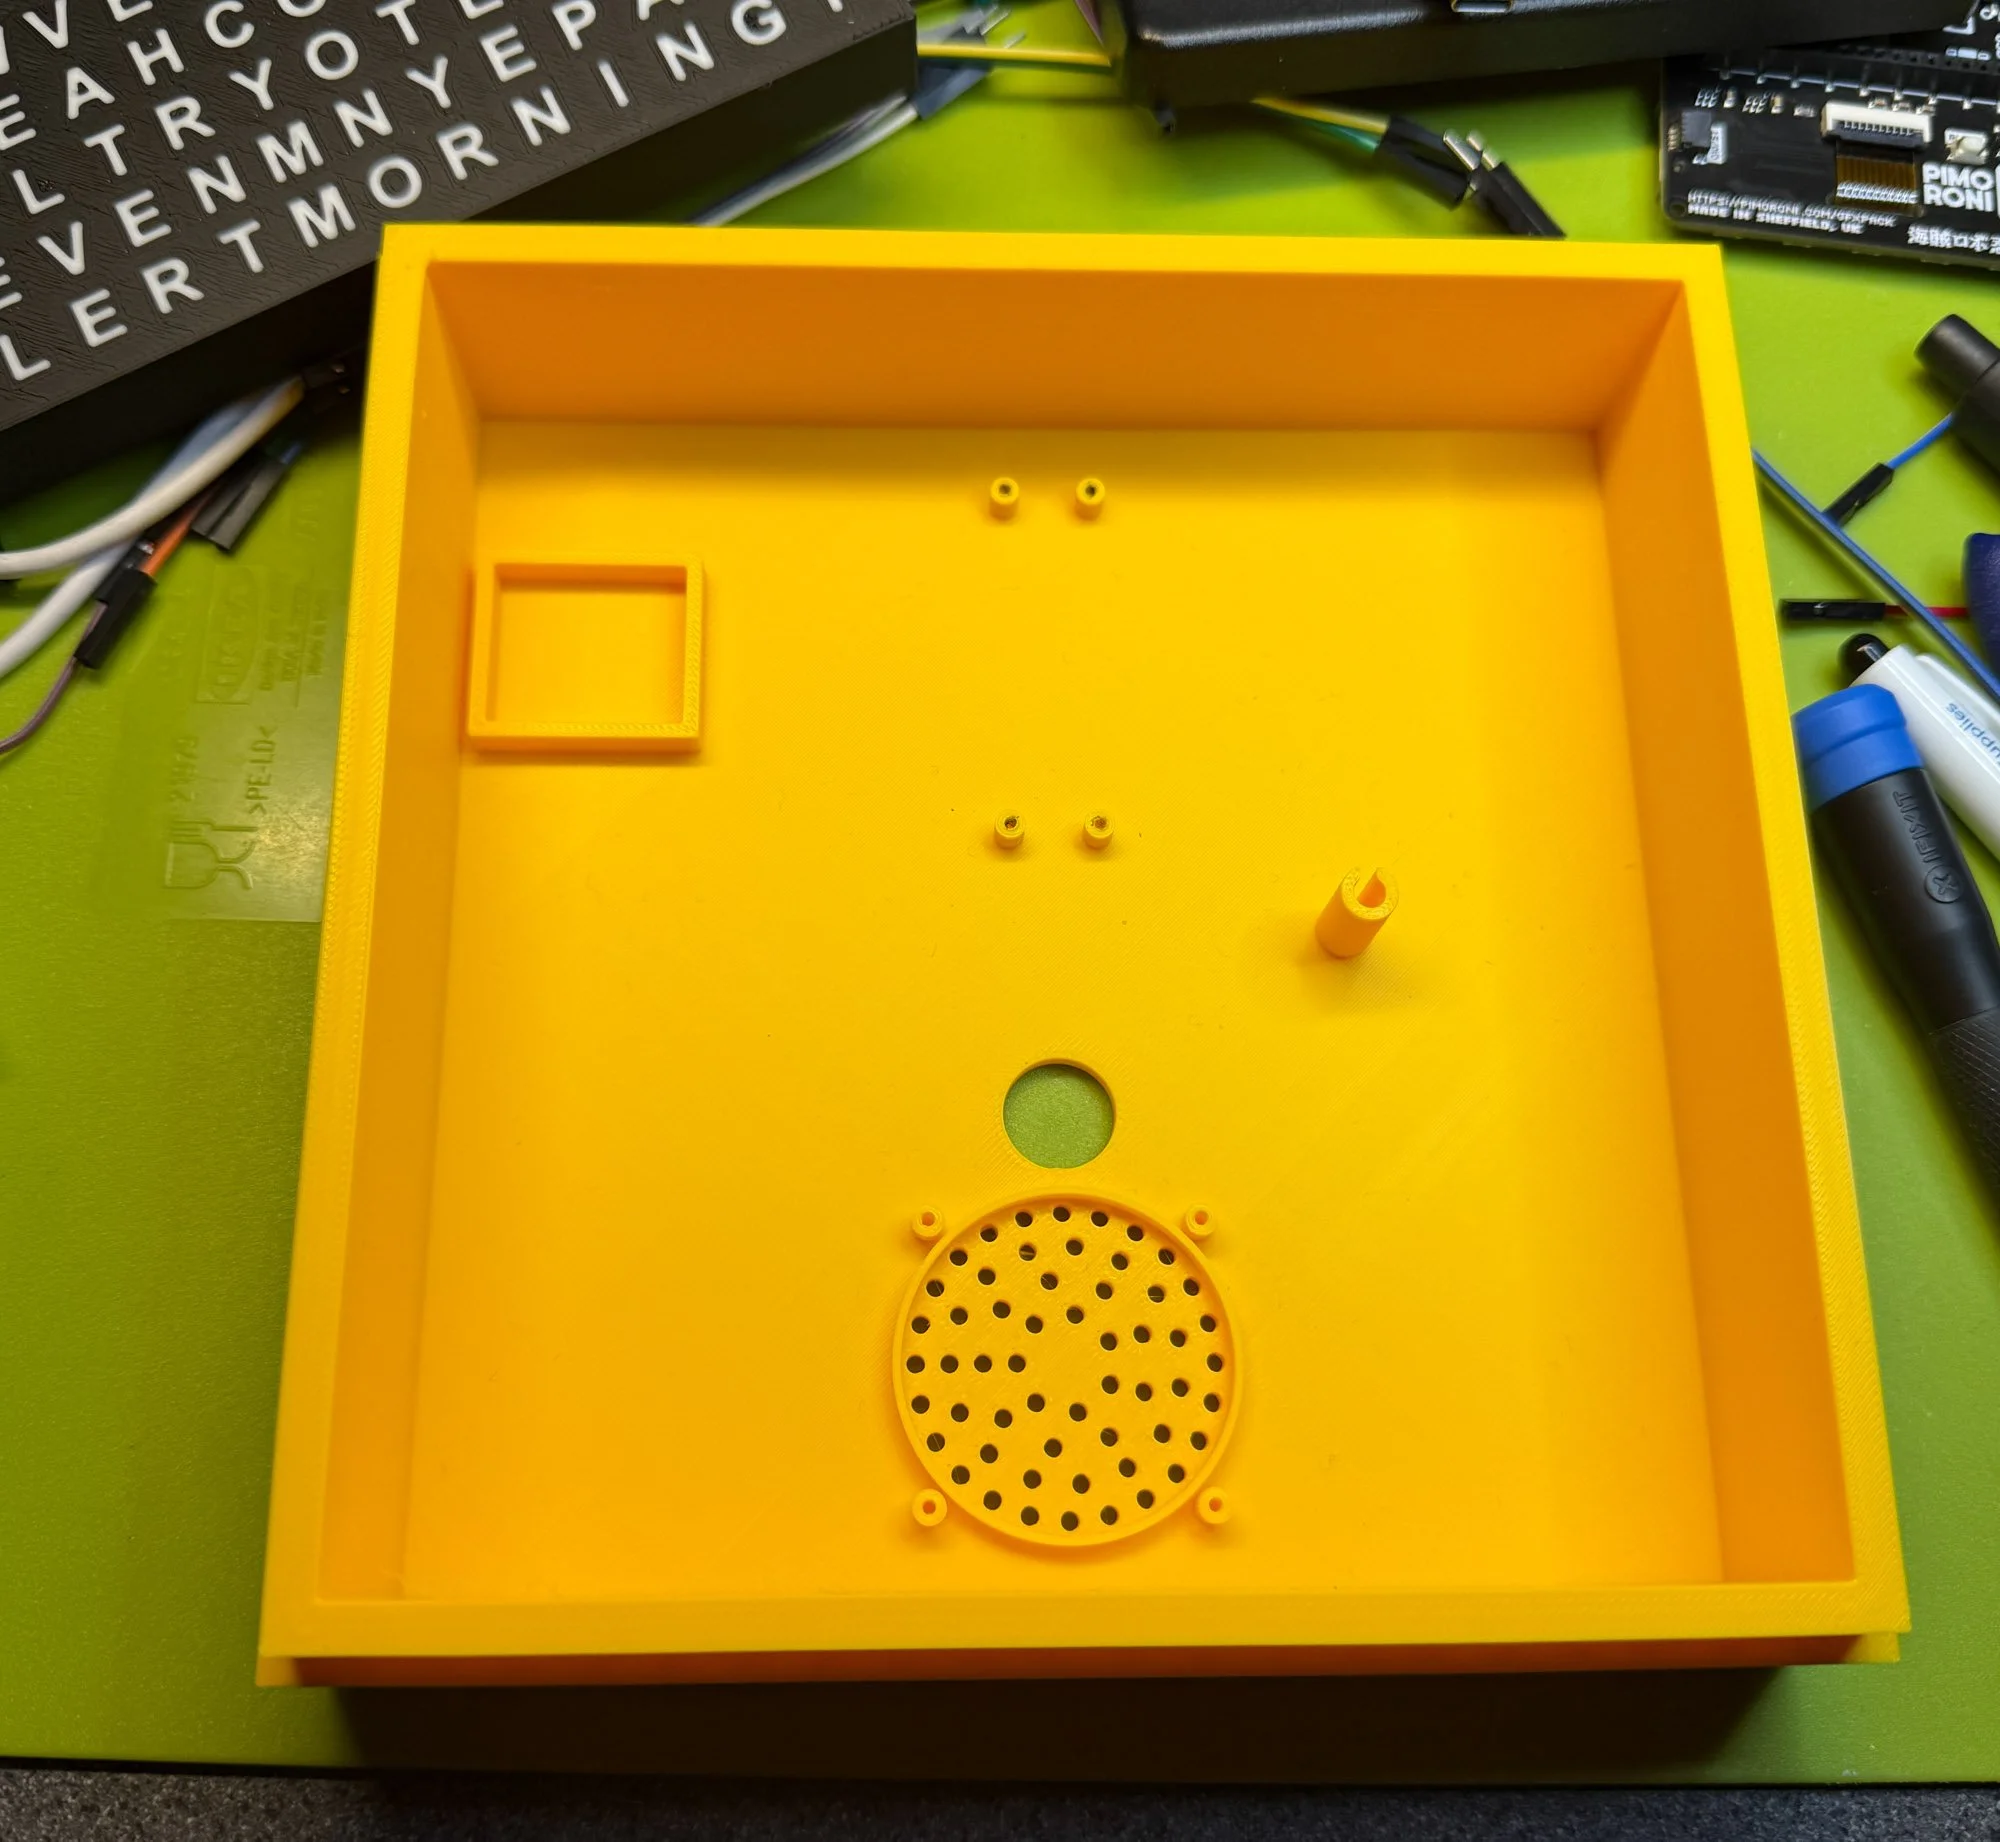
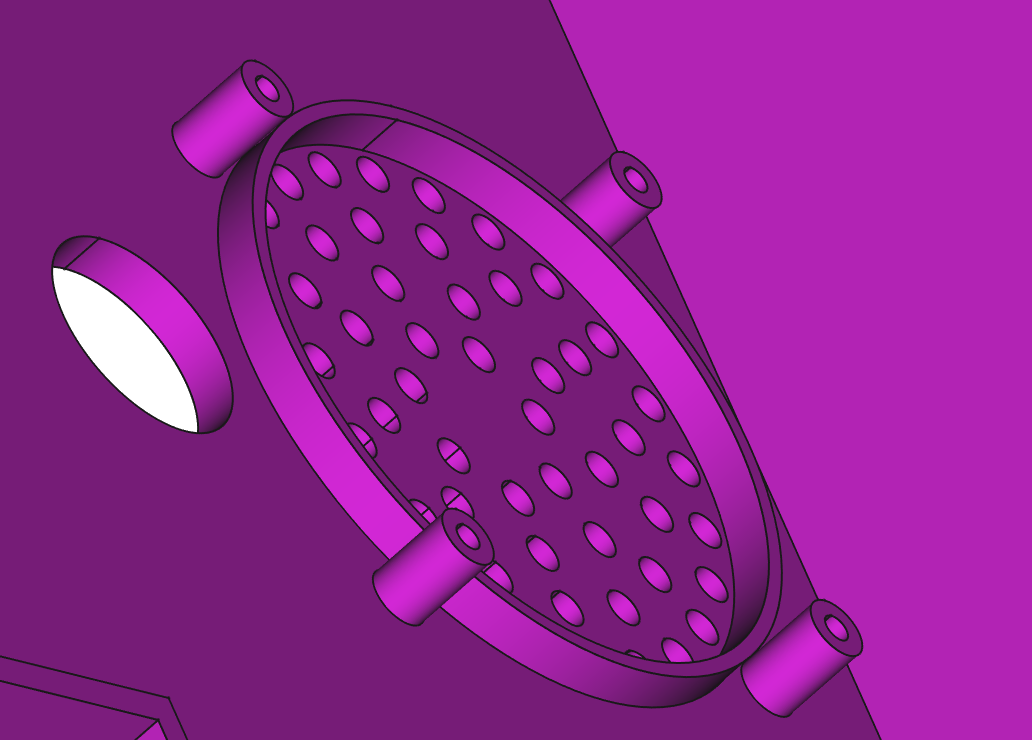
I’m going to be using one of the CheeseBox PCBs I had made a while back, fitted into a newly designed case. This means more surface mounting shenanigans. Such fun.

Agile Octopus Display Updates

When the price is negative it means you are being paid to use electricity

New Year, new you. Newly broken Agile Octopus Display. We’ve been on the Octopus Agile Tariff for a while now. The price of our electricity changes every half hour. If we plan our power use a bit we can save money. Every now and then, when the weather is warm and windy, we can even get paid for using electricity, as you can see above. We’re not saving a huge amount of money (although sometimes we get to drive the car for free) but we are having fun.

To make managing our power use a bit easier I made a little display that lives in the kitchen. It gives you the current price and future price trend for the day. It’s been working fine for ages but in the new year it broke. I assumed it was something in my code (it usually is) but this time the fault is down to Octopus re-arranging their tariffs and changing the web address of the service that dishes out the price values.

I’ve made a new version of the tariff display code which uses the updated links. I’ve also taken the opportunity to tidy a few things up. You can find out more about it here.

LittleFS filename conventions

LittleFS is a great way to store files on your PICO or ESP powered embedded system. But it does have its foibles. Particularly when you switch from one platform to another. One thing that can trip you up is that on the ESP8266 and the PICO LittleFS the name method provided by a file object delivers the name of the file in the folder(test) but on the ESP32 LittleFS it delivers the file path to the file (\start\test).

I just discovered this while migrating the Connected Little Box code to the PICO. I’m putting this here so that I can find it again when I hit the same problem in a couple of years time.

PICO Probe in PlatformIO

I probably shouldn’t be quite so surprised when something just works, but I must admit to being slightly shocked when I managed to deploy a C++ application into a PICO using the Raspberry Pi debug probe the first time I tried.

Debugging just works too. I’ve now got a new PC (replacing my 8 year old one with something a bit more sprightly) and the build and deploy cycle is now pleasingly short. This really is a great way to work. I’ve now got the Connected Little Boxes core running on a PICO as well as ESP32 and ESP8266 and I’ve re-factored the code so that it is now easy to manage the feature set assembled into the code. This makes it much easier to remove features that won’t fit on the ESP8266. Great fun.

Don't touch that button!

This is what the Rabbit thought of our TV while we watched the Olympics opening ceremony

Made a little menu system for the leaky camera system today. It lets you bind Python methods to button presses and seems to work quite well. I’m using the lovely Pico Display from Pimoroni. I’ve got one of the very original ones, which doesn’t seem to work with their current Button code. It took me a while to discover this, what with my policy of always assuming that if something doesn’t work it is my fault. Anyhoo, it now works and will be going on GitHub soon.

Making a Leaky Camera

The PICO on the side of the camera controls the brightness and colour of the led lights

What kind of an idiot puts lights inside a camera? Er, this kind of idiot (and also Fuji Film with their Instax Mini 99). I was converting another Polaroid Land camera to use Instax film (it’s a thing - believe me) and I wondered what would happen if I put some leds inside and exposed the film a bit with them. Well, today I built the first version. I’m using a PICO with a little LCD panel to control a row of Neopixels inside the camera. I’m not sure how well this will work, and what level of exposure is required, but I’m going to enjoy finding out.

Pixelbot PCBs at the May 1st Hardware Meetup

The coloured pins make it much easier to see what each connection does

The Hull Pixelbot is going from strength to strength. The original device was powered by an Arduino Uno running a thing we call HullOS. Late last year we ported HullOS to the Raspberry Pi Pico. To make it easier to connect (and to add some interesting new options) Brian has designed a PCB that provides a proper power supply for the PICO and exposes all the connectors for motors and sensors. We’ve also got space for an OLED screen and a couple of push buttons.

This is a major development for Pixelbot. It means that we can expand Python-Ish (or maybe even replace it with “real” Python). It certainly gives us a lot more options when building robots.

Brian used a tiny hotplate to install all the surface mount components. We’ll have the hotplate and some components at the next Hardware Meetup so you can actually watch a circuit board being soldered.

Person Sensor Powered Paparazzi

I’ve found a use for my broken camera collection. I’m going to create a “paparazzi machine” using a person sensor from Useful Sensors. The person sensor is a tiny camera with a processor which you connect to your microcontroller using i2c. It tells the number and position of faces that it can see in the frame.

The plan is to take one of my slightly less broken cameras (one with working lens movement) and put it on a mount that lets it move towards a face and then trigger when it sees someone in front of the camera. I’m going to use a Raspberry Pi PICO to control it. Should be fun.

Stop your Circuit Python devices showing up as a disk drive

Click the image to watch the video….

Got a message from Chris over on YouTube. He’s built my PICO Chord Keyboard design (it worked - phew) and he was wondering if there was a way to stop it appearing as a storage device each time it is plugged in. This is a very useful feature of Circuit Python - it’s how you get the program code onto the device - but it can be irritating, as well as giving folks access to your device that you might not want. I sent a reply and then I thought I’d share it on the blog:

You can stop the device appearing as a usb storage by editing the boot.py file (or adding one if it is not there) on the device. Put the following in there:

import usb_cdc
import board

# Disable USB mass storage
storage.disable_usb_drive()

This should stop the device appearing as a file-store. But remember that if you do this it will be tricky to update the code in the device. You'd have to wipe the EEPROM to get your PICO back to a state when you can change the files.

More details here: https://docs.circuitpython.org/en/latest/shared-bindings/storage/index.html

Effortless Debugging with Your Pico Probe: No More Sudo!

Hey there, Raspberry Pi enthusiasts! Are you tired of summoning sudo every time you need to commune with your Pico debug probe? Fear not! Today, we're delving into a nifty trick to make your Pico probe obedient without the superuser incantations. And for those of you using Visual Studio Code, this trick is a game-changer.

Why Bid Farewell to sudo?

Summoning sudo for debugging is like wearing a full suit to a casual brunch; it's overkill and can be risky. Moreover, when you're using elegant tools like Visual Studio Code, running the debugger as a superuser inside the tool is a bit tricky. Let's simplify this, shall we?

The Power of udev Rules:

In the Linux realm, udev rules are like spells that control how the system interacts with various devices. By crafting a specific udev rule, we can grant ourselves permission to access the Pico debug probe without escalating our privileges to the superuser level.

Crafting the Universal Pico Probe Rule:

Most Pico debug probes share the same Vendor and Product IDs, so we can usually use a standard rule for all. Here's how to do it:

The Magic Numbers: For the Pico debug probe, the typical IDs are: Vendor ID 2e8a and Product ID 000c. We'll use these in our rule.

Creating Your Rule: Head over to /etc/udev/rules.d/ and conjure a new file called 99-pico-debug-probe.rules Sprinkle the following line into it:

SUBSYSTEM=="usb", ATTRS{idVendor}=="2e8a", ATTRS{idProduct}=="000c", MODE="0666"

This incantation essentially tells your system, "Hey, let everyone read and write to this device, will you?"

Enforcing the Rule: To make the rule take effect, use this spell:

sudo udevadm control --reload-rules && sudo udevadm trigger


What If My Device Is Different?

Got a different device? No problem! Plug it in, run lsusb, and look for the ID format VendorID:ProductID. Use these values to create a custom rule.

Post-Reboot Harmony:

Your new rule is like a loyal house-elf, diligently working after every reboot, ensuring smooth, sudo-free access to your debug probe.

Conclusion:

And there you have it! A simple yet elegant solution to make your debugging sessions with Raspberry Pi Pico as smooth as butter. No more sudo, no more hassle, especially when you're working in sophisticated environments like Visual Studio Code.

Happy debugging, and may your code be bug-free!

Author’s note: I didn’t write this. ChatGPT did. I worked with ChatGPT to solve my problem and then asked it to write a blog post about the solution “In the style of Rob Miles”. I’m quite proud of this, although I didn’t do much of the work….

PICO Powered Pixelbot now with Wi-Fi programming

Just plug your Pixelbot into your computer to set up the network

The latest version of the Raspberry Pi PICO Powered Pixelbot (I love a bit of alliteration) now supports Wi-Fi programming. You can connect your robot to your local network and then use a web interface to create and deploy programs into the robot. You can find all the details, plus the images you need to put into your PICO-W here.

Too much voltage is bad for you

the first PICO powered Pixelbot

I’ve not made a brand-new Hull Pixelbot for a while. Today I made a new one which is powered by a Raspberry Pi PICO. I usually power the robot from four (or sometimes five) AA batteries. This gets me around 6 volts. I did that today with the new robot and it failed to work. It turns out that the Raspberry Pi doesn’t like voltages much higher than 6 volts, and shows its displeasure by not working. I had scrabble around to find a set of “slightly worn” batteries to get it going.

Slow baud rates and the Raspberry Pi Pico

Hull University campus looking good

It’s strange the things you discover when you try to do something. Today it was all about slow baud rates.

What’s a baud rate? I hear you ask. Well, baud apparently stands for “binary asynchronous unit of data”. Or it’s an abbreviation for the name Emile Buadot who was a French pioneer of digital communication and had an amazing moustache and beard. Emile was sending text down a single wire and he was doing it one bit at a time. Assemble enough bits and you can match patterns of ons and offs to particular characters. The data stream would begin with a start bit (to tell the receiver that a character was coming) and then have a bunch of signal levels that represent the character being sent. One thing that was important is that the sender and the receiver needed to agree on the rate at which the data was sent. Otherwise things get garbled. So they invented the baud rate (number of bits per second) and created some standard speeds (110,300,600,1200, 2400, 9600, 115200 and so on…) Baud rates are still used today. The GPS receiver in your mobile phone will be sending position information into your phone processor via a serial data stream with a particular baud rate.

When I connect a Hull Pixelbot to a computer I have to set a baud rate for the serial connection. I use the horrendously slow “baud rate” of 1,200 bits per second. This is because the program that the robot receives is stored in EEPROM in the robot (EEPROM stands for “Electrically Erasable Programmable Read-Only Memory). This is so we can turn the robot off and it will still remember the program it has been given. EEPEOM is awesome, but it is also very slow to write. The hardware has to bash the bits into the hardware components in the memory device and this takes time. I could have added handshaking - where the robot sets a signal to tell the host computer to stop sending - but instead I did something quick and dirty, which was to slow down the robot baud rate to the point where the EEPROM could keep up.

This kludgy decision came back to haunt me today when I tried to use an Arduino programmed Raspberry Pi PICO at 1200 baud. The PICO seems to get upset when you try to talk to it via a serial port running at 1200 baud. Not sure why, but the result is that my robot code doesn’t work properly. Oh well. I’ll just have to speed up the serial port and add some handshaking. I believe this is called “paying off technical debt”….

Migrating Arduino C to PICO C

Nothing to do with the subject of the post. Although the I guess you can see the “SEa”

You’d think it would be easy to move a C program from the Arduino platform to the Raspberry Pi PICO. After all, we have the wonderful libraries from Earle F. Philhower, III and the fabulous PlatformIO framework you can use to manage your project (don’t forget to perform this stuff before you try to build anything). And anyway, C is the same everywhere. Right?

Wrong.

When I write the Arduino stuff a while back I made one or two questionable design decisions. One of them was to use the char data type to hold 8 bit values. This was kind of OK back in the day (and by this I mean the 1980’s) but it turned out to be a stupid thing to do. Because some C compilers think that char holds a signed value (-128 to 127) and some think it holds unsigned (0 to 255). Of course the Arduino C compiler goes one way and the PICO C compiler goes the other way. Neither are wrong - the C language standard doesn’t specify this - and you could argue that anyone daft enough to perform maths with variables that are supposed to just hold character codes deserves all the trouble they get. But we are where we are, which in my case was looking at a program that has been working for years and has suddenly gone nuts.

I actually fixed it quite quickly once I figured out the stupid thing I’d done. The Pico debug probe proved very useful for this. I was able to set breakpoints in the timer interrupt handlers and then watch as various counters were updated. When I saw the code subtract 1 from 0 and get the answer 255 I knew exactly what had happened…..

Agile Octopus Tariff Display in HackSpace magazine

I get my copies of the magazine from Readly

If you’re wondering what that distant rumbling noise is, it might be crowds of people rushing to the newsagents to buy their copy of HackSpace magazine so that they can read my article in it.

Or it might be a bus going past.

Anyhoo, the article is out there. You can find the project on GitHub here.

They really knew how to make things back in the sixties

Started a new project today. I’m taking an old phone and making it more interesting. It’s going to have a Raspberry Pi inside along with extra circuitry to make the bell ring. Which is proving interesting. The bell in old phones is triggered by a 70 volt ac signal. Now, 70 volts is the far side of “tingly”. Anything below 50 volts is probably OK to grab hold of, but 70 could give you a shock you could do without. Especially at my age.

I’ve manged to get an inverter to convert 12 volts into a slightly less nerve jangling 35 volts or so. The plan is to drive the two coils that work the bell (you can just see them at the very top of the picture above) separately. So that I only use half the voltage. All I need is another MOSFET power driver (I’ve said this many times) so that I can control each coil individually. It should arrive tomorrow. I’ll add it to the circuit that I’ve already built which uses one MOSFET so that I can make the bell both “ding” and “dong”.