Miniportrait pictures
/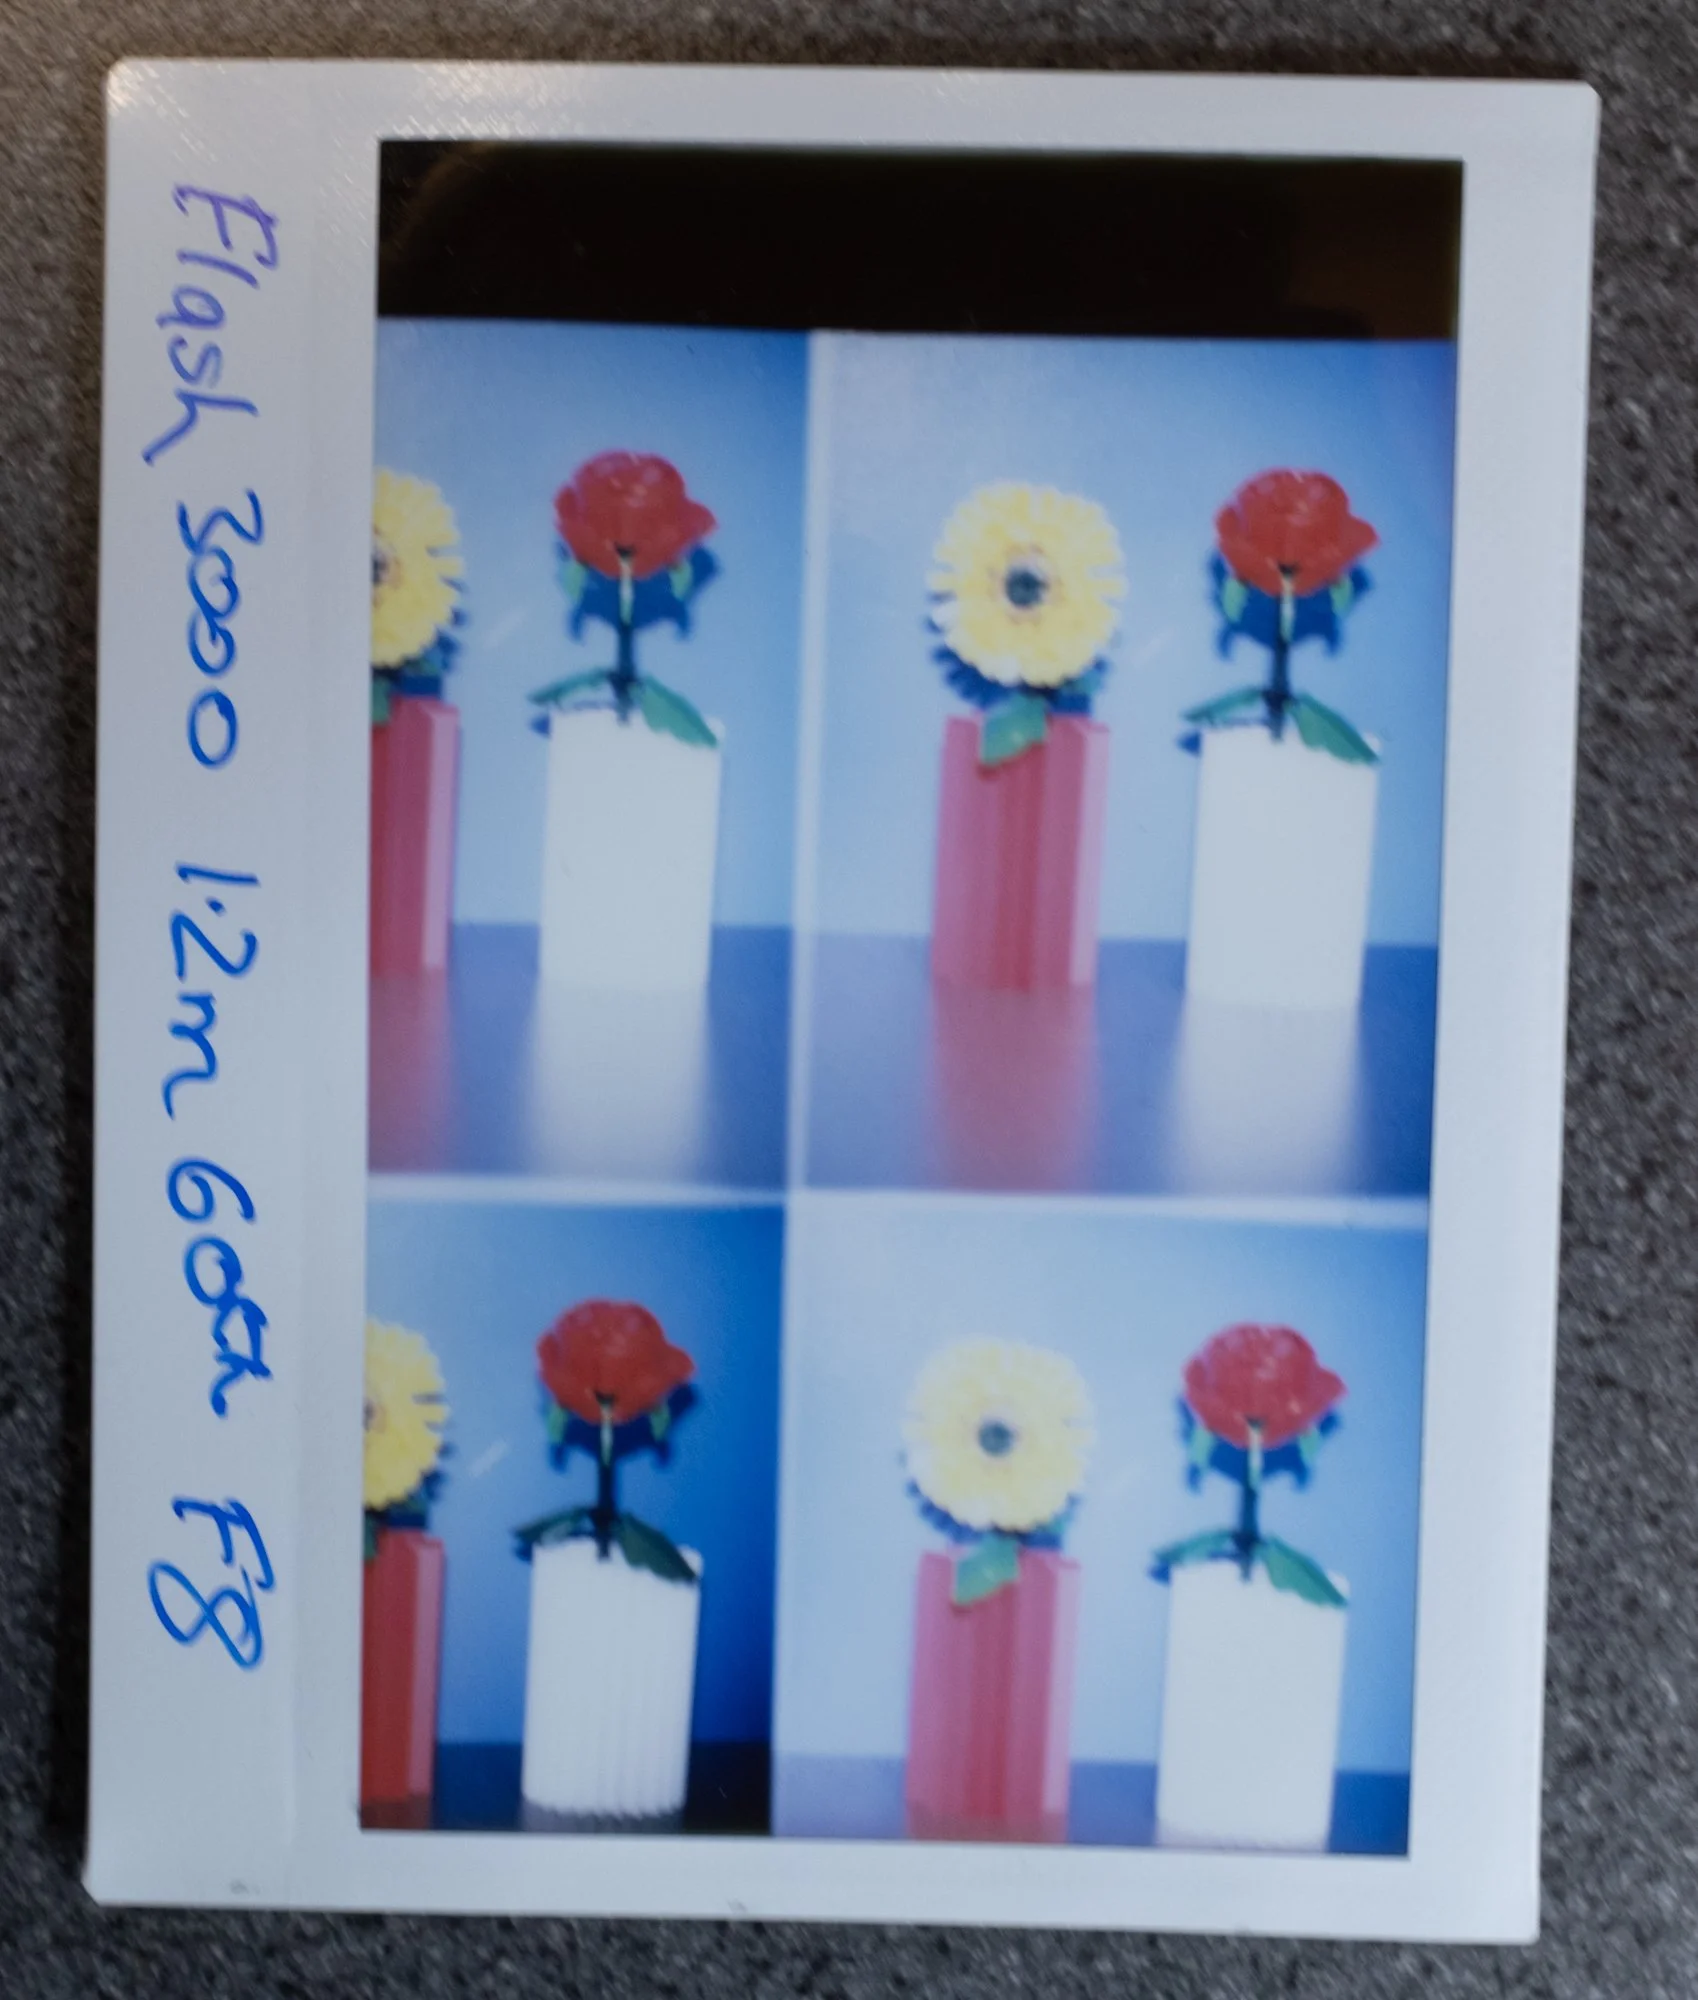
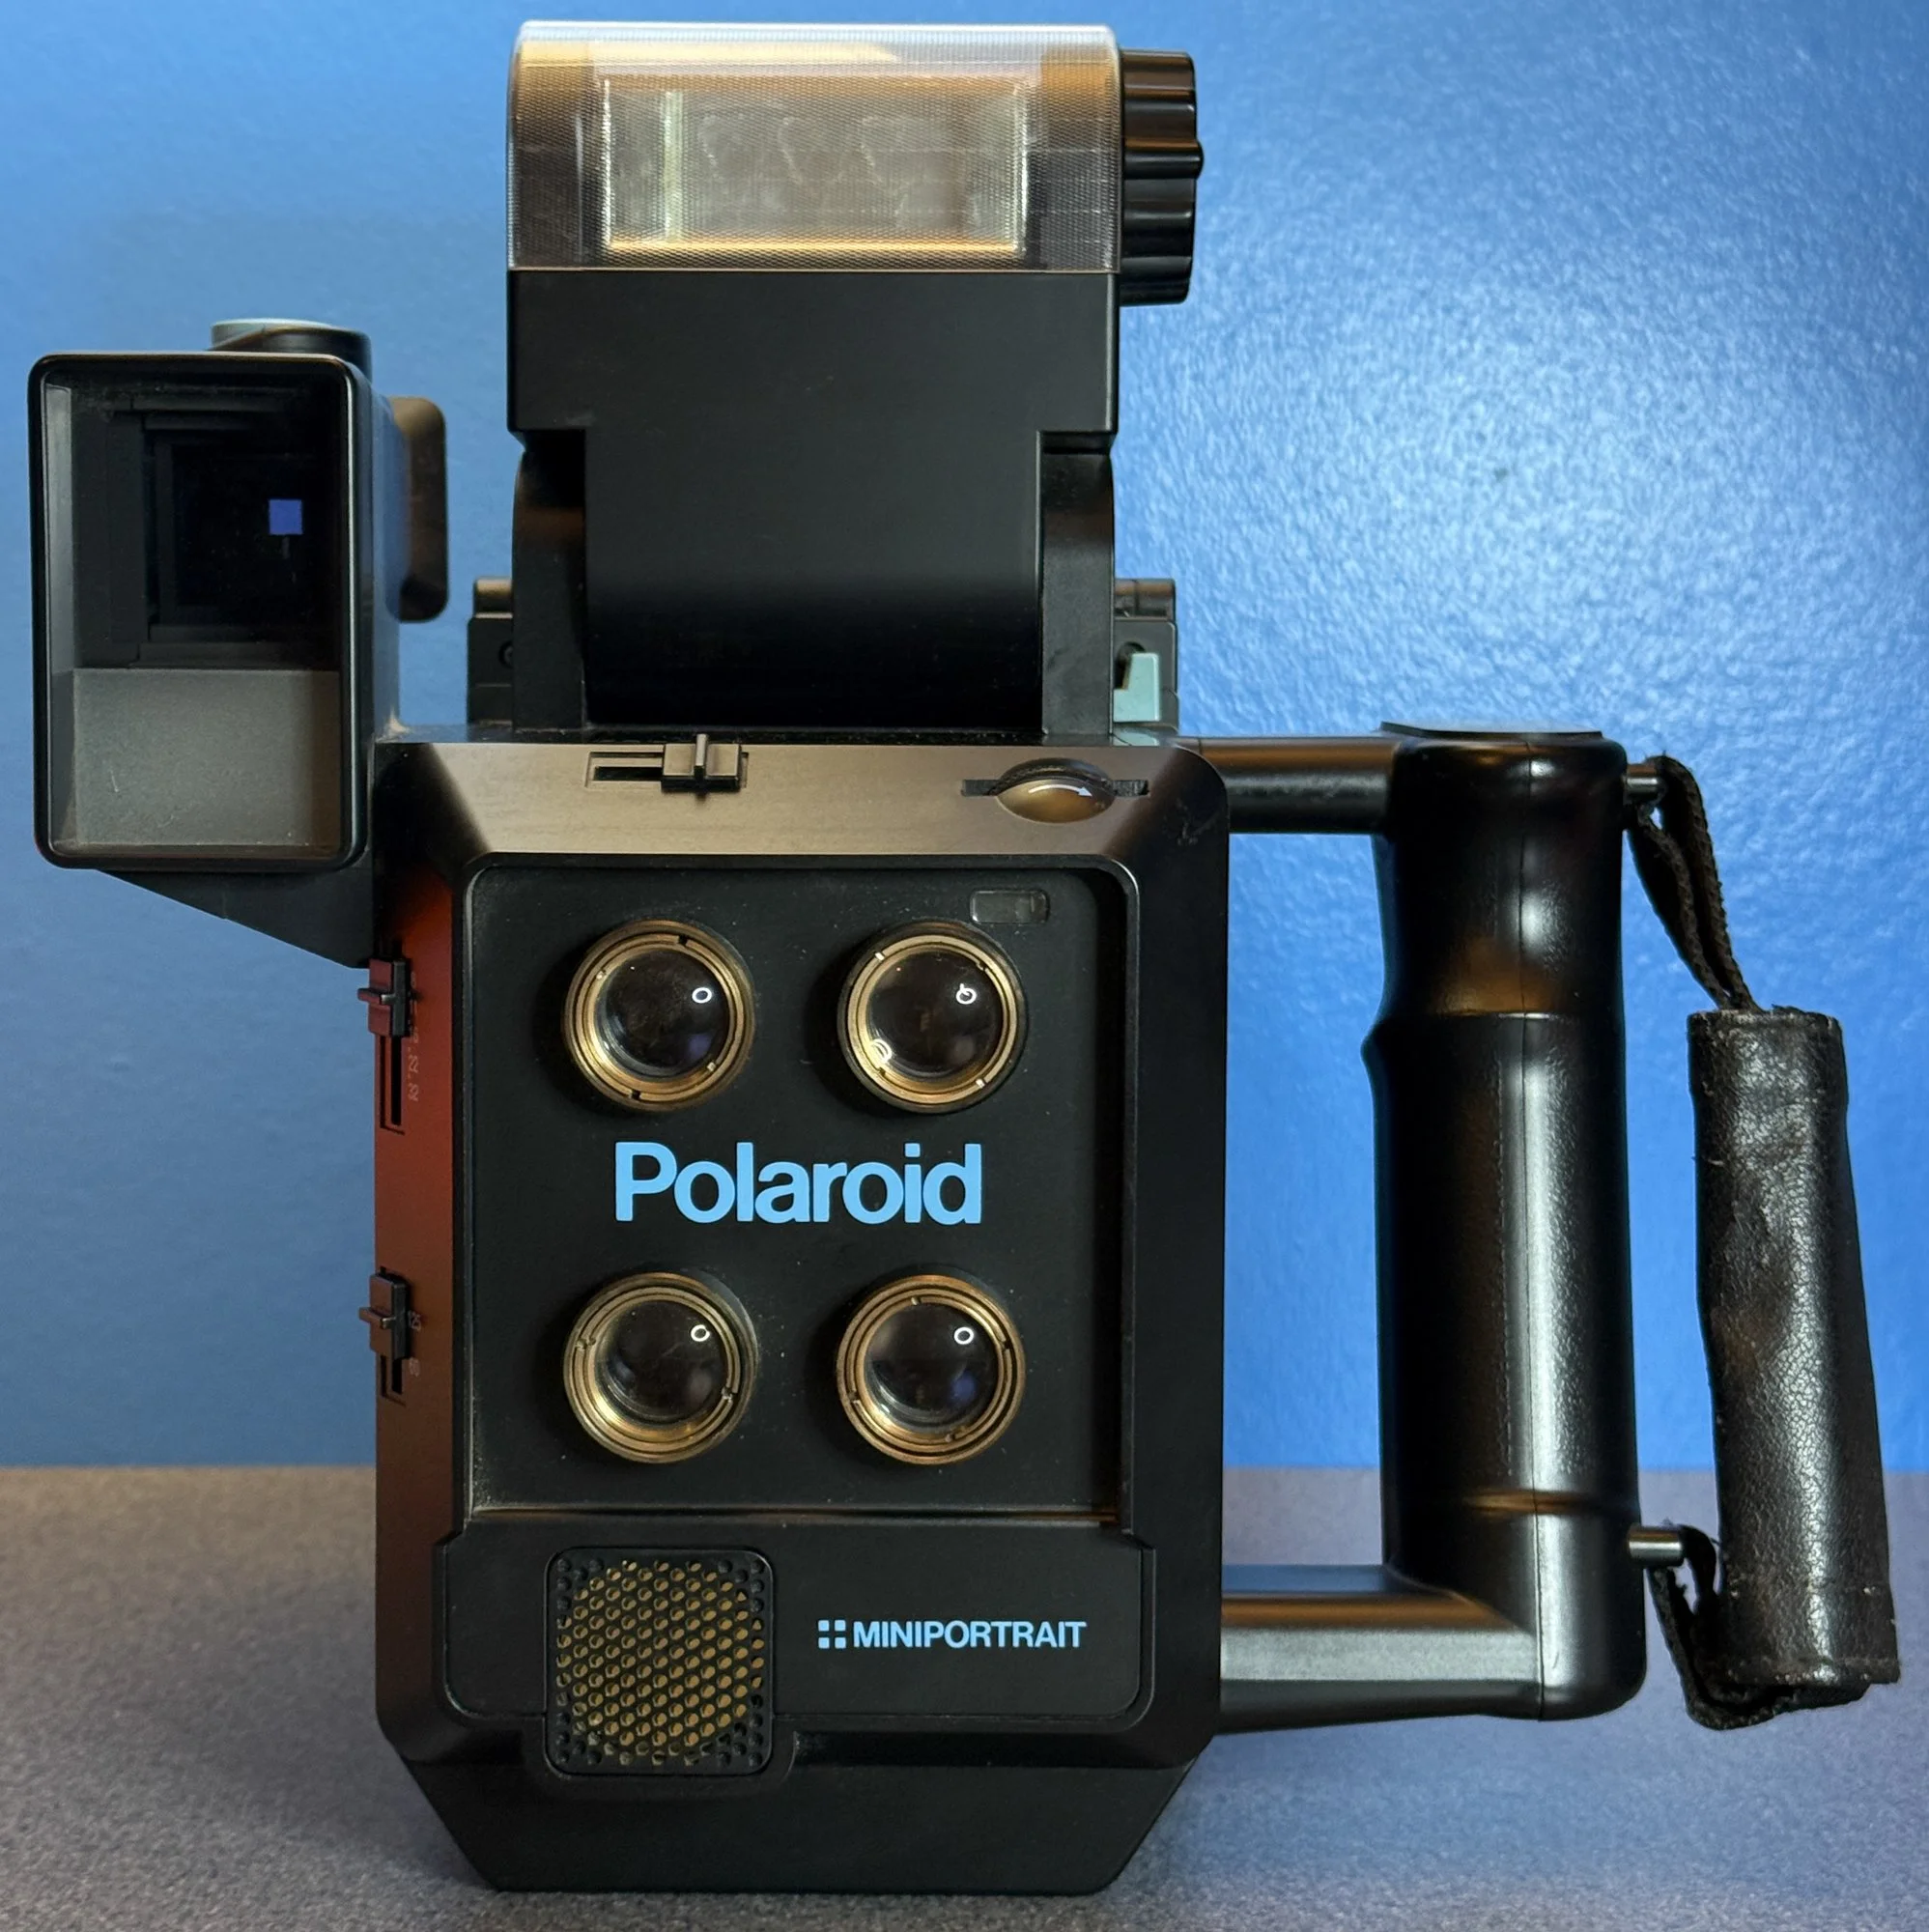
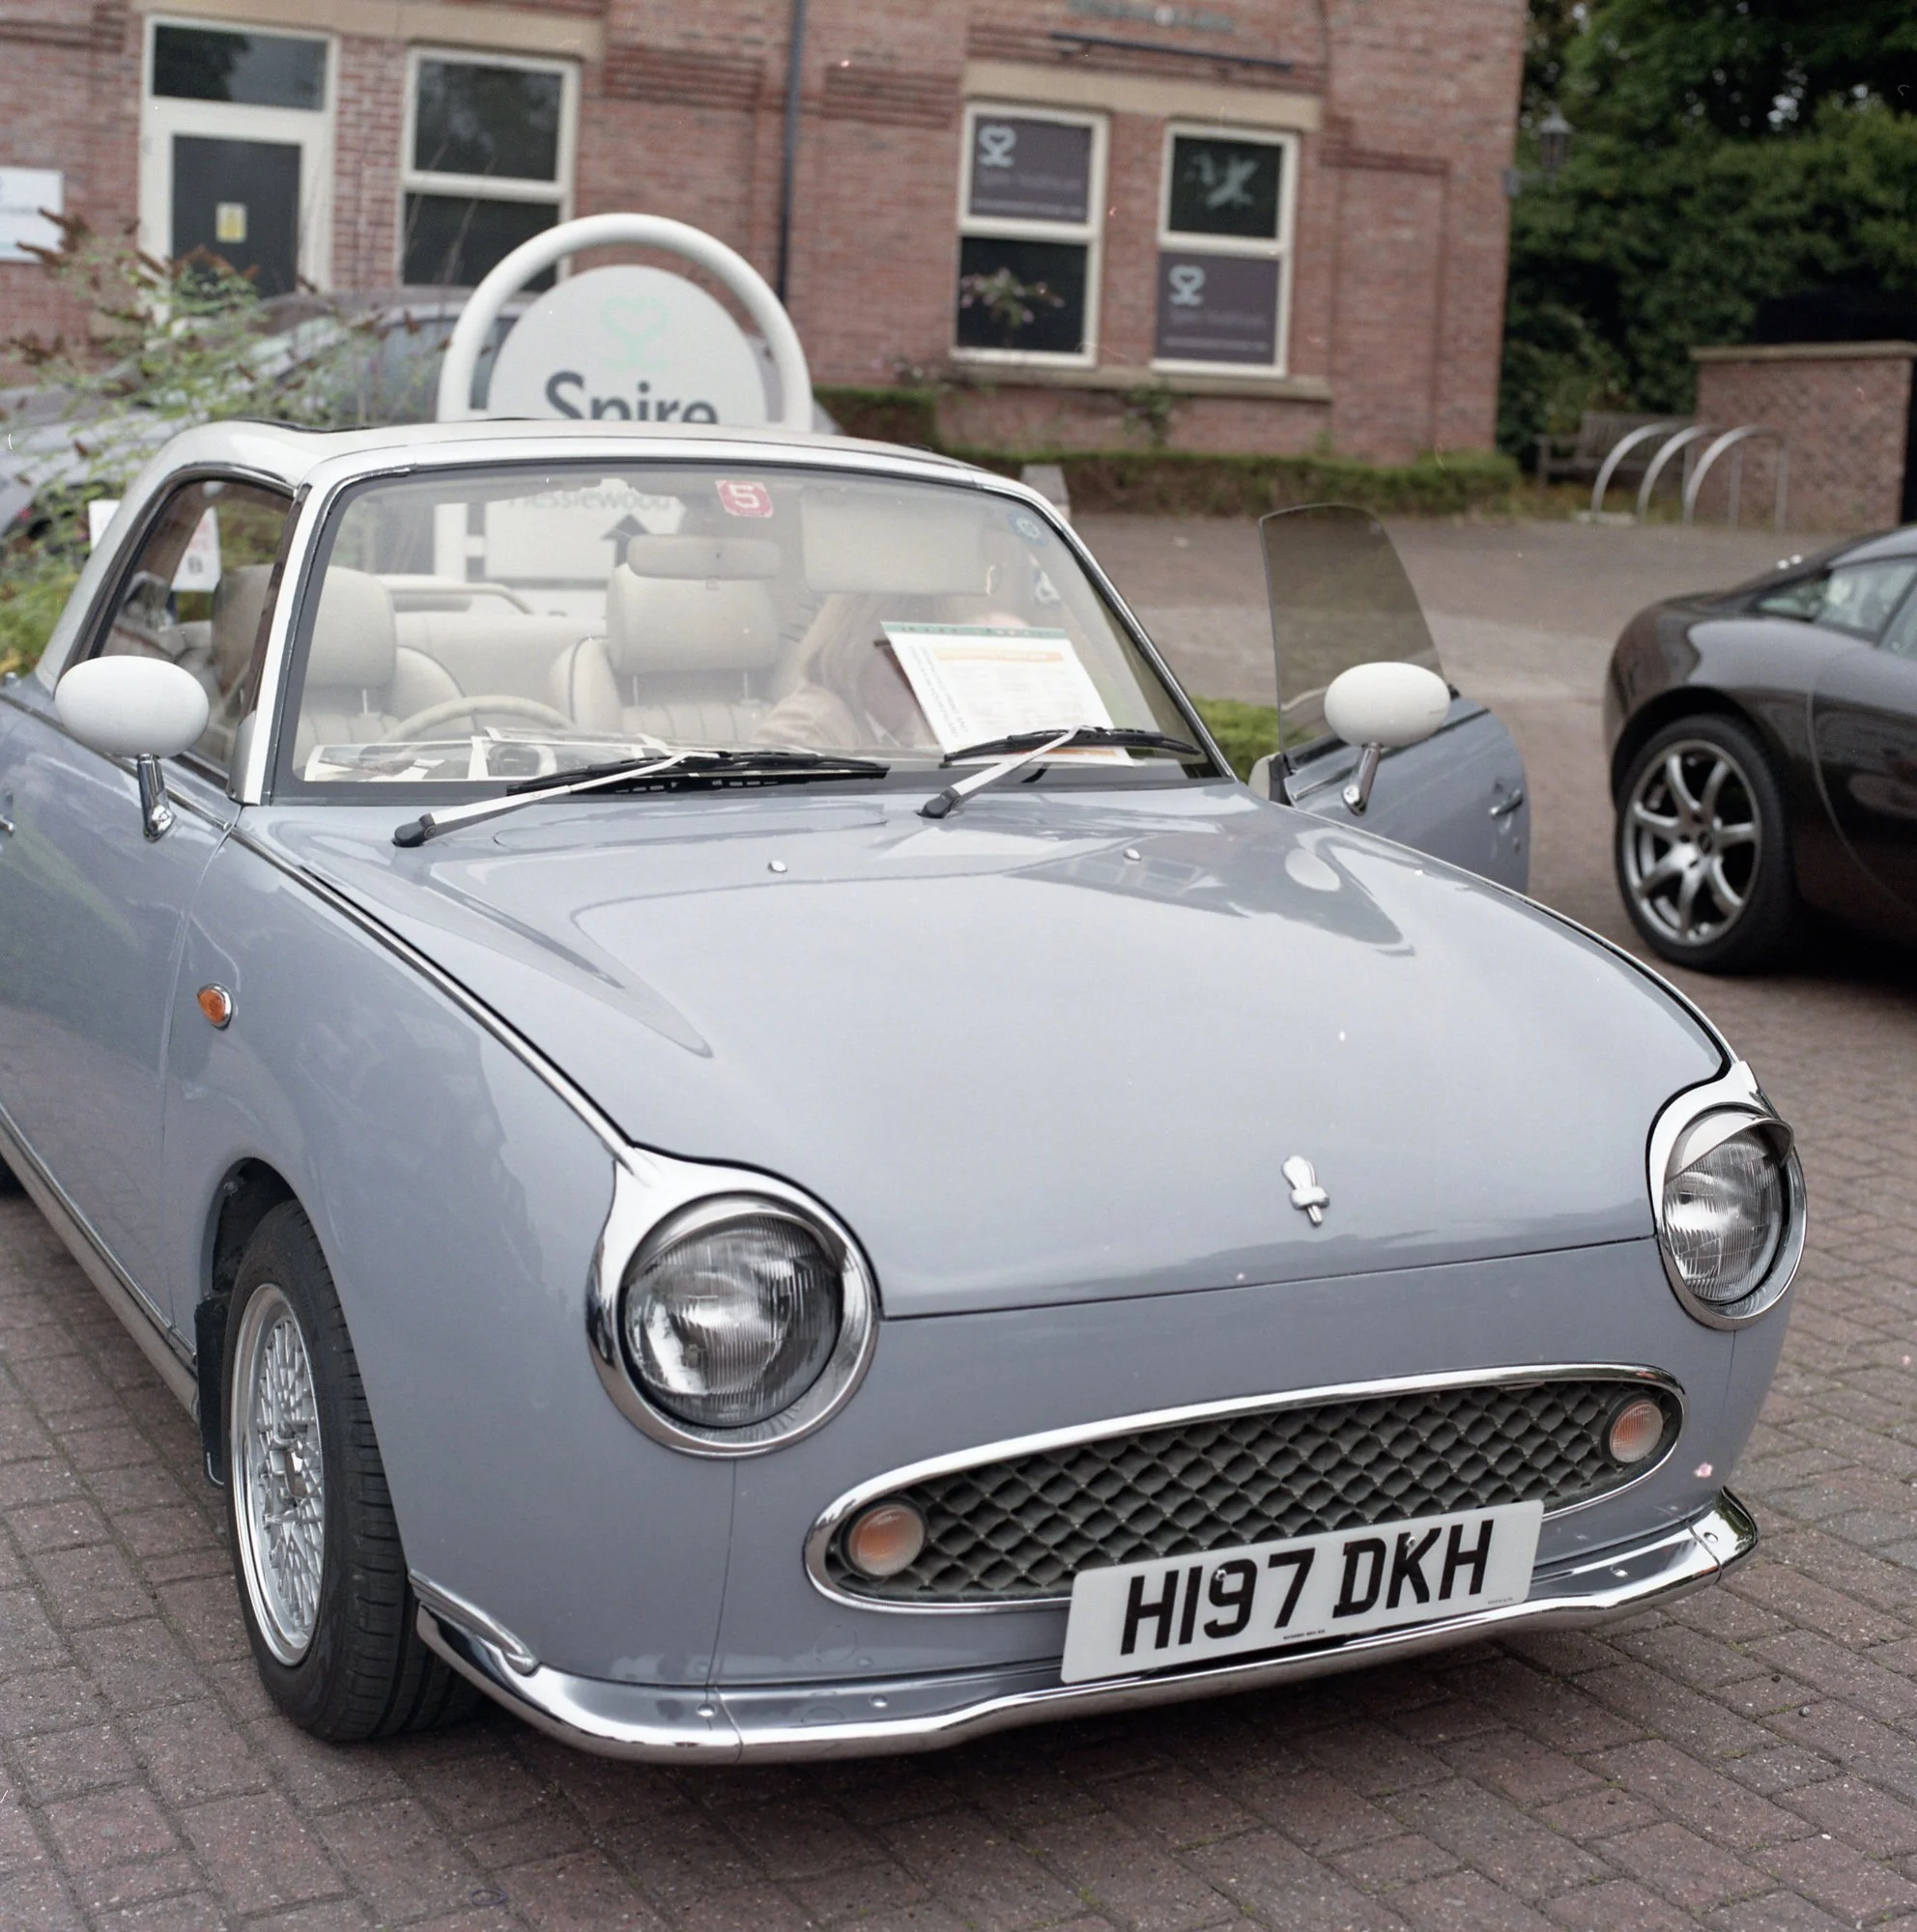
The picture above was taken with the new (to me) Polaroid Microportrait camera that I got yesterday. I had to put the camera and my Lomo Graflok Instax film back in a dark bag, extract a sheet of film from the film back and load it into the camera, take the camera out of the bag, take the shot, put the camera back in the dark bag, take the sheet of film out of the camera, put it back in the film back, take the film back out of the dark bag and eject the film to process it. Not something I’ll be doing again in a hurry.
Instax film is smaller than the original pack film so the images don’t fill the frame properly. I had to guess the exposure a bit because I wasn’t sure how powerful the flash was and I’m not convinced I set the focus properly. The results show potential though. I’ll try a few more later.
The camera is extremely restricted in terms of what you can do with it. The lens is fixed focus, for portraits of people. You can adjust the aperture, but there are only two shutter speeds available. Having said that, it does take the pictures very well and is super fun to use.
I’ve discovered that you can still get packs of film for it, but they stopped making new film over twenty years ago and what is left (which might not work) is selling for at least ten pounds a shot. You do get four pictures per shot though. Perhaps when I’m rich…
What I plan to do next is make a back that will let me use sheet film with camera. A sheet of 4x5 film will cover the entire image with room to spare. Then I will be able to take super high quality portraits.