Making a lensboard

I already had some code that made rounded cornered plates

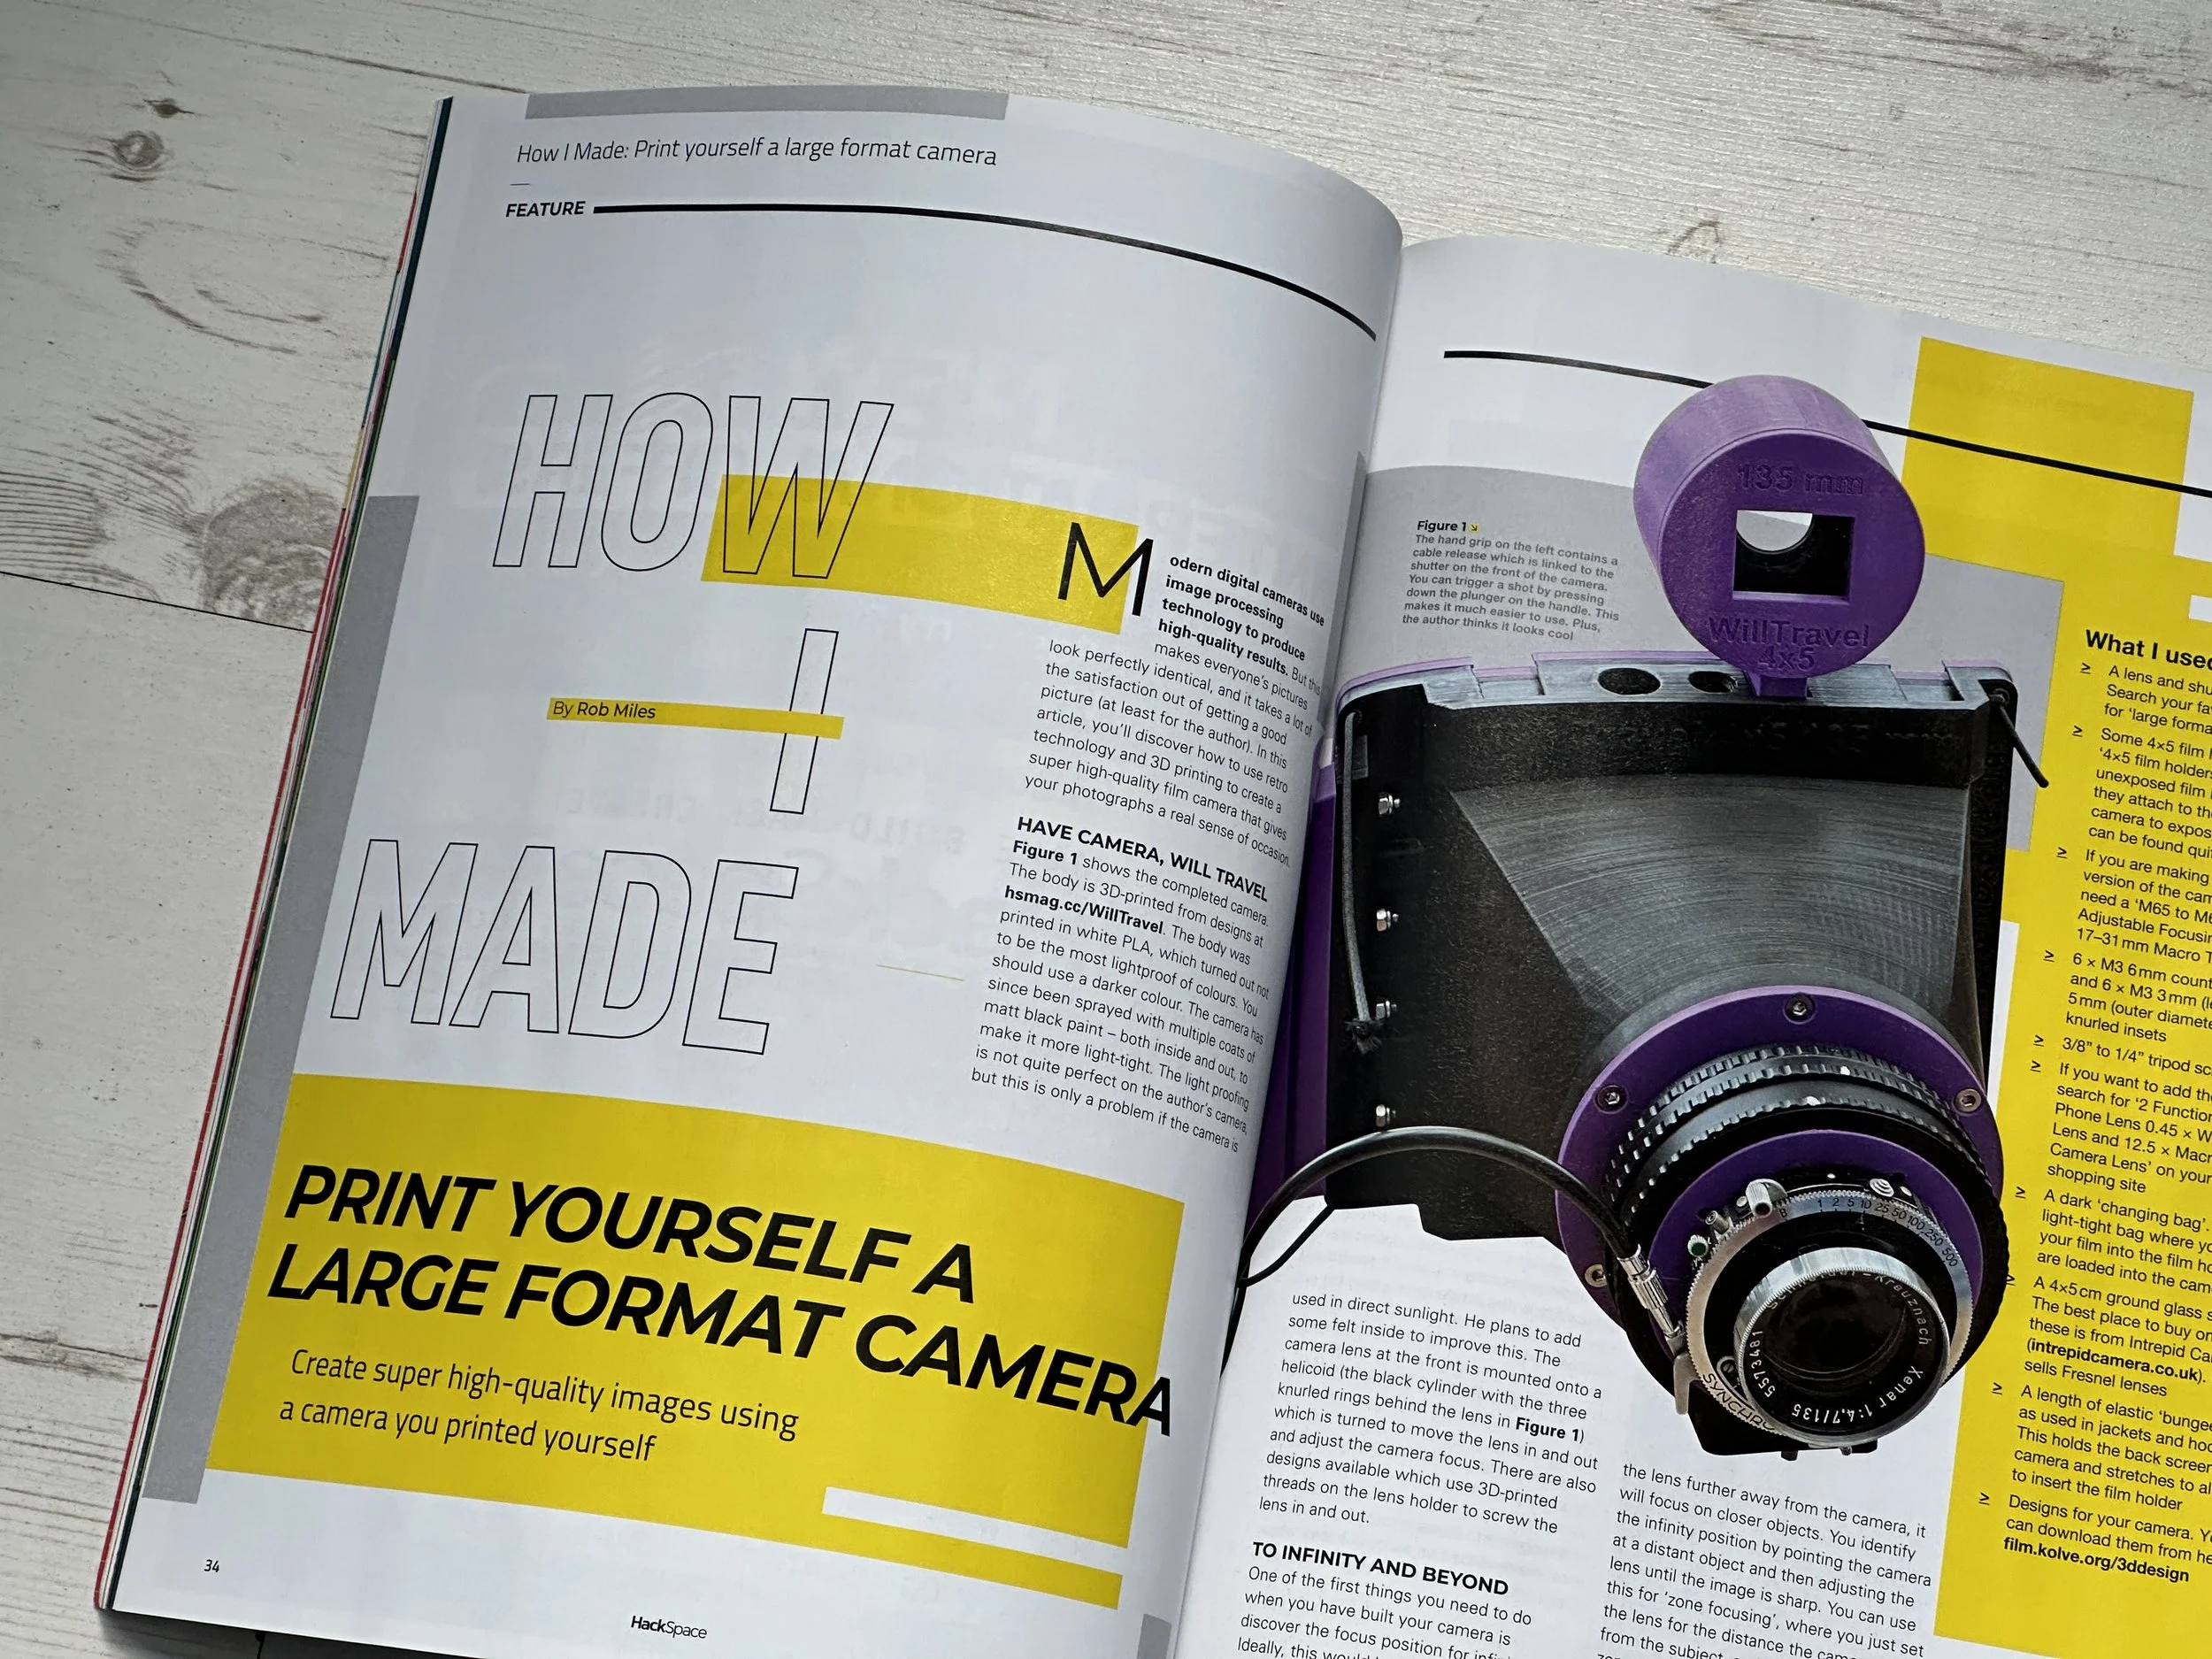
One of the truly great things about having a 3D printer is that if you have a need for something you can just print one. My “auction packed” camera arrived last week and today I thought I’d pop a lens in it so that I can try taking some pictures. For these type of cameras the lens is mounted on a plate called a “lensboard” which is then fitted into the camera. This makes it much easier to swap lenses when you are out and about. The camera didn’t come with a lens, but it did have a lensboard.

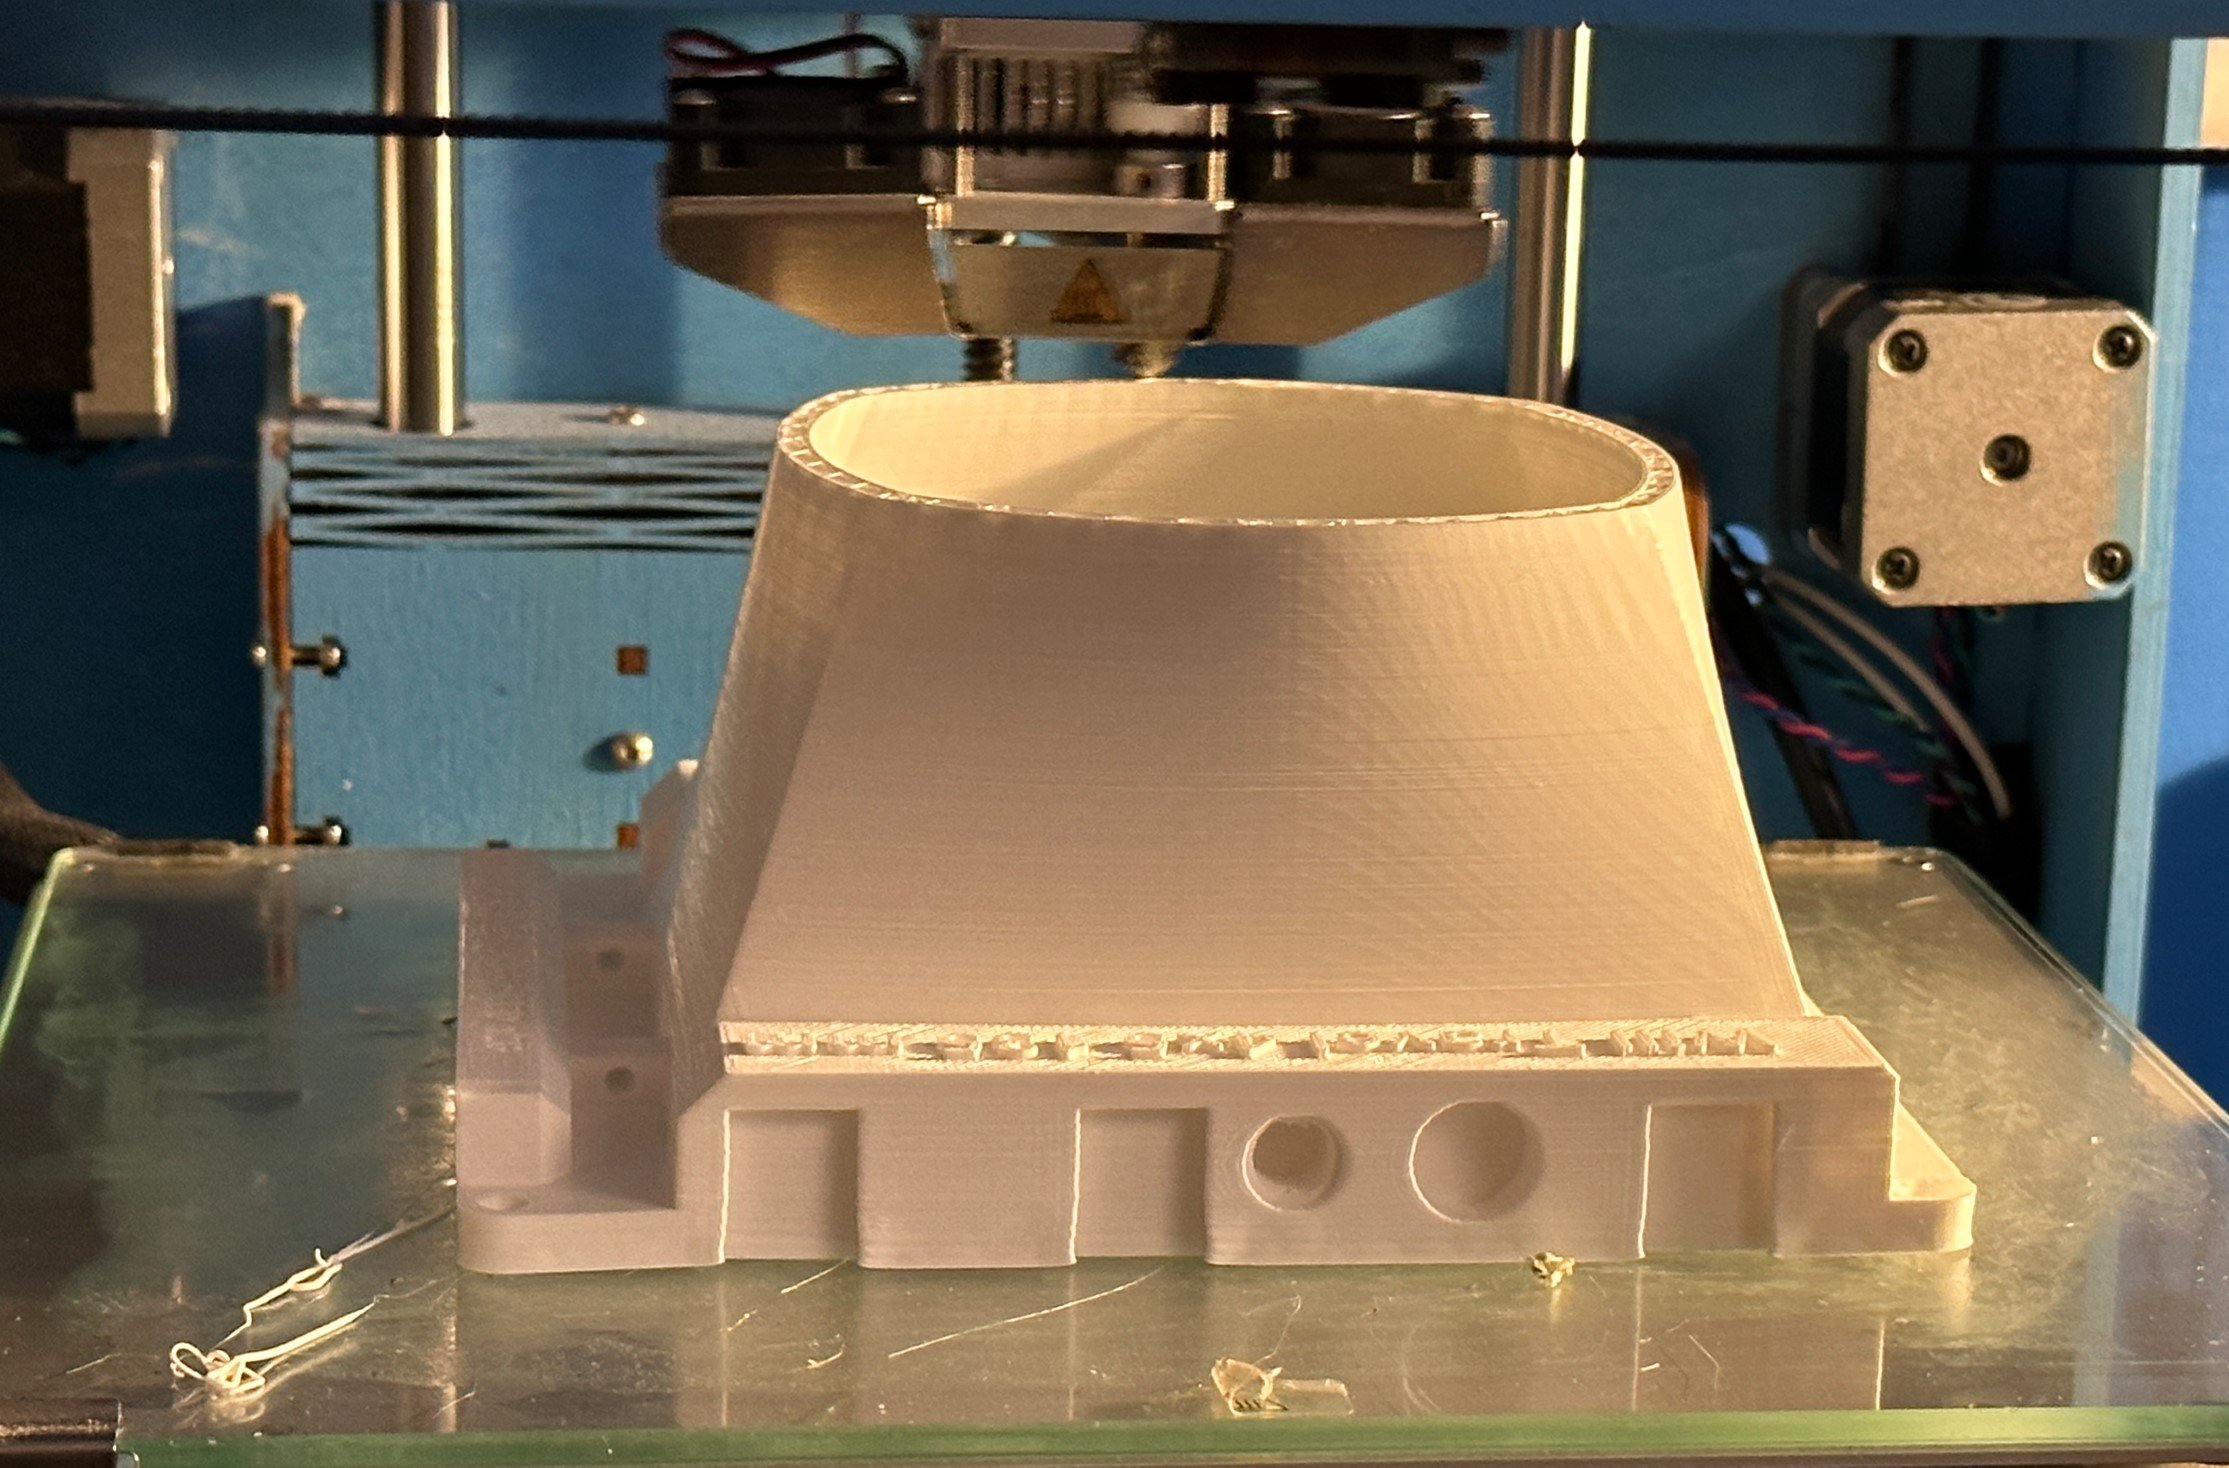
Unfortunately it was the wrong size. The hole in the middle was too big for the lens I wanted to use. So, I decided to make my own lensboard. I’ve made a quick version in OpenScad and tomorrow I’ll print it out and discover just how wrong it is.

Bye bye BLTouch

It seems we are not quite out of the woods yet…..

I was showing off my 3D printer last week and it promptly buried its head in the print bed and dragged it around. Wonderful.

I’ve had this problem for a while. The BLTouch sensor on my machine has got very unreliable. This is the little probe that tells the printer when the had is close to the bed. Or not.

Anyhoo, I’ve spent the afternoon removing it. I’ve been manually adjusting the print height for years and I don’t mind doing it again. I’ve loaded up the Jyers firmware which has a very nice automated levelling function which moves the head to the different corners so you can set it up by hand. This works very well. Now all I need to do is solve the bed adhesion problem I had while printing some more Tags of Fun. The good news is that the print quality is excellent. The bad news is that half way through the print process the thing I’m printing tends to want to go off for a walk…..

3D Printing Rule 0

This is the most important rule for anyone with a 3D printer.

Never start to think of your 3D printer as an appliance.

My printer has been behaving very well of late. So well that I’ve started thinking it is something I can switch on and it will just work. Silly me. This morning I started a print and it promptly embedded the print head in the bed - necessitating a bunch of re-alignment and fiddling to get it back working again. Lesson learned.

3D Printed Camera article now in Hackspace magazine

One of the funnest articles I’ve written

The article about my 3D printed camera is now in HackSpace magazine, which you can find in all good newsagents. There’s lots of great stuff in there along with my few pages. If you fancy making a camera like this you can find the designs and lots of useful stuff here.

The camera is now light tight and works a treat

I took the picture above with the 3D printed camera. The amount of detail in the branches is very impressive.

Thick Printing

This is the newly printed left hand version of the chord keyboard.

I’m printing some items for a HackSpace magazine article. This one is about making a Bluetooth version of the chord keyboard I made a while back. Today I printed the top of the left handed version of the keyboard. I’ve thickened up the top plate quite a lot. This has done a few things to the print job; perhaps the most notable thing is that it now takes over 6 hours to print. However, it has also added a really nice bit of extra “heft” to the keyboard.

Lots of things benefit from a bit of extra weight, and this is one of them. Up until now I’ve usually printed the thinnest structures I can get away with to save time and filament. However, I think from now on I’ll live with the extra time and cost and print things a bit thicker.

3D printed camera is now light - tight

I’m actually very happy with this picture

The picture above was taken using my 3D printed camera. The lack of any light on the image is actually very pleasing. While the film was in the camera I took it outside, shone torches and bright lights on it and generally waved it around in the brightest areas I could find. And the picture came out completely black. Which means I think that after a whole of of painting and masking it is now light tight.

I’m going to put a spirit level on the camera so I can tell when it is level…

I took the camera out for a walk and came back with this, which I’m quite happy with.

Importing STL files into FreeCAD

One of the light leaks in my leaky camera was because the lens mount had some mounting holes in it that I’m not using. These made for some thinly printed areas which let light in. I wanted to make a modified version of the part without the holes and with a slightly larger lens opening. The problem was that I only had the file as an STL file, not in something that can be edited using FreeCAD. However, it turned out to be quite easy to import the design and then convert it into a FreeCAD model. The first thing you do is use the import dialog to bring in the STL file, select the loaded mesh and switch to the Part workbench and use the commands Part->Create Shape from mesh and then Part->Covert to solid. After that you can work with the part as you would any other.

Remember to convert at the highest possible resolution

This is powerful magic, as it means you can take any STL mesh and work with it. I’ve put the procedure in the blog so that I know where to look when I need to do it again……

Fixing a leaky camera

The hair is probably one of mine. I need a haircut.

My 3D printed camera leaks light. It works perfectly fine indoors but take it out into the sunlight and things go badly wrong. The pictures have an “other worldly” quality but I’m not always going for that. Number one son suggested that I wait until it gets dark, put a powerful light inside the camera (there’s plenty of room) and then see where the leaks are. The first discovery was that some of my black painted areas were not very black. So yesterday I spent some time painting my hands, trousers, shoes and camera with more black paint. The paint ran out to the point where the spay only worked when held vertically, so I had to hold things in front of the nozzle to paint the bits that needed an extra coat. Hence my attack of “black fingernail”.

Tonight I spent a happy half hour in the dark looking for leaks and applying copious amounts of black tape to leaky joints in the camera. I think it is mostly light tight now.

Laser Rangefinders are cool

A while back I ordered an awesome little laser rangefinder. It arrived last week and I’ve found an excellent holder for it which I can use on my 3D printed camera. I printed the holder this morning and above you can see my fully tricked out camera. It has a viewfinder, level and now a range finder. It might only be able to take one picture at a time, but it certainly looks the part.

3D Printing at an angle

Followers of my blog (yes, that’s both of you) will have been observing the fun and games I’ve been having trying to print a handle for my 3D printed camera. The problem is that if you print the handle vertically there is only a small surface in contact with the print bed. As the printing gets higher the print head becomes more and more likely to push the workpiece off the print bed. When it does you get a tree.

I tried printing with the handle flat on the print bed, but that caused other problems. There is a large open gap for the cable release that runs the length of the handle. This can’t be printed without extra support and the support material proved impossible to remove. I ended up with a handle that was solid all the way through So, in the end I tried something I’ve not done before. I tipped the whole workpiece by 45 degrees. This removed the need for any internal support.

Above you can see how it works. The gap in the middle of the handle doesn’t need support and there is now a huge area of the workpiece in contact with the print bed so it grips really well. It worked a treat. The support came off very easily and left a surprisingly smooth finish all over the handle

If you’ve got something that needs internal support you might like to try the same thing. I used Cura to slice the model and the print preview (you can see it above) to check for any overhangs.

This might be a good technique for printing very small things, as it provides a larger base. It also removes any problems with the workpiece lifting up from the bed on the corners, which can be an issue when you try to print large objects.

Using Bolt Inserts in 3D printed objects

I assembled the 3D printed camera today. I used the fittings I got last week. It turned out to be quite straightforward. I popped the special tip on the iron and set the temperature as low as possible (200 degrees). Then I picked up the fitting with a pair of pliers, popped it on the end of the tip and pushed the fitting into the hole in the 3D printed camera body.

Above you can see the result. I can now screw a bolt into this fitting to hold the lens in place. This is a really great way to screw things together. I’ve had a lot of success just using bolts in 3d printed holes, but this should be stronger and won’t wear out if I need to remove and replace the bolts.

This is the finished fitting in place with the lens attached. It turns out to look quite tidy. Next thing to do is make the handle and then take some pictures.

Bolt inserts for fun and profit

These arrived today from Amazon. I’m looking forward to having a go with them. And no, they are not bullets. They are for placing brass inserts into 3D printed plastic. You put them on the end of a soldering iron and heat them up so that the plastic melts around the insert. The inserts have screw threads in them. If I can get this right I can make 3D printed objects which I can screw together properly.

These are the inserts. They take m3 bolts.

Blackfinger

I’m 3D printing a camera at the moment. I’ve discovered that one of my early design decisions was not the best. It turns out that white PLA is not the most opaque colour I could have chosen. Cameras that let the light in are not optimal.

So today I decided to remedy that by painting the inside of the camera with matt black paint. I bought a spray can of the stuff, found a place in the garden as far away as possible from everything else and set to. It worked rather well. I’ve put on two coats and it is now looking a lot darker inside the camera, which is a good thing. The only snag is that it has turned out to be impossible to stop the black paint getting onto the outside of the camera (at least for me) so the next part of the plan is to paint the outside of the camera black too. That way I also get even more opaqueness.

The really good news is that the paint I’m using seems to stick really well to PLA. The only other snag has been that I now have a black finger (the one that has been pressing the button on the spraycan)…

Printing a Will Travel camera

I’m printing a 4x5 print camera. I fancy some hand held large format camera action. I started the printing around 7:30 am this morning. We are now eleven and a half hours into the print. It is supposed take around 14 hours, but I’ll be very surprised if it is finished before we go to bed. The good news is that all is well so far. I put some glue onto the print bed (just a thin layer of Pritt stick) and that seems to have stopped the corners from lifting too much, which is nice.

White might not be the most sensible colour for a camera, but the plan is to line the inside with black felt to reduce reflections and keep the light out. And it should look cool…

The return of Una

A while back I was given a lovely lens. Today I’m starting the process of 3D printing a camera to go behind it. I’m using the Will Travel design from Morten Kolve. This looks like an excellent starting point. Morten was kind enough to send me through the designs for a build which will match my lens.

Today I put the designs into Cura and sliced them for Edna the Ender to print. This showed a print time of 23 hours. Which Is quite a long time. And I’m not keen on running a printer overnight. So I tried slicing them for Una the Ultimaker and got a time of 13 hours, which was a worthwhile saving. Even if it took me 5 hours to get Una going I’d still be ahead of the game.

Unu is an original Ultimaker 1 which I first built 2012. I’ve built her again several times since then, most recently when I swapped the the print head for one from an Ultimaker 2. However, once I got the Edna the Ender-3 I’ve not used Una that much because Edna is a bit better at detail. However, I don’t really care about detail for this print. I just want a camera body. So I spent a few minutes cleaning Una up and making ready and off she went. So far she is working rather well. I’ll do the big print tomorrow, which should be fun.