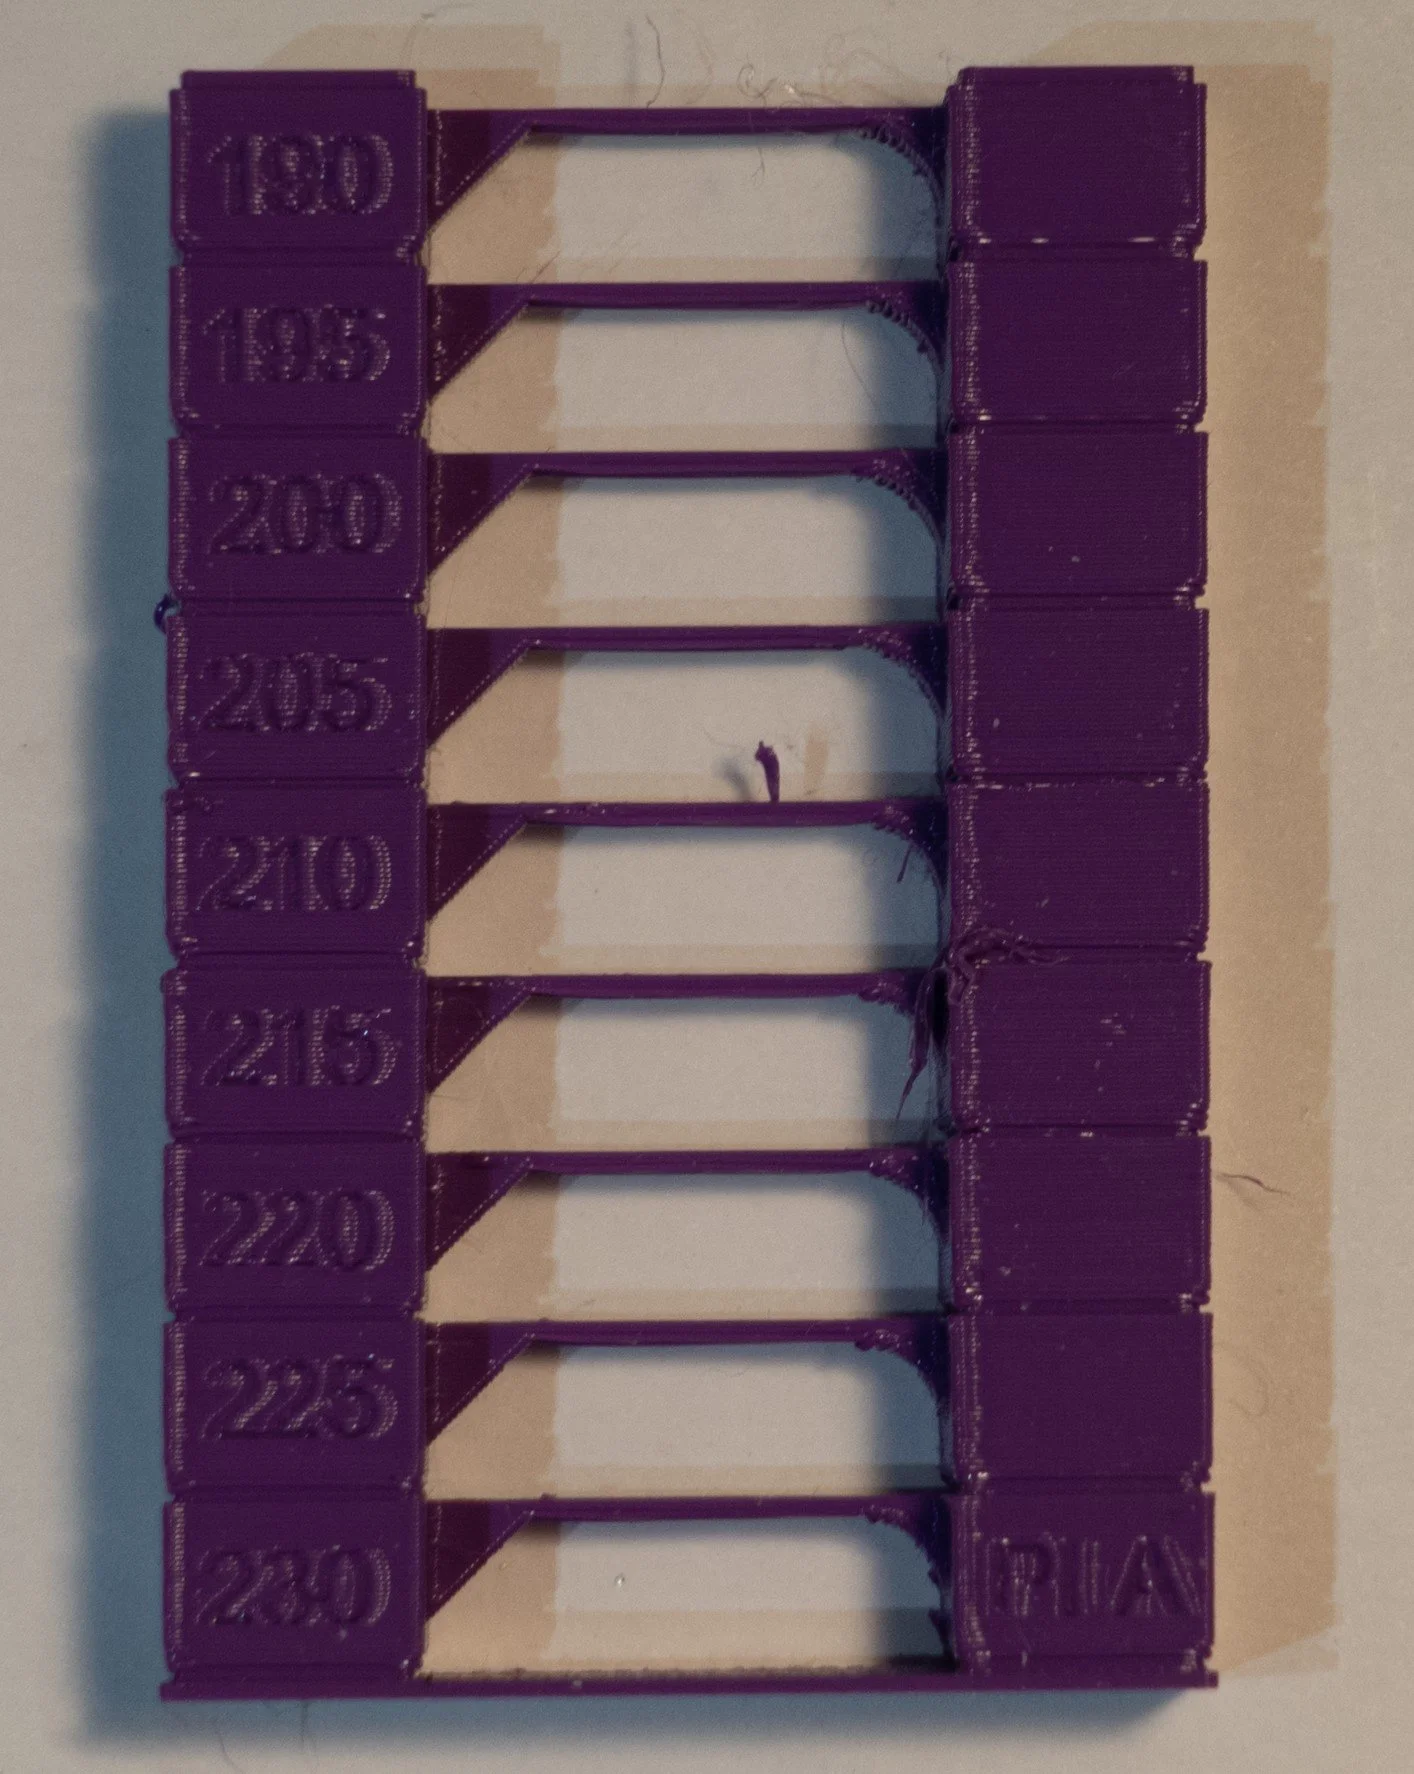
Double Z axis trouble
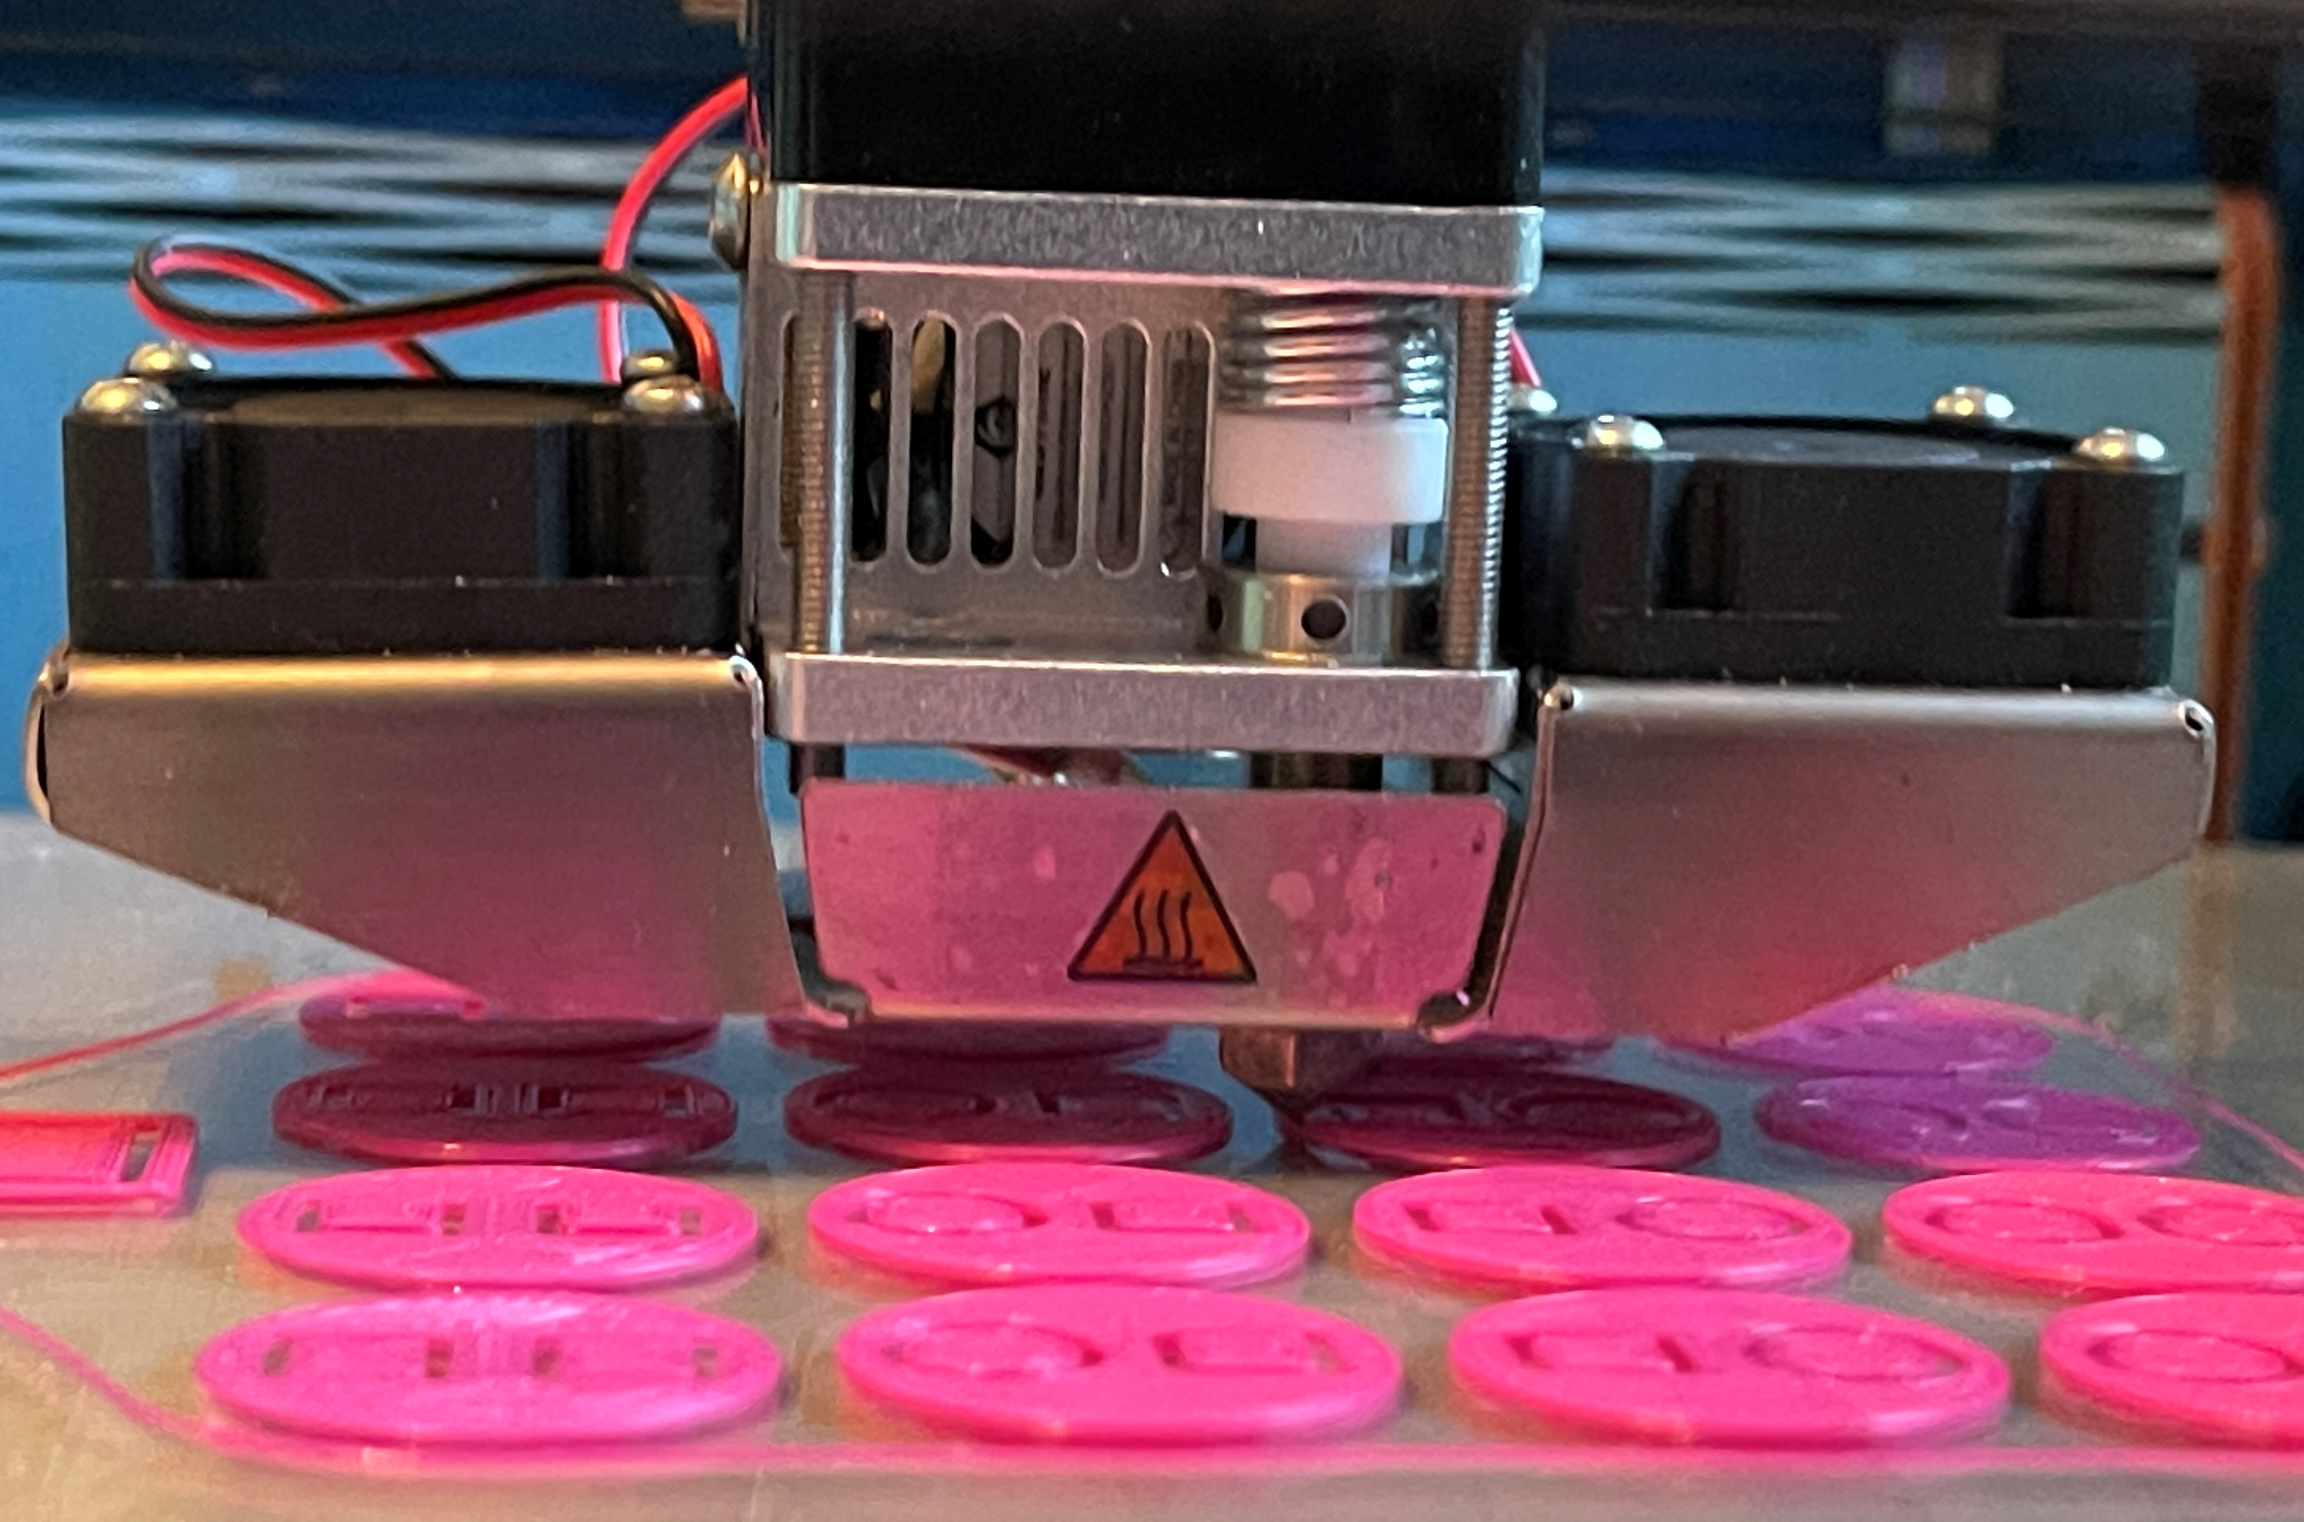
I’ve been working on breaking my 3D printer. It’s going quite well. I’ve fitted a new direct drive printhead (which was really easy) and added a second lead screw for the z axis (which was really stupid). The principle is simple enough. Initially the printer had a single motorized screw on the left hand pillar which lifted the print gantry up and down. Thing is, when the print head moves all the way over to the right it is less well supported, so the gantry sags a bit. I thought it was a good idea to put a motorized screw on the other gantry so I bought the kit and fitted it. Which was a stupid idea. The problem is not so much with the drive system. That works fine. The problem is that if the two lead screws get out of sync (which they do) then the gantry tilts. When the printer is powered up the two screws are locked together by the stepper motors but when the power is switched off the weight of the gantry turns the two lead screws different amounts, putting the alignment out of whack.

The solution is to add a synchronisation belt at the top of the lead screws. This is what the latest printers have. So I’ve ordered one.

Direct drive 3D printing

My 3D printer has been working reliably for ages. I can go from an idea to a printed artefact with a minimal amount of messing about. So I’ve decided to upgrade it. It turns out that I can get a complete direct drive print head for a very tempting price. I was thinking of changing the nozzle, so I might as well change everything. The replacement head arrived today. You really do get everything, rollers, heater, thermocouple and wires.

The idea behind direct drive is that the filament feed mechanism (the bit which pushes the filament into the heater) is right next to the head itself. In the current configuration the feed motor is mounted away from the head and the filament goes through a tube (called a bowden tube) to the head. This adds friction and elasticity to the filament feed. Doing away with the bowden tube should improve print quality and let me print more exotic filaments.

It looks like an easy fix so I’m going to make it more difficult. The one thing I’m not happy about is the way that the print head now weighs a lot more than it did because it now has the drive motor on it. So I’ve ordered an extra Z axis drive screw so that the bar the print head moves along can be supported on both sides, rather than just one. It should arrive later in the week.

3D printing lots of colours

Following my success making a version of the MIDI CheeseBox on a surface mount PCB I now have to make a case with coloured buttons. I’m going to need red, blue, green and yellow. Some of which I don’t have. The good news is that there are folks who will sell you a pack of short lengths (10 metres) of a range of colours at a reasonable price. I think these are intended for use in 3D printing pens, but they should work OK in Edna the Ender 3.

Clip Iteration

One of the great things about 3d printing is the way that you can iterate your designs very quickly. The picture above shows my progress towards a little plastic clip that will hold the led panel onto the front of the case for the “Chocolate Synthbox” that I’m building. The first one (on the far left) was a bit too large. Over the next three I refined the hole size and the height of the “claw” part of the clip until it fits and can be tightened down. Great fun.

Printing Monday

A lot of today was about printing. I set out to print the top of the box I designed yesterday. I fired up Edna the Ender and she just got on with it. I’ve only just started using the printer after quite a long break. I figured the best thing was to not fiddle with anything, do an auto-bed level and then start printing. In olden days I’d have spent a while manually re-levelling the print bed and, after a lot of messing around, get myself back to the same place I was when I started. These days I’m older and wiser, so I just assume that nothing has changed and let the printer get on with it. It was one of my longer prints, at around 8 hours, but It seems to have worked well.

Print the box tomorrow.

PICO MIDI Cheese Box Constructed

When you put your ideas out on the internets and in magazines it is always nice to see someone actually build one. “viragored” has not just built a device though, they’ve also designed their own case because I forgot to publish the design files. I’ve put my designs on GitHub now. You can find them here. But I think I like that the new one is better. I like the idea of using “push pins” to hold components in place rather than screws.

The mystery of the haunted BL Touch probe

In my experience the worst thing you can do with a 3D printer is to think of it as an appliance. As soon as you do that it instantly finds a new way of breaking that you’ve not seen before. I’m making a new gadget and this morning I thought I’d print out the bottom of the case. I printed out the top yesterday and noticed that every now and then the printer was making a “ticking” sound. This was caused by the extruder (the thing that forces the filament through the print head) skipping steps. It means that either the printer nozzle is blocked or the nozzle is a bit too close to the print bed and stopping the molten plastic from flowing.

I checked the nozzle and it was clear. It was only happening in one region of the print area so I thought I’d level the bed, which was a good idea in principle but practice turned out to be a nightmare. I could not get the bed to level. I ended up replacing the springs that support the bed with ones that I bought a while back.

The new springs are yellow, which apparently is a good thing. They give a greater range of adjustment and are a bit more substantial than the ones that came with the printer which I think have got a bit tired. I now have the bed level enough to print with which is nice.

I did find out one interesting (at least to me) thing while I was doing this. I have a BL touch sensor on my printer. It’s the red thing in the picture above. At the bottom is a little motorised probe that is moved into the “down” position whenever the printer wants check the height of the print head above the bed.

While I was working on the bed I noticed that the probe kept dropping onto the print bed in a rather annoying and potentially breakable way. For a while I thought the printer was haunted by “The Ghost of Failed Prints” but this was not the case.

It turns out that the probe dropped whenever I moved the print bed by hand. After a while I figured out what was happening. Stepper motors make quite good generators. If you turn them they produce a voltage that gets sent back into the circuitry of the device they are connected to. Some of this was finding its way into the coils that move the probe up and down and triggering them.

The lesson here is that when you move things you should move them slowly, so that they don’t produce as much voltage.

Perfect fit - darn it!

I’m working on a new project. I start with the box and then put things in it and wire them together. My usual approach is to run a 5 hour print for the entire case and then find that some of the holes in it are the wrong size. So today I thought I’d do it properly. I printed out a tiny test print instead. Of course, when I do it this way round the holes are exactly the right size.

I say Pomorodo - you say Pomodoro

I didn’t know what a Pomodoro timer was until Andrew suggest that I might like to use a Rasbperry Pi PICO to create one. On my first search I typed in Pomorodo and thanks to the magic of search correction it found the right pages. I continued calling the device Pomorodo from then on, which would have been rather embarrassing if I hadn’t just spotted it today. A Pomodoro timer is used to time tasks in a technique that you can use to improve your focus. I’m making one that will talk to you.

Head Crashing

I’m making a new device. Can you guess what it is? Today I tried to print out the top plate. I hadn’t used the 3D printer for a while and it shows its displeasure with this by ramming the print head into the bed. I think the probe in the BL touch sensor (which is how the printer knows where the bed is) had got stuck.

After a fevered few minutes resetting the print height I managed to print out a reasonable version only to discover that the big hole (which is for a big button) was way too small. Oh well. There’s always tomorrow….

Unexpected art

broken design.jpg

Sometimes your failures are more interesting than your successes. I’ve been doing some work to design a new music controller based on the cheesebox, but adding rounded corners. There are lots of ways to make rounded corners, FreeCAD even has a command called “Fillet” that will do this for you. But I thought I’d do it the hard way, which involves cutting off each corner and replacing it with a cylinder. You can see the results of my first attempt above. I think it is quite artistic. And hey, one corner correct out of four isn’t a bad score..

workingdesign.jpg

This is the final version. There are four controller rings with lights, and a button grid and controller on the bottom. The only problem with this design is that it won’t fit on the printer bed………

final design.png

This is the final, printer friendly, design.

20210927_083238347_iOS (2).jpg

..and this is after it has been produced by two friendly printers…..

Wrong Sized Holes

wrongholes.jpg

This is the top panel for a new creation I’m working on. I want to make a pixel ring surrounded by pushbuttons. So I added a pushbutton button ring element to my design program and then printed it out.

Of course, after a two and a half hour print I then discovered that all the button holes are too small. You can see in the picture some of my attempts to make the holes bigger, but PLA (which is what I printed it in) is horrible stuff to work with.

Moral of the story: If you’re printing things with holes to fit other things into, perform a tiny test print with just one hole to make sure the size is right before you go and print the whole thing.

Una Reborn again

newhead.png

The tiny little fan for the print head for Una the Ultimaker arrived today. You can just see it behind the grille in the above picture. I’ve rebuilt everything and I’m printing with it. Expect to see an anguished post in a couple of days about how everything has broken again.

Update: Sooner than you think. The above print failed because some of the items came loose. I’m going to clean the print bed properly and double check the level…

Non-Fun Gibbon Tokens are now a thing!

NFT.jpg

Non-Fun gibbon Tokens now a thing.

They are a horrible pun (on non-fungible tokens) made 3D real.

Thanks to the efforts of Geoff and Derek who supplied the line art plus the InkScape and OpenSCAD tools you can now have the ultimate in slightly unique art.

Prints a treat. They are quite big in the STL files, but shrink then down to 30% size in Cura and you get something which is printable and retains detail - but check with the preview mode first to make sure that none of the lines in the design have been missed.

If you like them (and why wouldn’t you) lob a donation my way for Comic Relief here.