Teams Online Presentation Tips
/I learned a couple of neat things getting the presentation to DDD yesterday. I’m putting them here so I won’t forget for next time, but you might find them useful too.
How to sort out sound
If you want to play computer audio during your presentation (I did) you can click the “Include Computer Sound” option you’ll find at the top left of your presentation window. Now when you play videos and use programs that produce audio output the viewers can hear you.

If the presentation sound output from your computer sounds a bit quiet, open up the Control Panel, select Sound and then open the Communications tab you can see above. Windows reduces the level of audio outputs from your PC during a call so that messages from other programs don’t intrude too much. You want the programs to intrude, so select the option Do nothing.
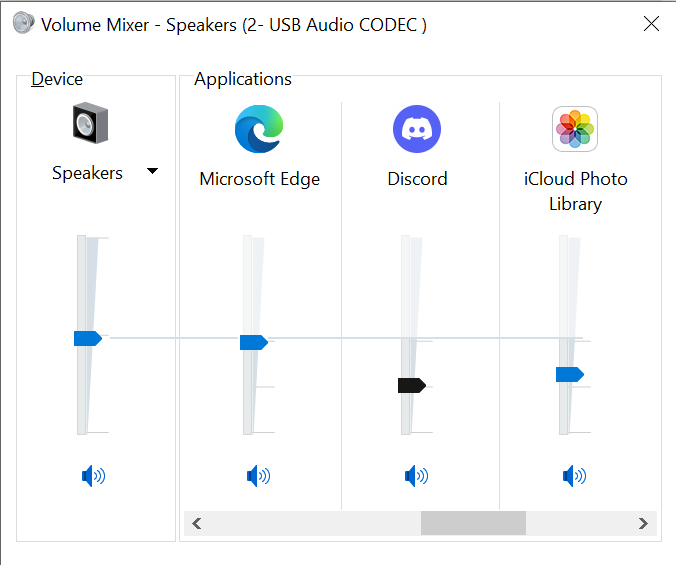
Now people can hear all of your PC sounds at full volume, including noises that you might not want during your presentation. But you can tame these by right clicking the speaker icon in your task bar and selecting Open Volume Mixer from the context menu. There you can control the volume level from all the applications on your machine. You can boost the ones you want to hear and quieten the ones you don’t.
How to solve camera conundrums
I like to use a second usb camera on my PC to give close up views of items during a presentation. I just use the Windows camera application for this. If I’m sharing my desktop the viewers can see the camera preview window on my desktop and it all works OK. However, if I’m using Teams it doesn’t work. As soon as I open the video source in a Teams call (so that folks can see me speaking) none of the other camera devices can be picked up by applications on my PC. The only way round this is to turn off video sharing in Teams while I use the second camera and then turn it back on again afterwards. Or at least, that is what I did.


