Not buying camera shock
/
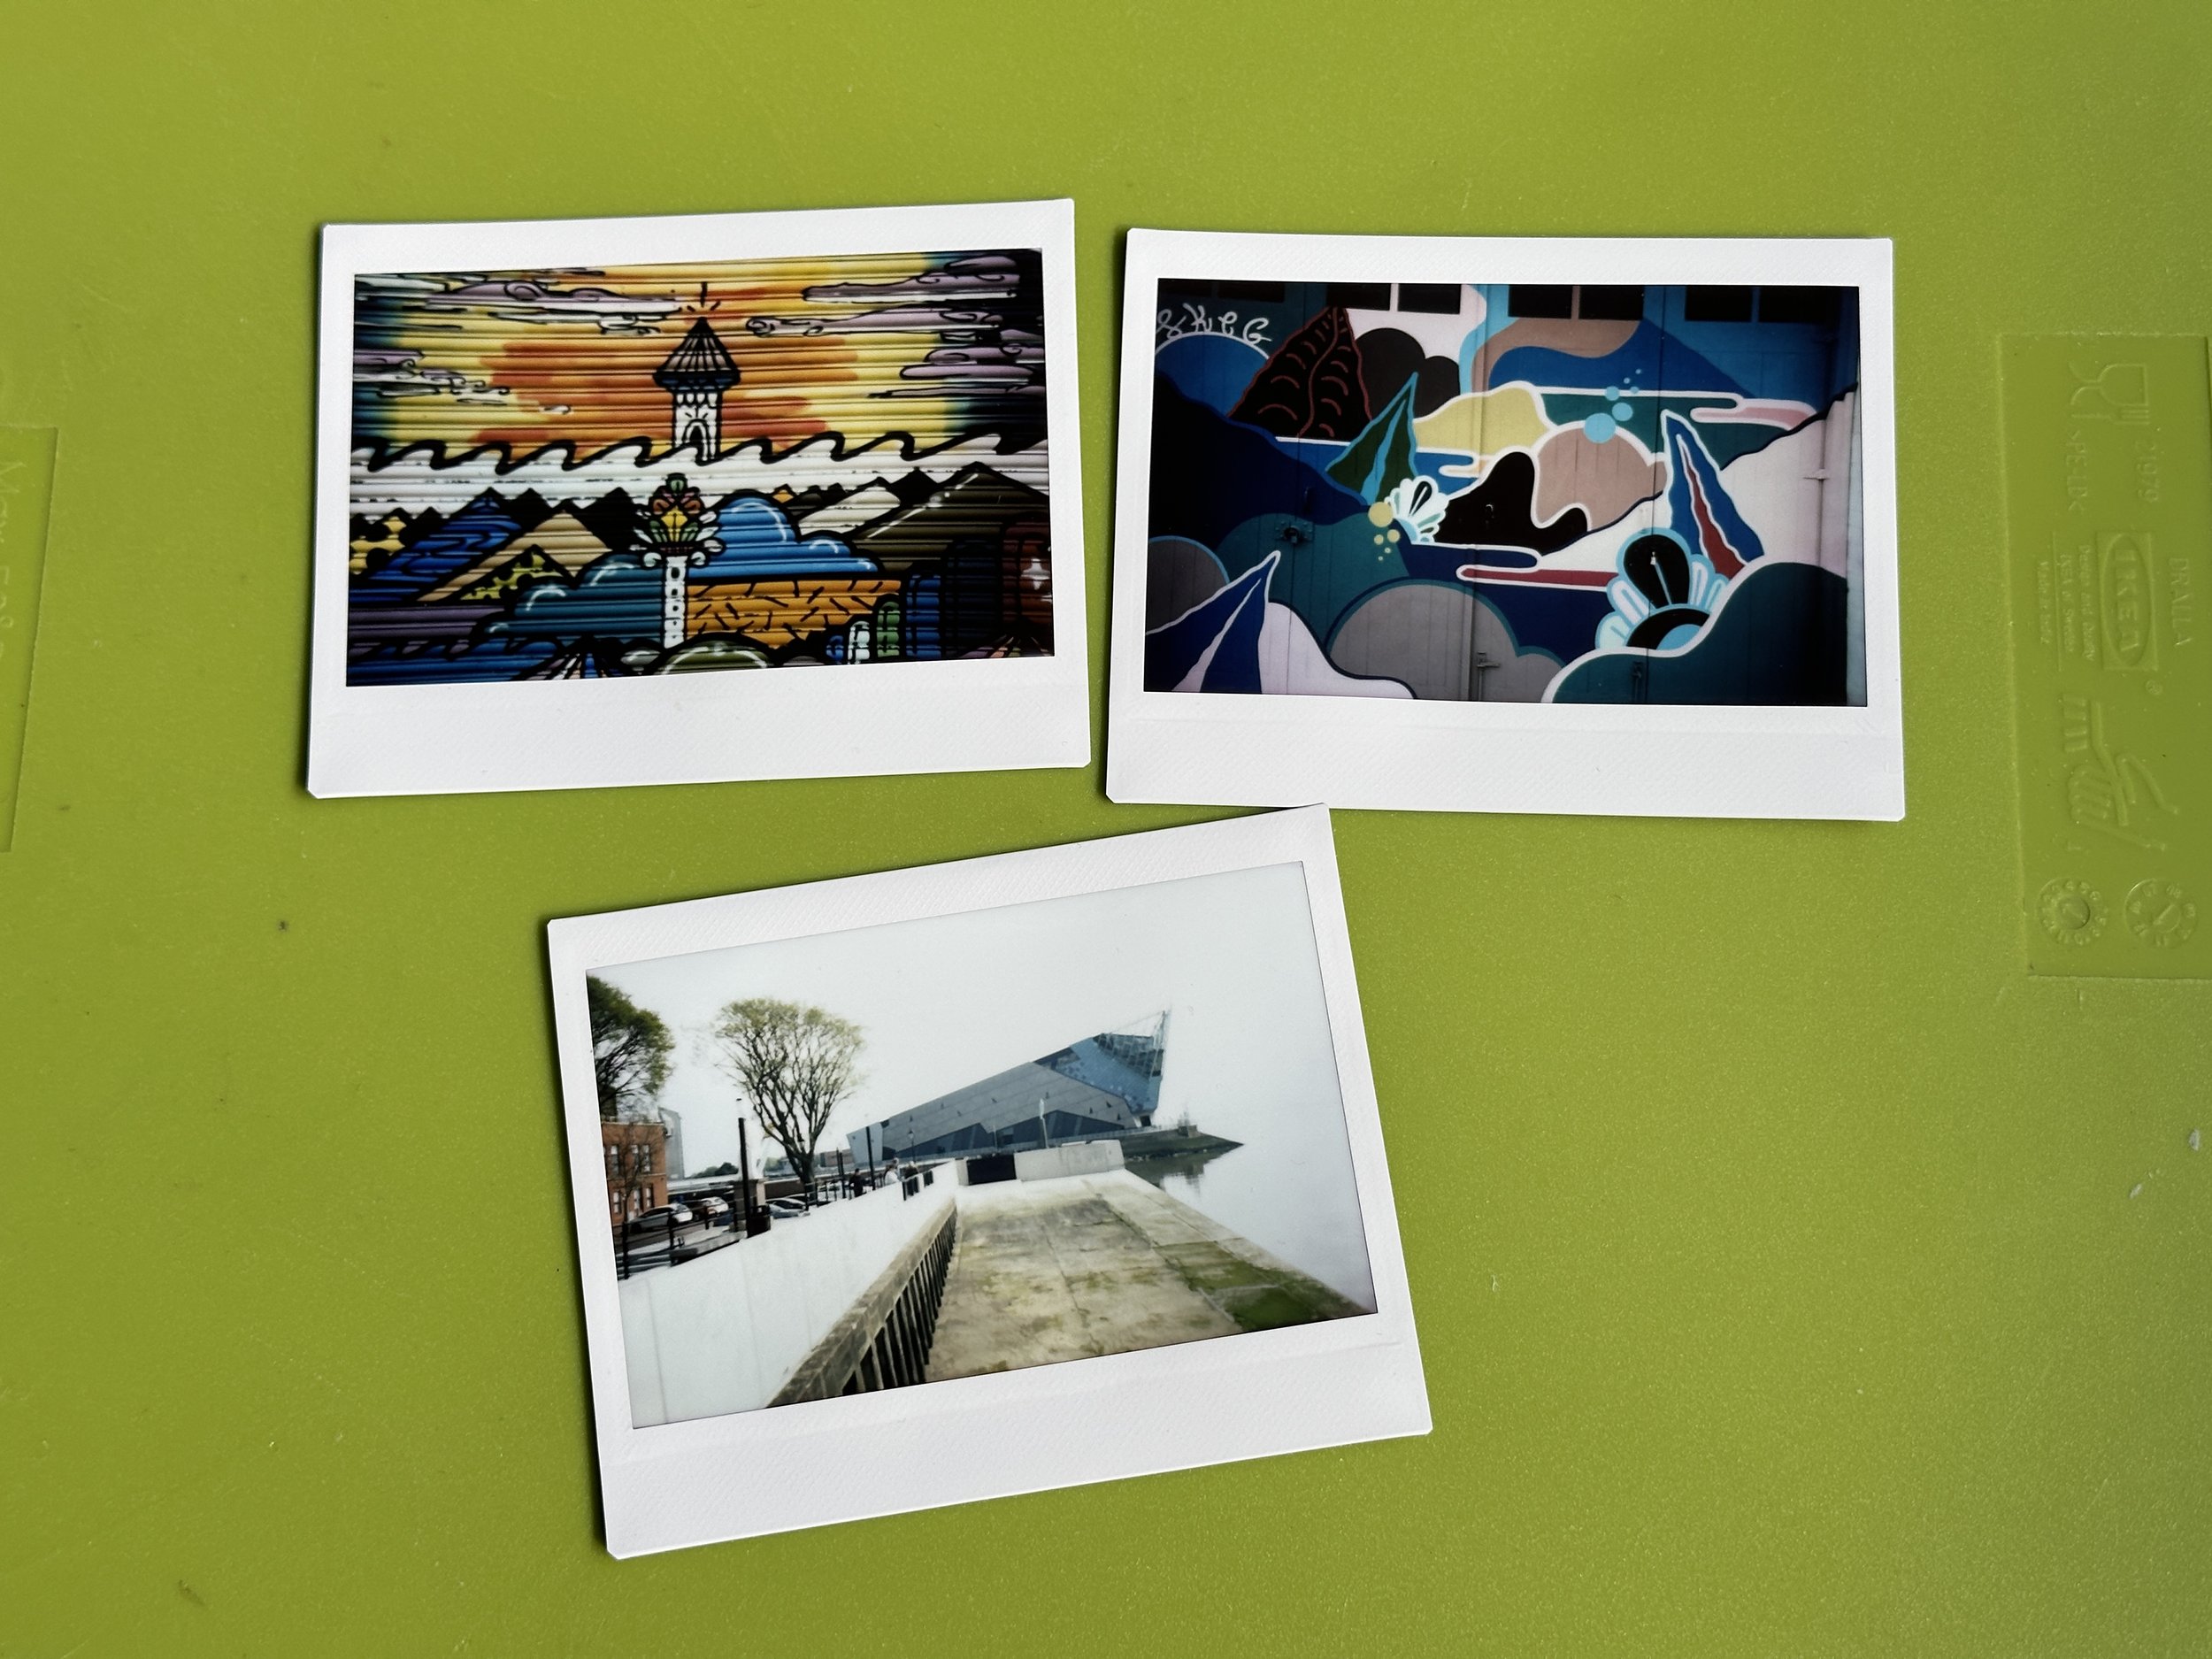
This was not taken by mistake
I went into a camera shop today and didn’t come out with a camera. Mind you, there was a very tempting lens on sale……
This was not taken by mistake
I went into a camera shop today and didn’t come out with a camera. Mind you, there was a very tempting lens on sale……
If I had known I was going to do this I would have worn smarter shoes
My move into retro photography has allowed me to discover another joy of that genre. The foot photograph. This is when you set the camera off by mistake and, for some reason only known to the mystical universe, it always takes a picture of your foot.
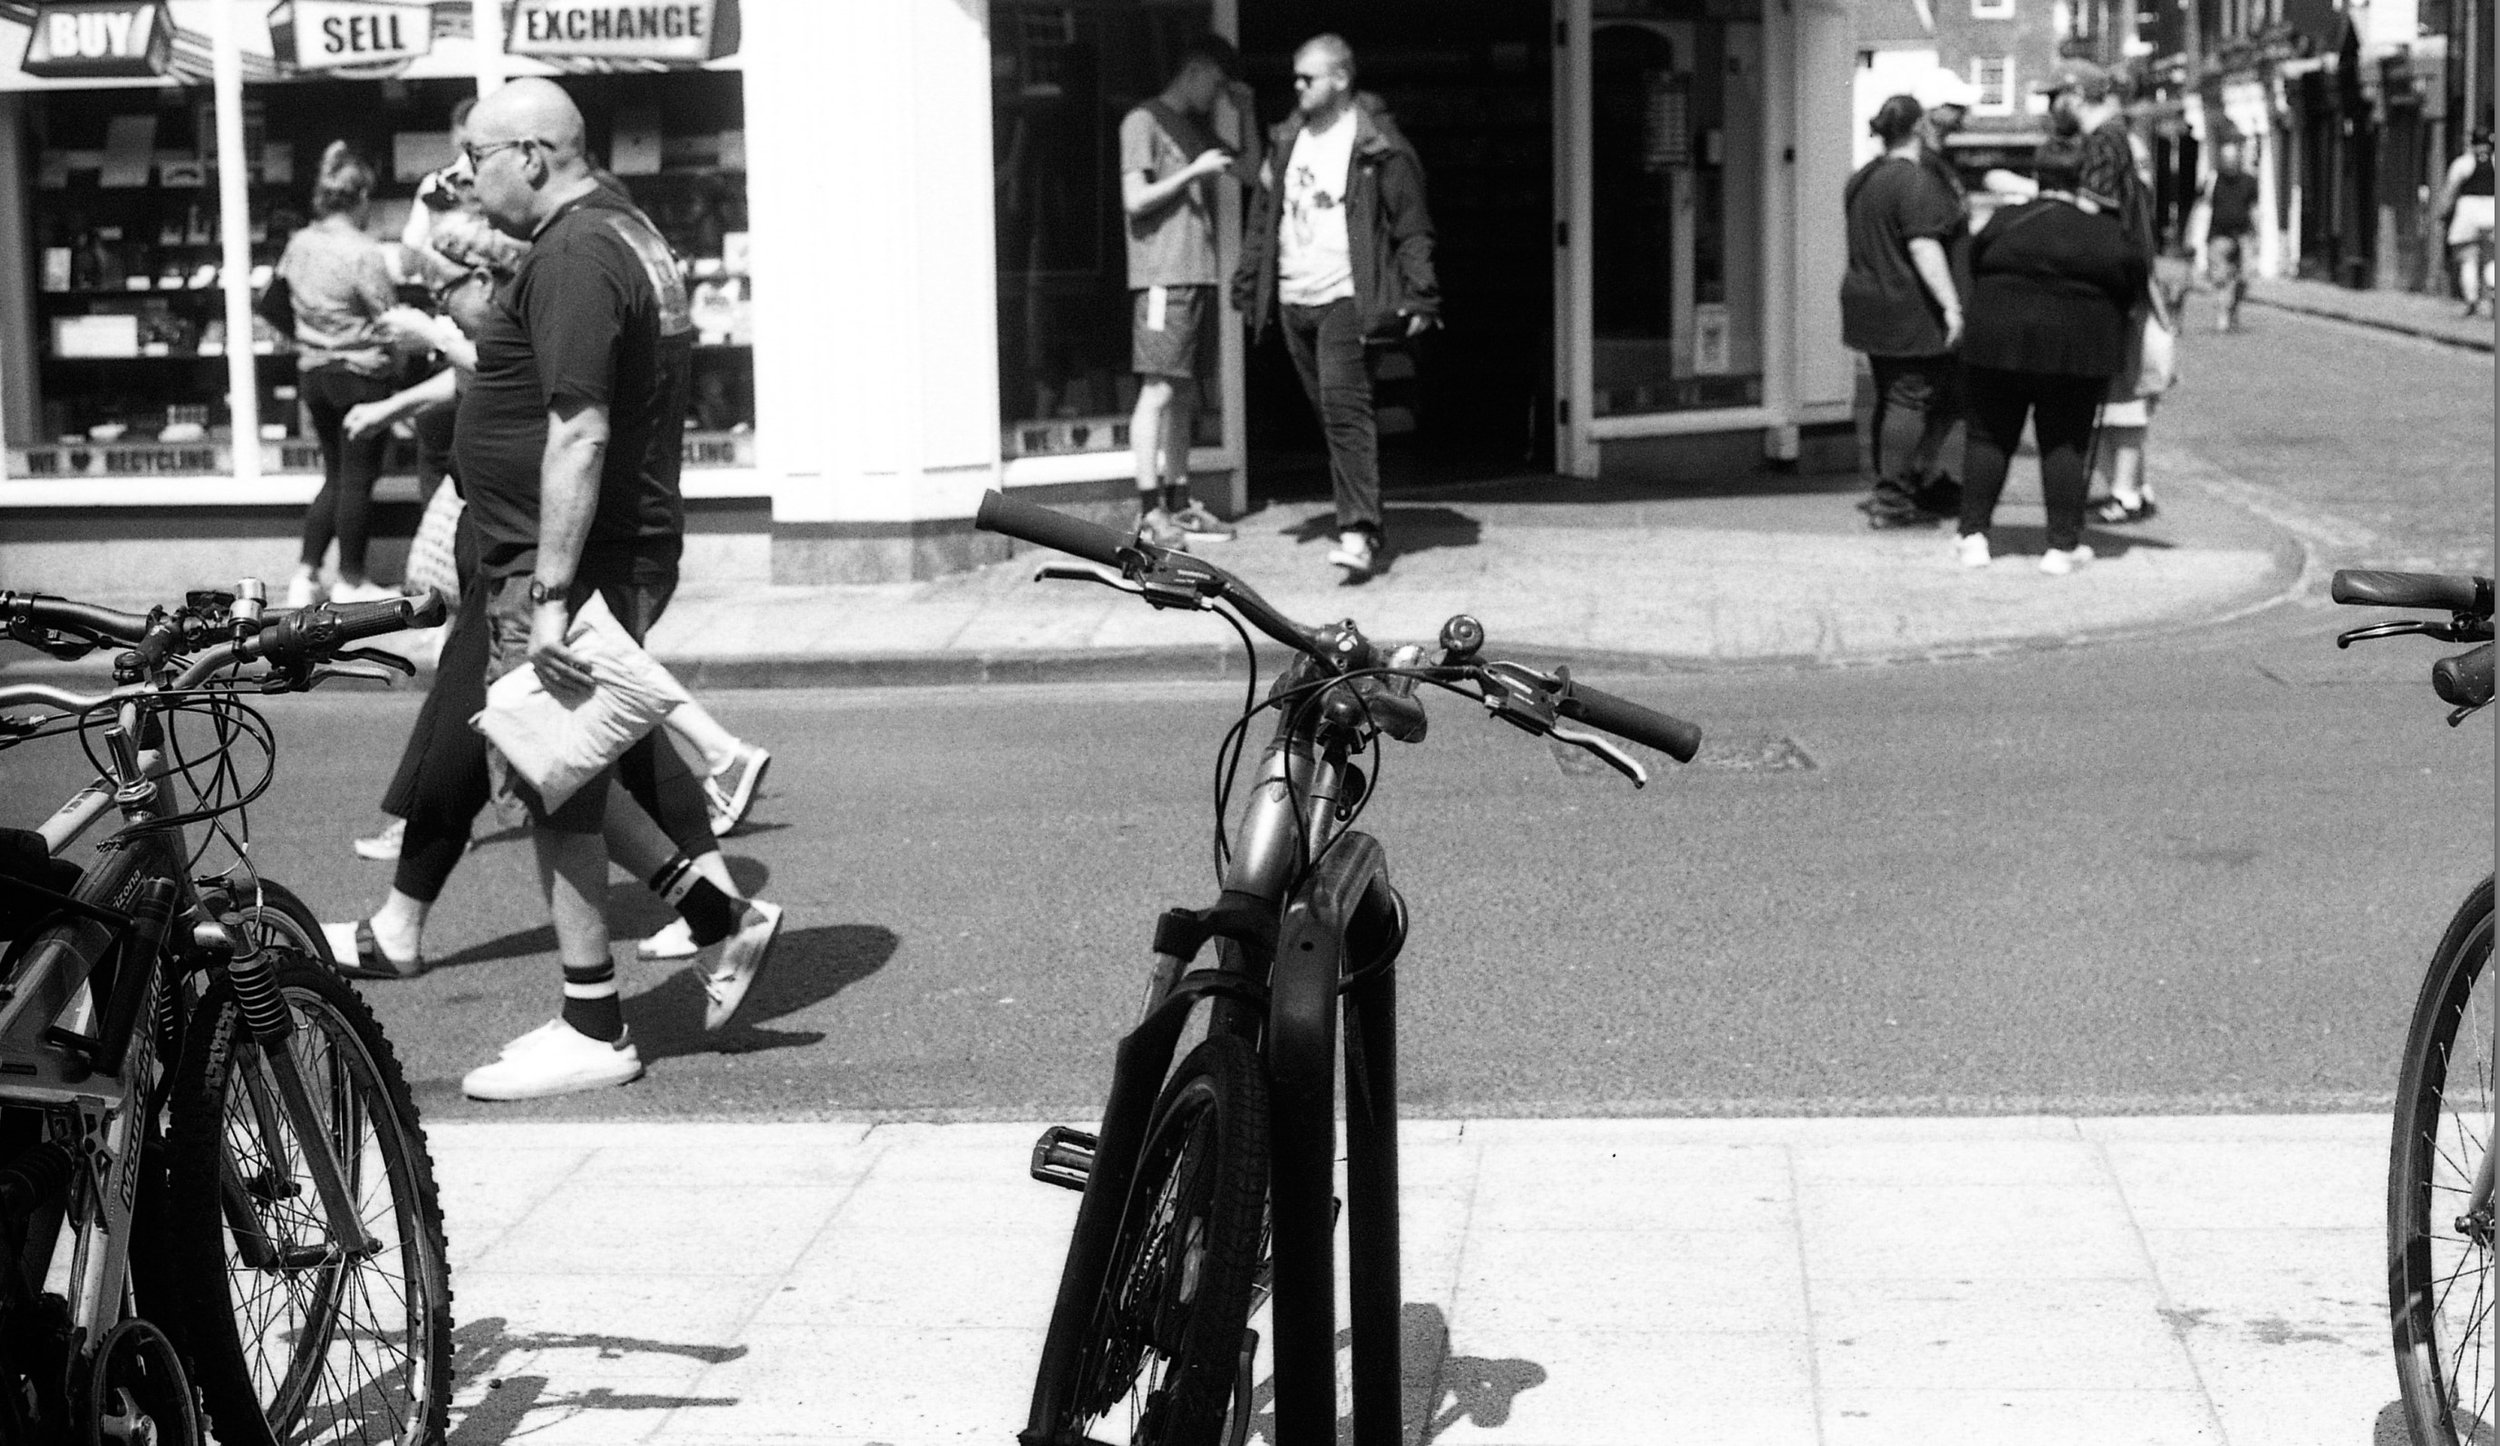
Apparently they’ve cleaned the windows on Hepworth’s Arcade.
We went up town today. Not the best of moves as it turned out, what with one of the main roads being totally shut. We spent a lot longer in the car that we expected. I’d taken one of my film cameras and I was looking forward to taking some “proper” pictures with it. Thing is, the picture above wasn’t taken with a proper camera. It was taken with the phone. And I’m really, really pleased with it. The overall quality is excellent and the way that the people and items in it just arranged themselves in front of me was lovely. I would have had to work quite hard with a proper camera to get this result.
Mamiya 645 camera on Kentmere film developed in Rodinol
The picture above was taken on a medium format camera. I suppose a phone could have produced a result as good, but I’m pleased with it too.
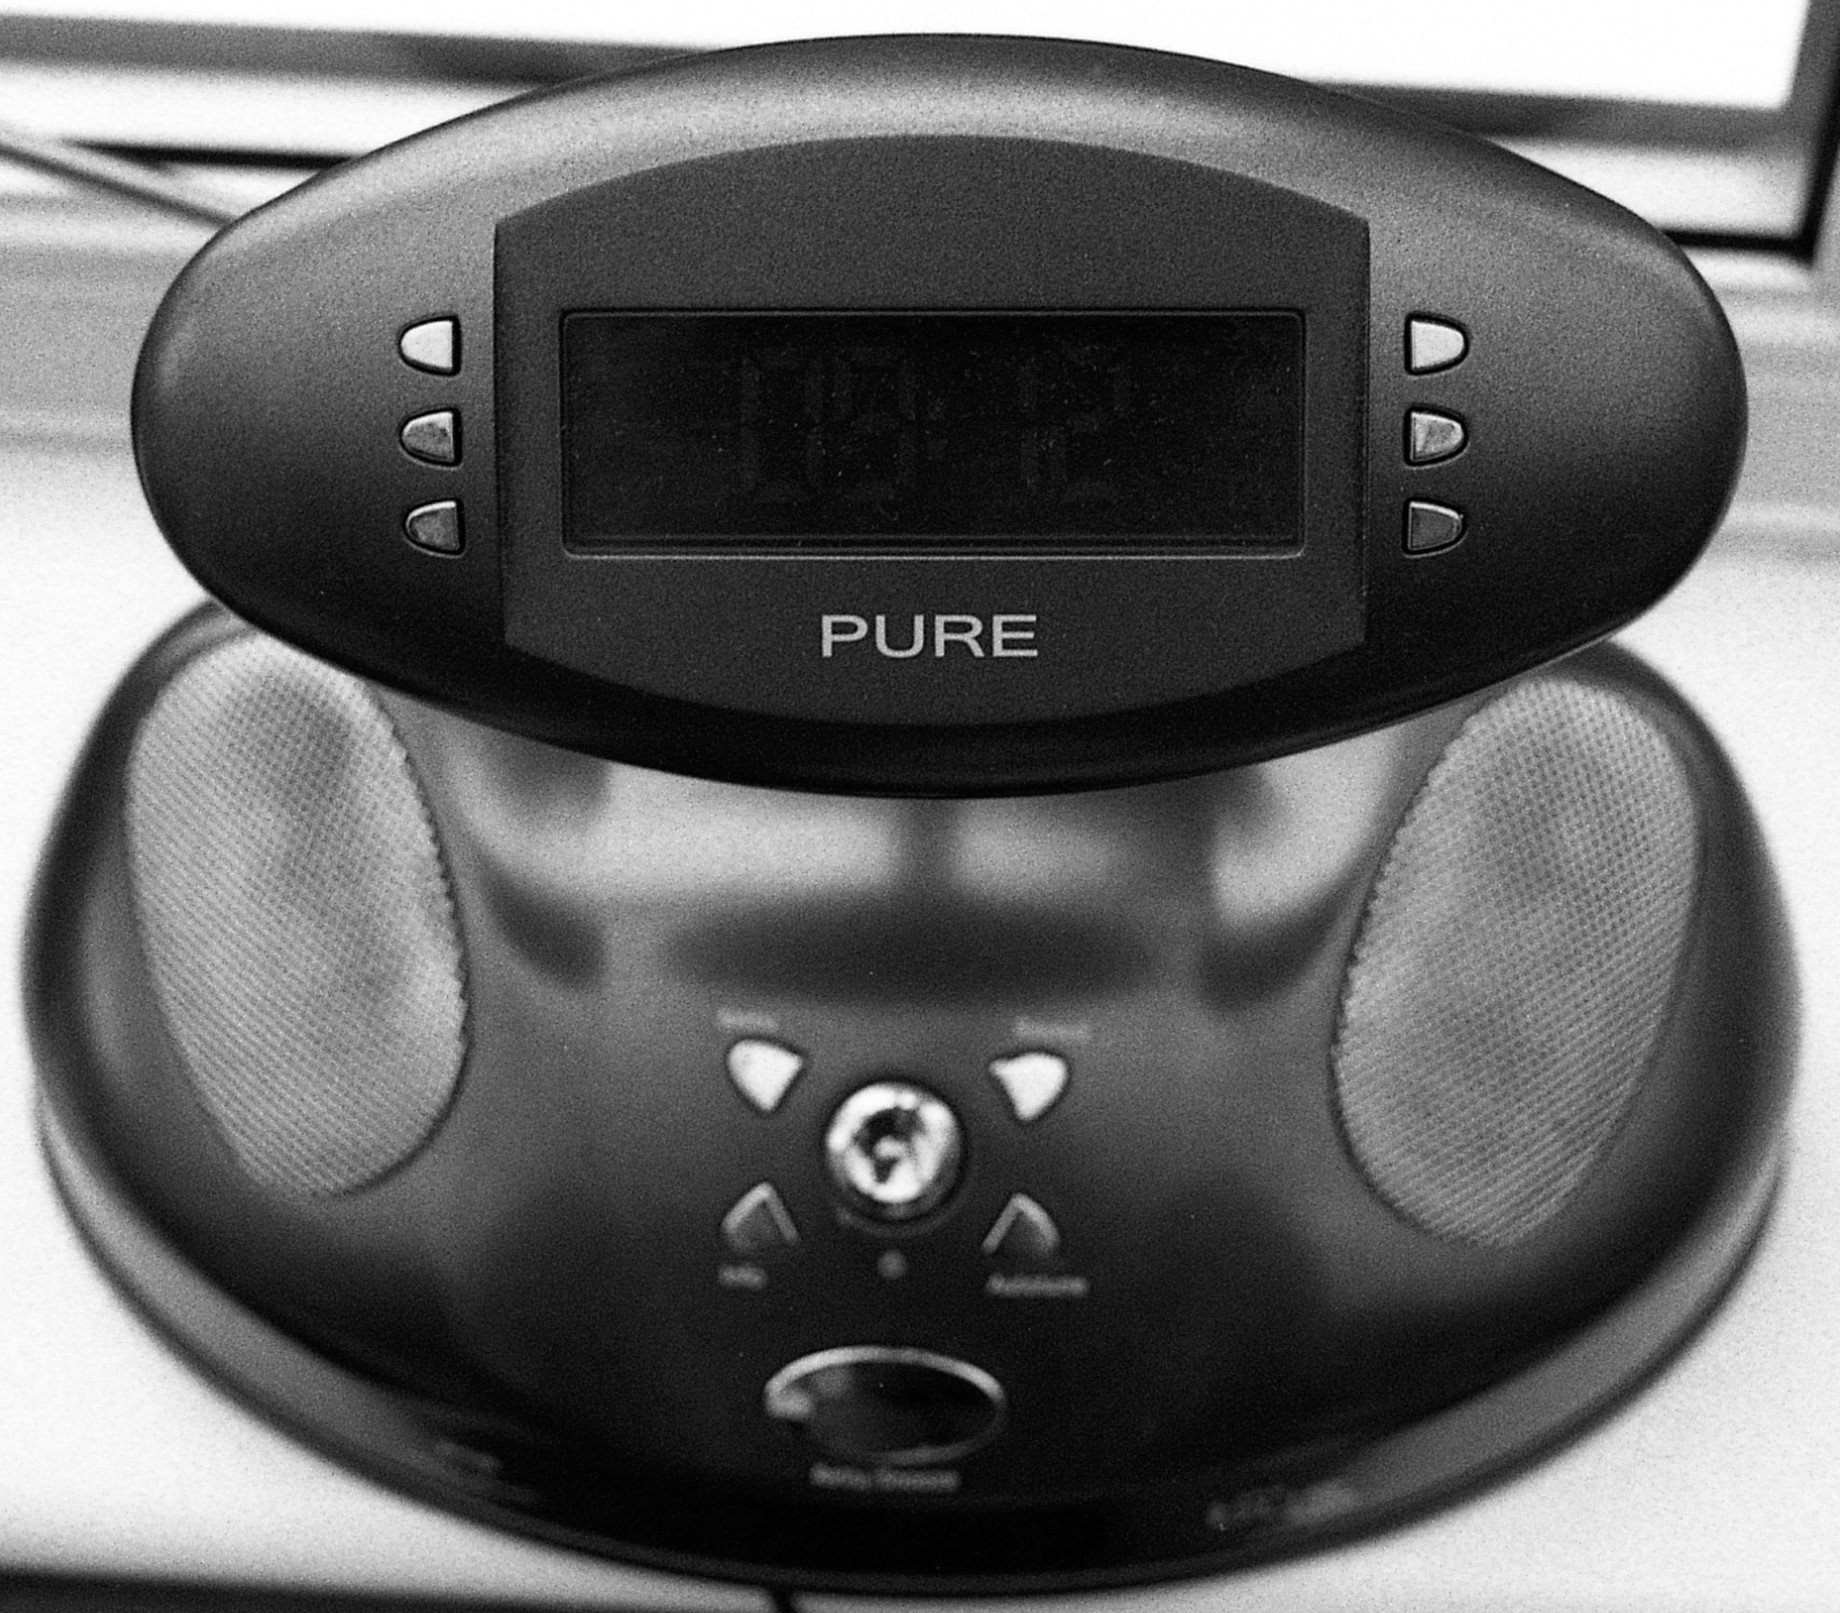
the radio still mostly works - which makes it something of a rarity apparently
It turns out that developing film is an art. Who knew? It’s a chemical process. The parts of the film that were exposed to light react with the developer to make particles of silver which end up on the negative as dark spots called “grain”. The more light, the darker the spot. Hower, the amount of developer you use and the time you leave the film in it are important, as is how you agitate the film to put fresh developer into contact with the film surface.
And then there’s acutance. This happens along the borders between bright and dark areas on the image being developed. The developer in an exposed area is “used up” as it reacts to make the silver film grains.. This causes developer to migrate over from an unexposed part, resulting in the enhancement of edges in the finished picture and making brighter areas “pop” out of the image. The amount of acutance you get depends on how much agitation you give the film. There’s also “stand development” where you just leave the film standing in the developer for an hour or so.
And then there’s how much you dilute the developer and the number of minutes you leave the film in it, as well as the exposure you used when you took the shot. I’ve been working with 1+50 dilutions of Rodinol developer. This seems to work quite well. It also makes developing film very cheap. I’ve got a bottle of developer and think it might last a long time.
If you want to get into this (and it is rather fun) I can recommend the Massive Dev website for development times (there’s also a really good app) and this video.
This is a nice part of cottingham
I now regard a new ten shot roll of film as “ten potential heartbreaks”. This is perhaps a rather depressing, but I think it’s is realistic. Digital camera users don’t really experience the sinking feeling film photographers get when they see the developed renditions of the lovely scene they composed in the viewfinder. And for a digital photographer; if a photo comes out wrong you can always take another one there and then.
Today I took the Pentax 67 for a walk and took ten shots. Then I developed them. Most of them were not exposed correctly - including the one above which required some serious fettling to get it to look reasonable. Robs black and white photography tips (which he really should follow himself):
Exposure is really important. Getting the right amount of light onto the film is crucial. I was trying a technique where you get a light reading from the darkest part of the image that you want to see, go back two stops and then use that as the exposure. I got this wrong (didn’t find a dark enough place) because the photographs were all horribly over exposed (I’d let too much light in). Before you dial in the settings do a quick “sanity check” to make sure that the numbers make sense. If I’d done that I’d not have ended up with the bad shots that I got.
Focus is really important. A perfectly exposed picture is of no use to you if it is blurred. Aim for sharpness and make sure that all the subjects that need to be sharp are sharp. If the people in the scene are different distances from the camera you need to either move to line them up or adjust the focus so that you have enough depth of field (the distance range in which things are sharp) to make the picture look right. The only good news is that you can make your out of focus pictures look a lot better by only using very small versions of them. So make a mosaic of your blurred shots.
Holding the camera still is really important. If you get exposure and focus right and then wave the camera around like a fire hose when you take the shot you will end up with a blurred photo. If the focus for a picture is wrong some parts of the picture will be blurred. If you don’t hold the camera still every part of a picture is blurred, and you will have to print it the size of a postage stamp to make it look right. If the shutter speed (the time the film is exposed to light) is less than a sixtieth of a second you need to steady the camera somehow. Use a tripod, put your elbows on a table or wall. Breath in and hold your breath for the time it takes to take the shot. Squeeze the shutter button, don’t press it.
There are of course lots of other things you can do wrong. Particularly if, like me, you’re daft enough to process your own film at home. But I do find that in the shots that I take there are some which are good enough to make me keep going.
I added the arrow because I have a very large ego
Edition 67 of HackSpace magazine is now available for download. This is the one that contains my article about printing your own large format camera. You can find it here.
I’ve no idea how it knew that the dog was blue-grey. Or that the carpet had that pink bit
I’m taking lots of black and white pictures now. I thought I’d put one through the new Photoshop colorizing filter to see what it could do with it. The result is above. I’m actually very impressed. I made a few colorized pictures of people and it did a very good job on them too - even managing to spot the correct hair colour. If you really want a colour picture you should probably take it in colour, but it is nice to know that there are ways of adding colour that seem to work quite well.
This is the first picture I took… I think we are going to get along fine
Whisper it, I’ve bought another camera. It seems that I’m slowly converting all my music production devices into cameras. This was our first trip to York since before the pandemic. Last time we went I wandered into York Camera Mart and bought a lens. This time I’ve got a camera, for around the same price. It is a very old camera, but I really like the way it looks and how nice it is to operate.
When we got back home I processed the film and took at the negatives. Every time you take a picture on a film camera you are setting yourself up for a little bit of heartbreak when the developed version fails to match up to the lovely image in the viewfinder. This is especially true when you take black and white pictures. Things with different colours might map to exactly the same shade of grey and disappear into each other. I’m very happy with the shots that I got though. I need to work on my exposure technique - quite a few shots were over-exposed - but I’m very happy to do this because the camera itself is just so much fun to use. And now I’m going to sell another synthesizer….
Digby was in a good mood today
I’m getting quite into photography with the big Pentax camera. It has this way of making the backgrounds nicely blurred that I really like.
It runs very well off USB battery packs
If you are after a led panel for tracing, or you want to back-light some negatives so that you can photograph them, you should take a look in the centre isle of Lidl in the UK. They are selling a rather nice LED panel for 10 pounds. The lighting seems nice and even to me, and it works very well. It goes quite bright, so you could probably use it as a softlight as well.
This film had some lovely pictures on
This is turning into a photography blog. But I can live with that. I’ve started developing my own pictures. The starting point of the process is getting the film out of the roll and into the plastic spiral that goes inside the developing tank. I put the film and the developing tank into a light tight bag with elasticated holes for my hands. I then wrestle the film into the spiral (which reminds me of a pinball game), put the tank and then take it upstairs to add the chemicals etc.
The first time I did this it just worked and I was quite smug about this. The universe must have heard me. After a couple more successful loads I had a complete failure. I actually got cross with the whole thing (a very rare thing for me) and the result was one ruined film. Oh well. At least it gives me a spare film to practice with. I had similar problems today, but this time I had a plan. I rolled the film back onto the spool, put the roll of film into the developing tank (along with the black light-tight centre piece) and took my hands out of the bag for a breather. Then I got my old film and spent twenty minutes practicing until I could do it with my eyes closed (which was kind of the point). Then I tried it again and after a couple of false starts I managed to get the film into the drum and take it upstairs to process. Turns out that its necessary to practice once you’ve used up all your beginner’s luck.
“portrait of the artist as an old man..”
I was quite pleased with how the pictures came out.
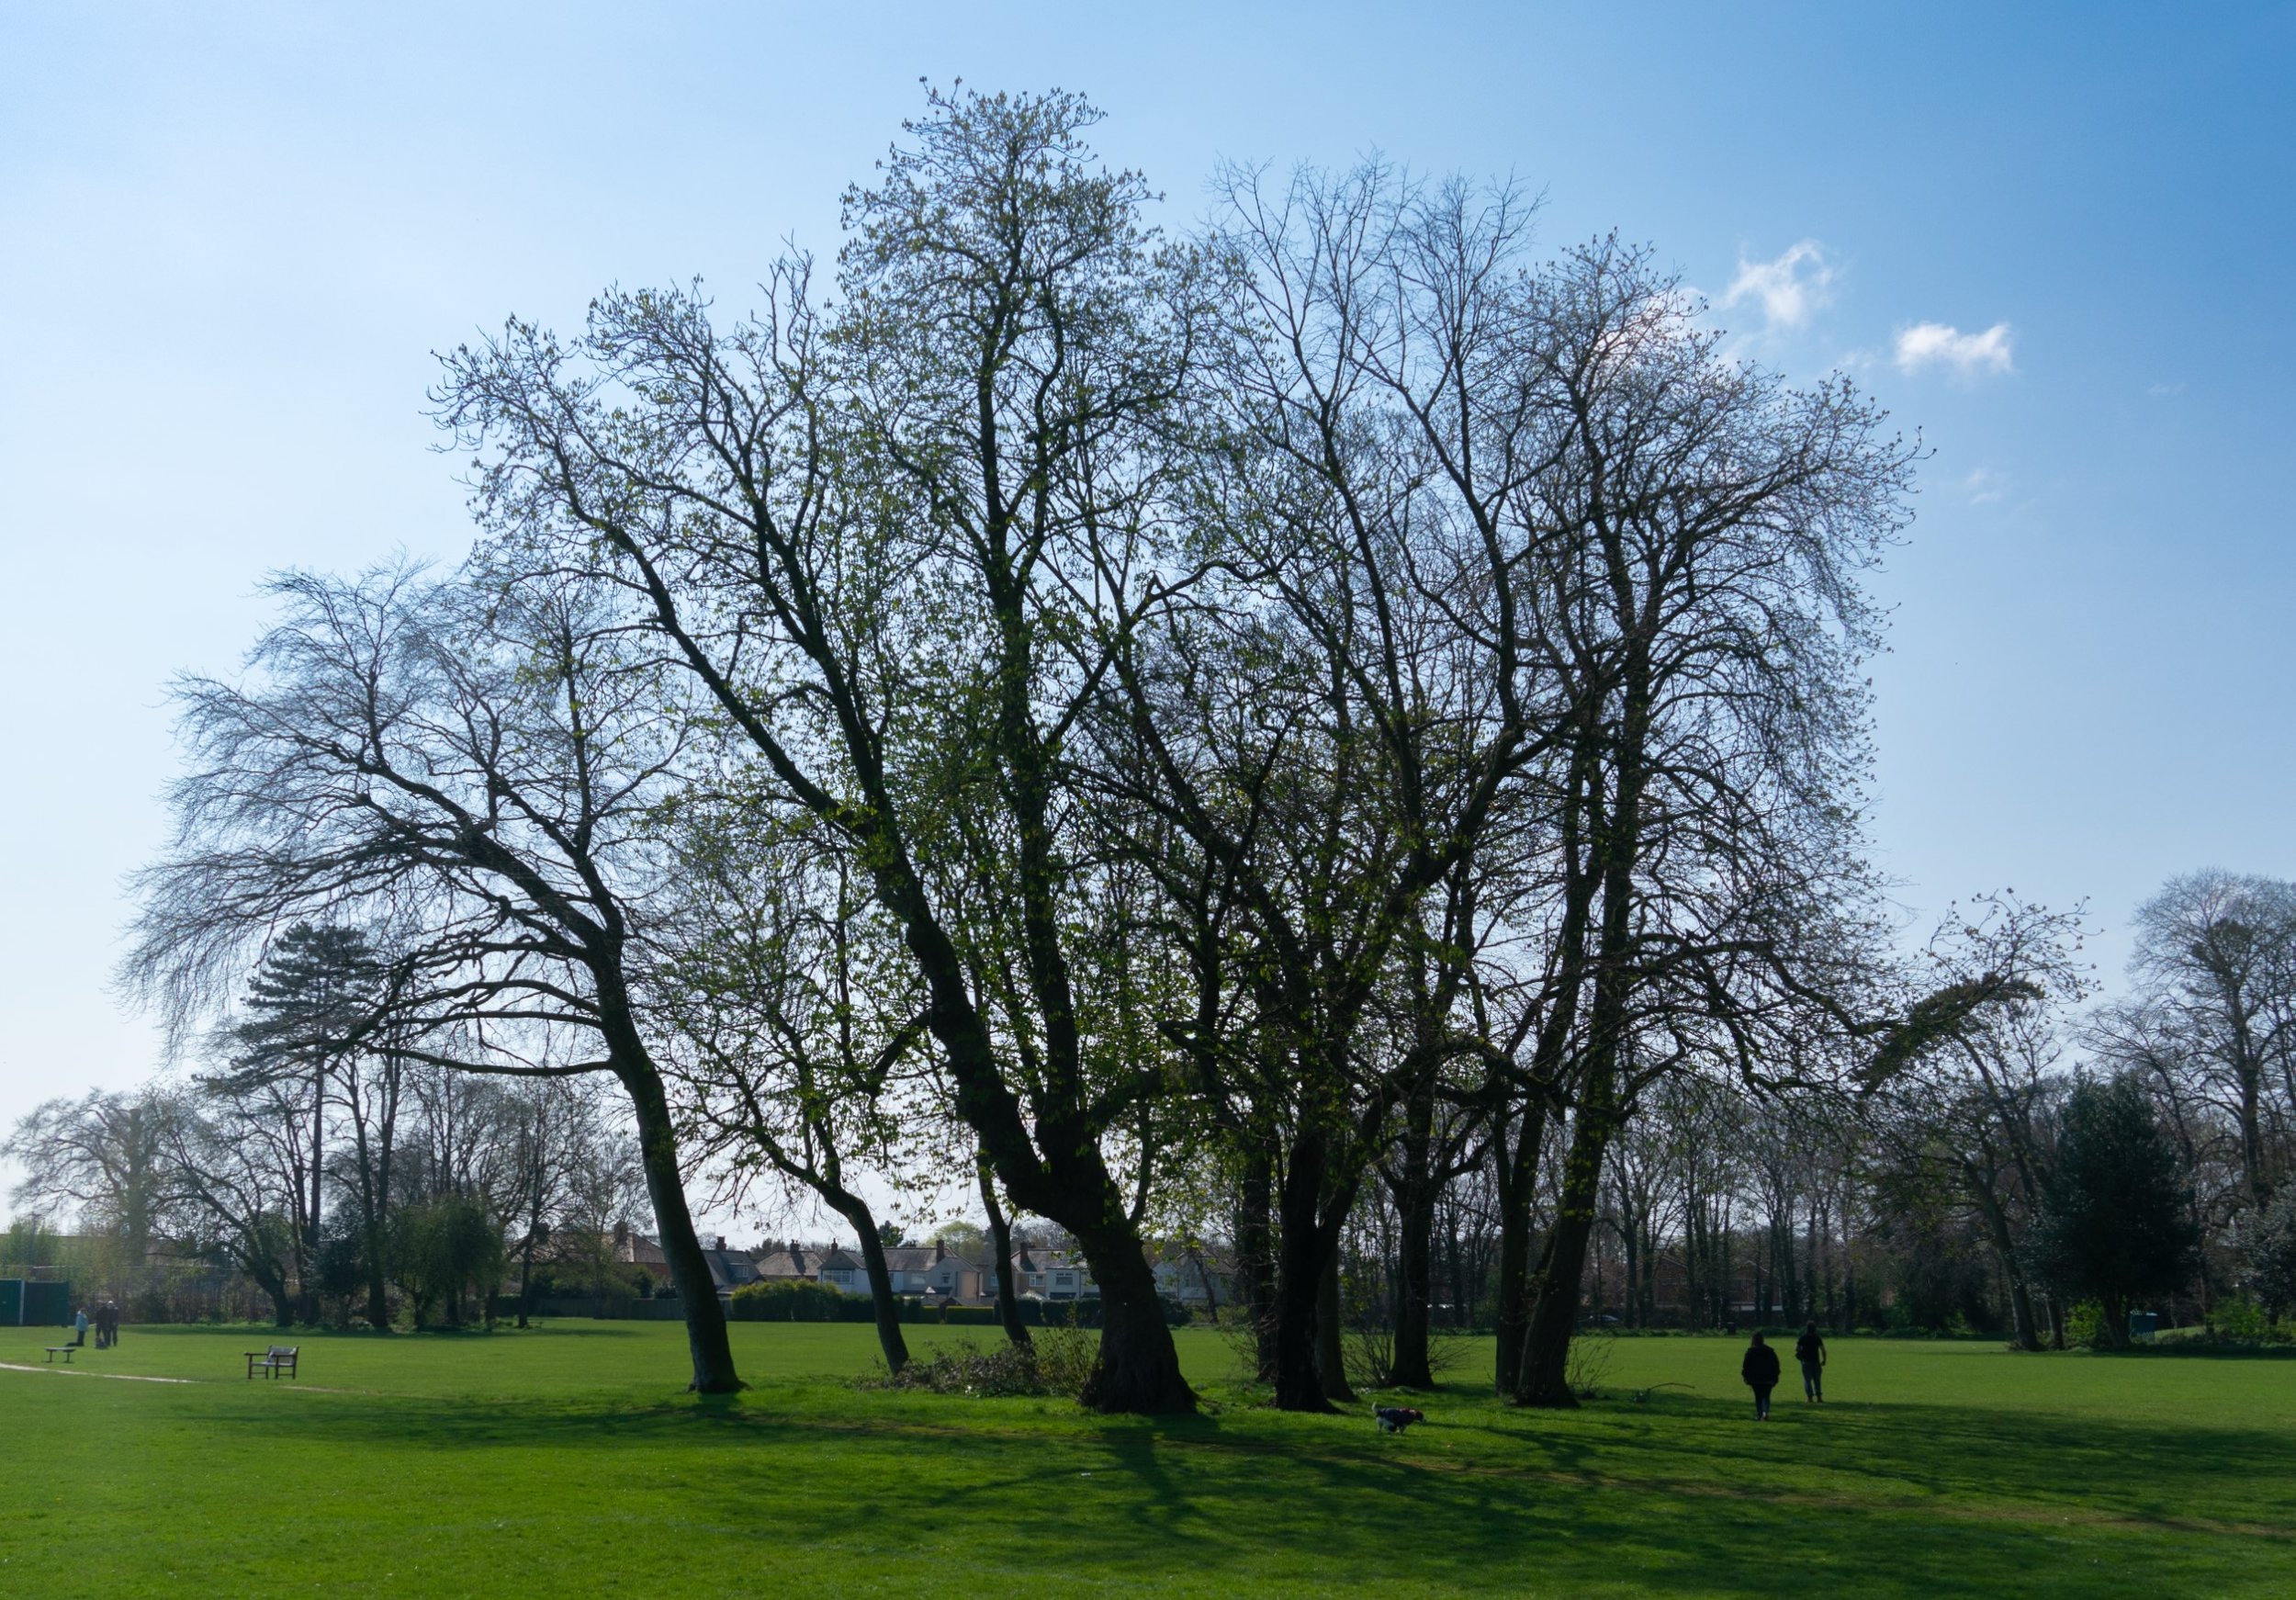
This is my standard “tree test” picture. Now with added leaves.
“Bark and bokeh”
I really should have pushed the bricks together before taking the picture
There is a lot of fun to be had in photography putting lenses from old cameras on the front of newer ones. The picture above was taken with an old Mamiya lens that was, through the magic of adapters, connected to a more modern digital camera. I’m especially impressed with the way the colours have been rendered and how the background is out of focus in a very pleasing way.
One of my favourite spots on the planet
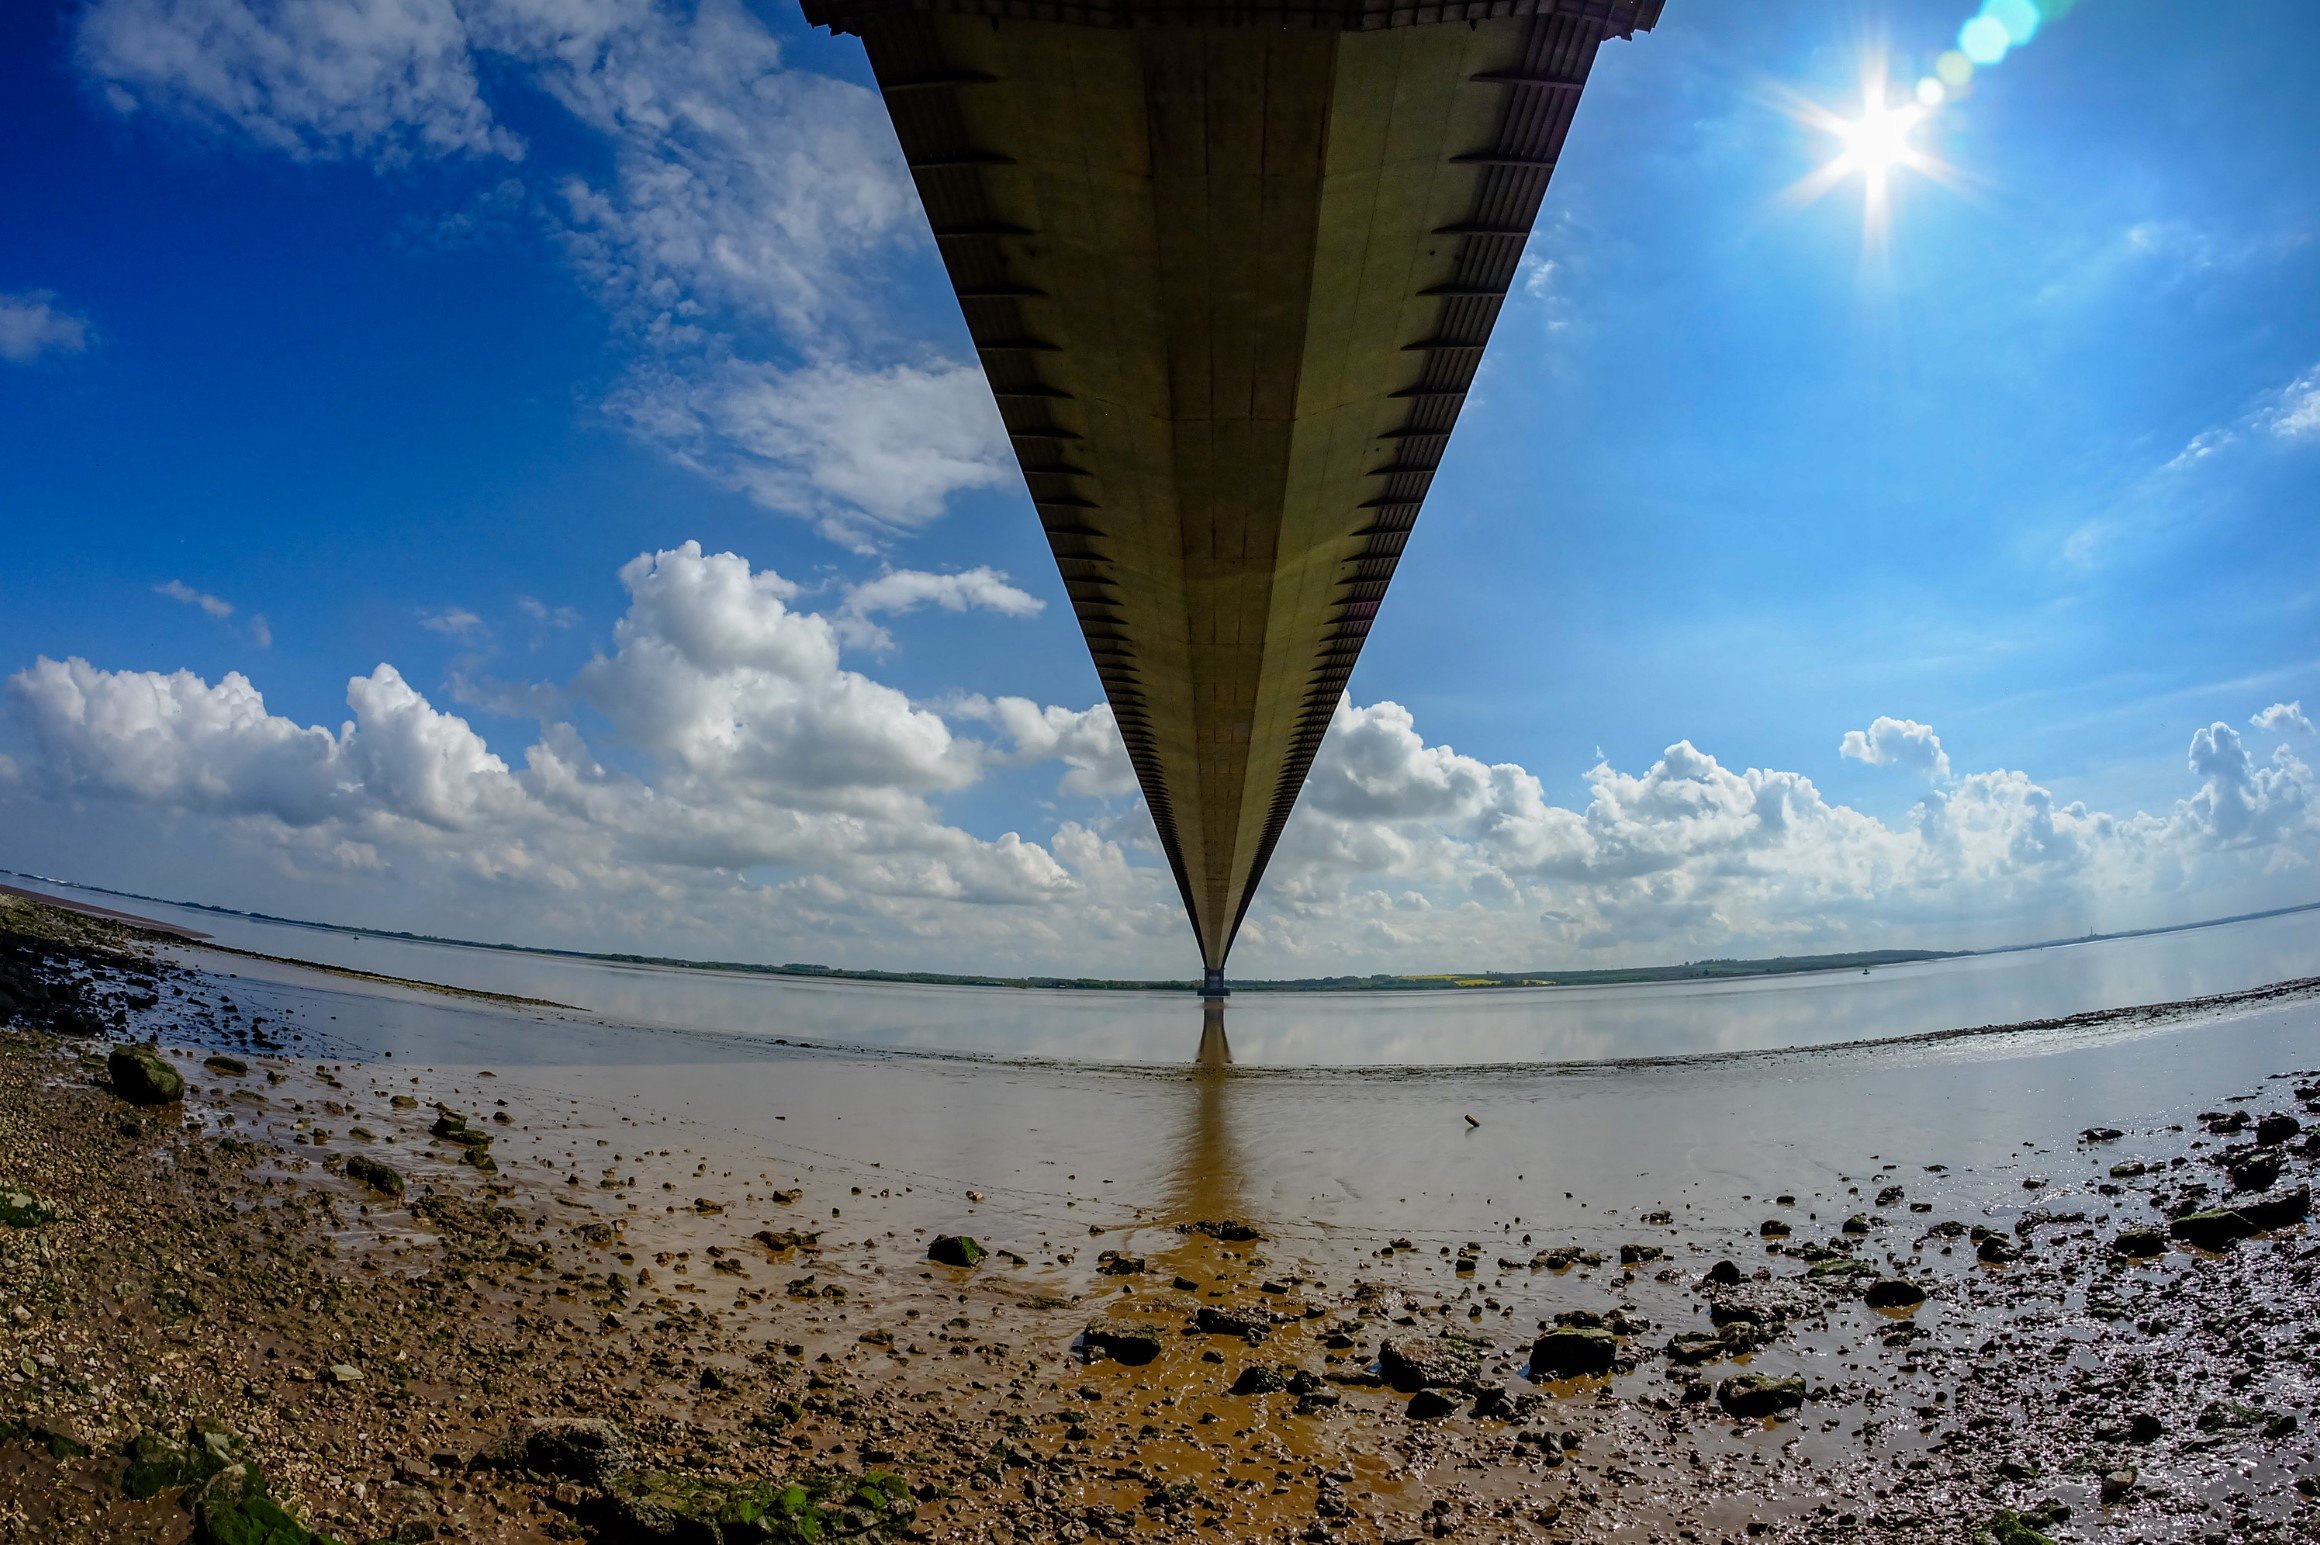
We’re preparing for a trip away. Everybody else is worrying about where to stay, how to get there, what to eat and stuff like that. Me, I’m trying to decide which camera to take. I took one of the contenders out for a walk over the weekend. It’s a 10 year old Fujica X-A1. I put the wacky wide angle lens on it. I’m not unhappy with the results
Looks a bit like the start of star wars….
Sometimes you getgood results if you just press the button to see what happens
Fuji cameras are good with green
You can find all these pictures (and a few more) on my Flickr page.
I’m actually very happy with this picture
The picture above was taken using my 3D printed camera. The lack of any light on the image is actually very pleasing. While the film was in the camera I took it outside, shone torches and bright lights on it and generally waved it around in the brightest areas I could find. And the picture came out completely black. Which means I think that after a whole of of painting and masking it is now light tight.
I’m going to put a spirit level on the camera so I can tell when it is level…
I took the camera out for a walk and came back with this, which I’m quite happy with.
The hair is probably one of mine. I need a haircut.
My 3D printed camera leaks light. It works perfectly fine indoors but take it out into the sunlight and things go badly wrong. The pictures have an “other worldly” quality but I’m not always going for that. Number one son suggested that I wait until it gets dark, put a powerful light inside the camera (there’s plenty of room) and then see where the leaks are. The first discovery was that some of my black painted areas were not very black. So yesterday I spent some time painting my hands, trousers, shoes and camera with more black paint. The paint ran out to the point where the spay only worked when held vertically, so I had to hold things in front of the nozzle to paint the bits that needed an extra coat. Hence my attack of “black fingernail”.
Tonight I spent a happy half hour in the dark looking for leaks and applying copious amounts of black tape to leaky joints in the camera. I think it is mostly light tight now.
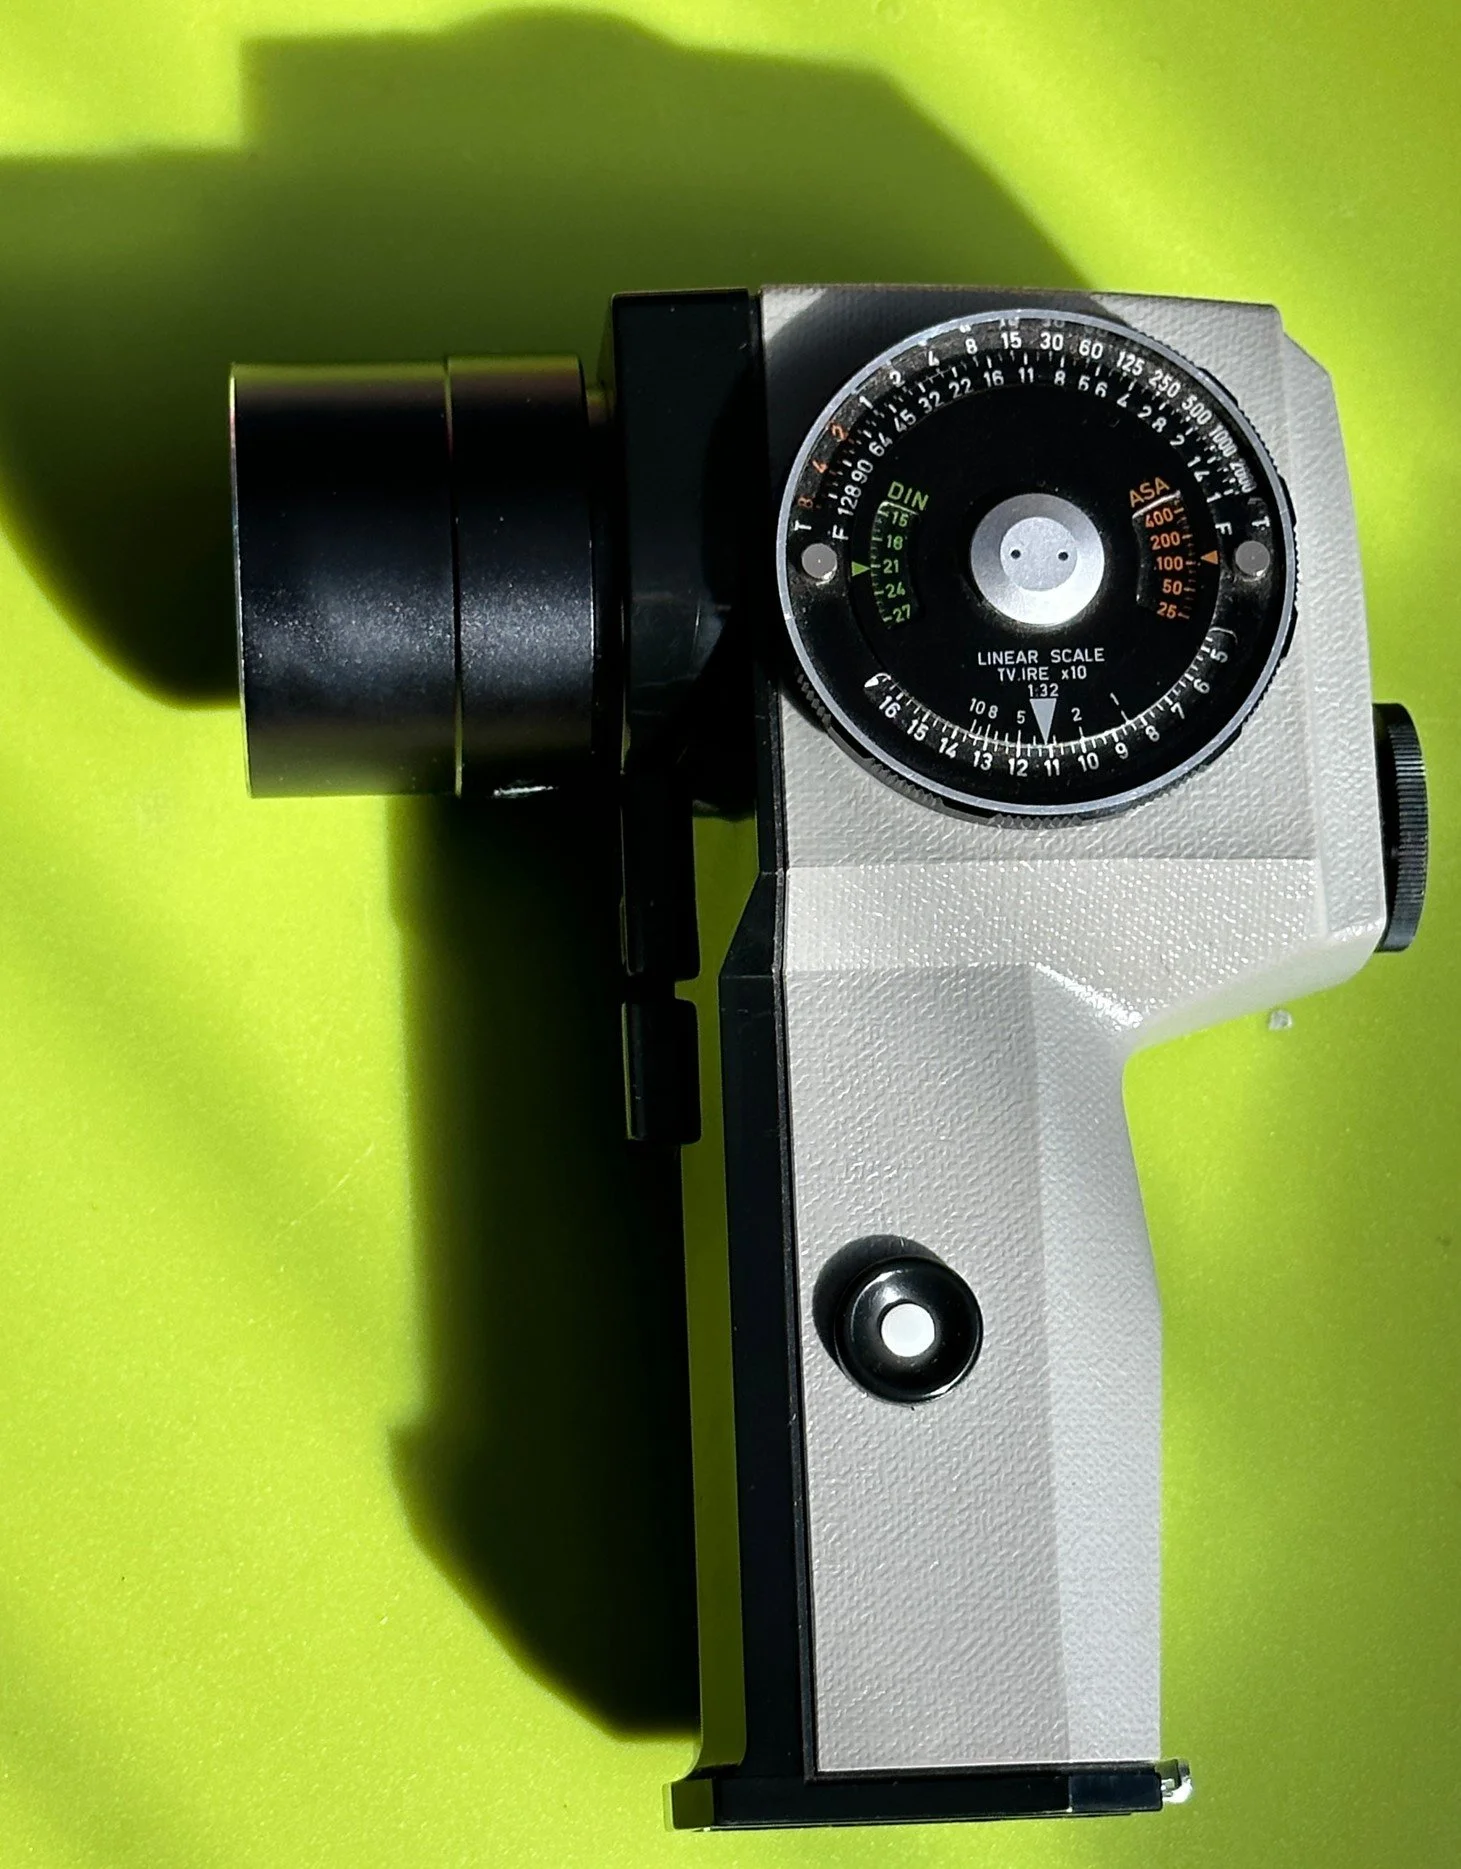
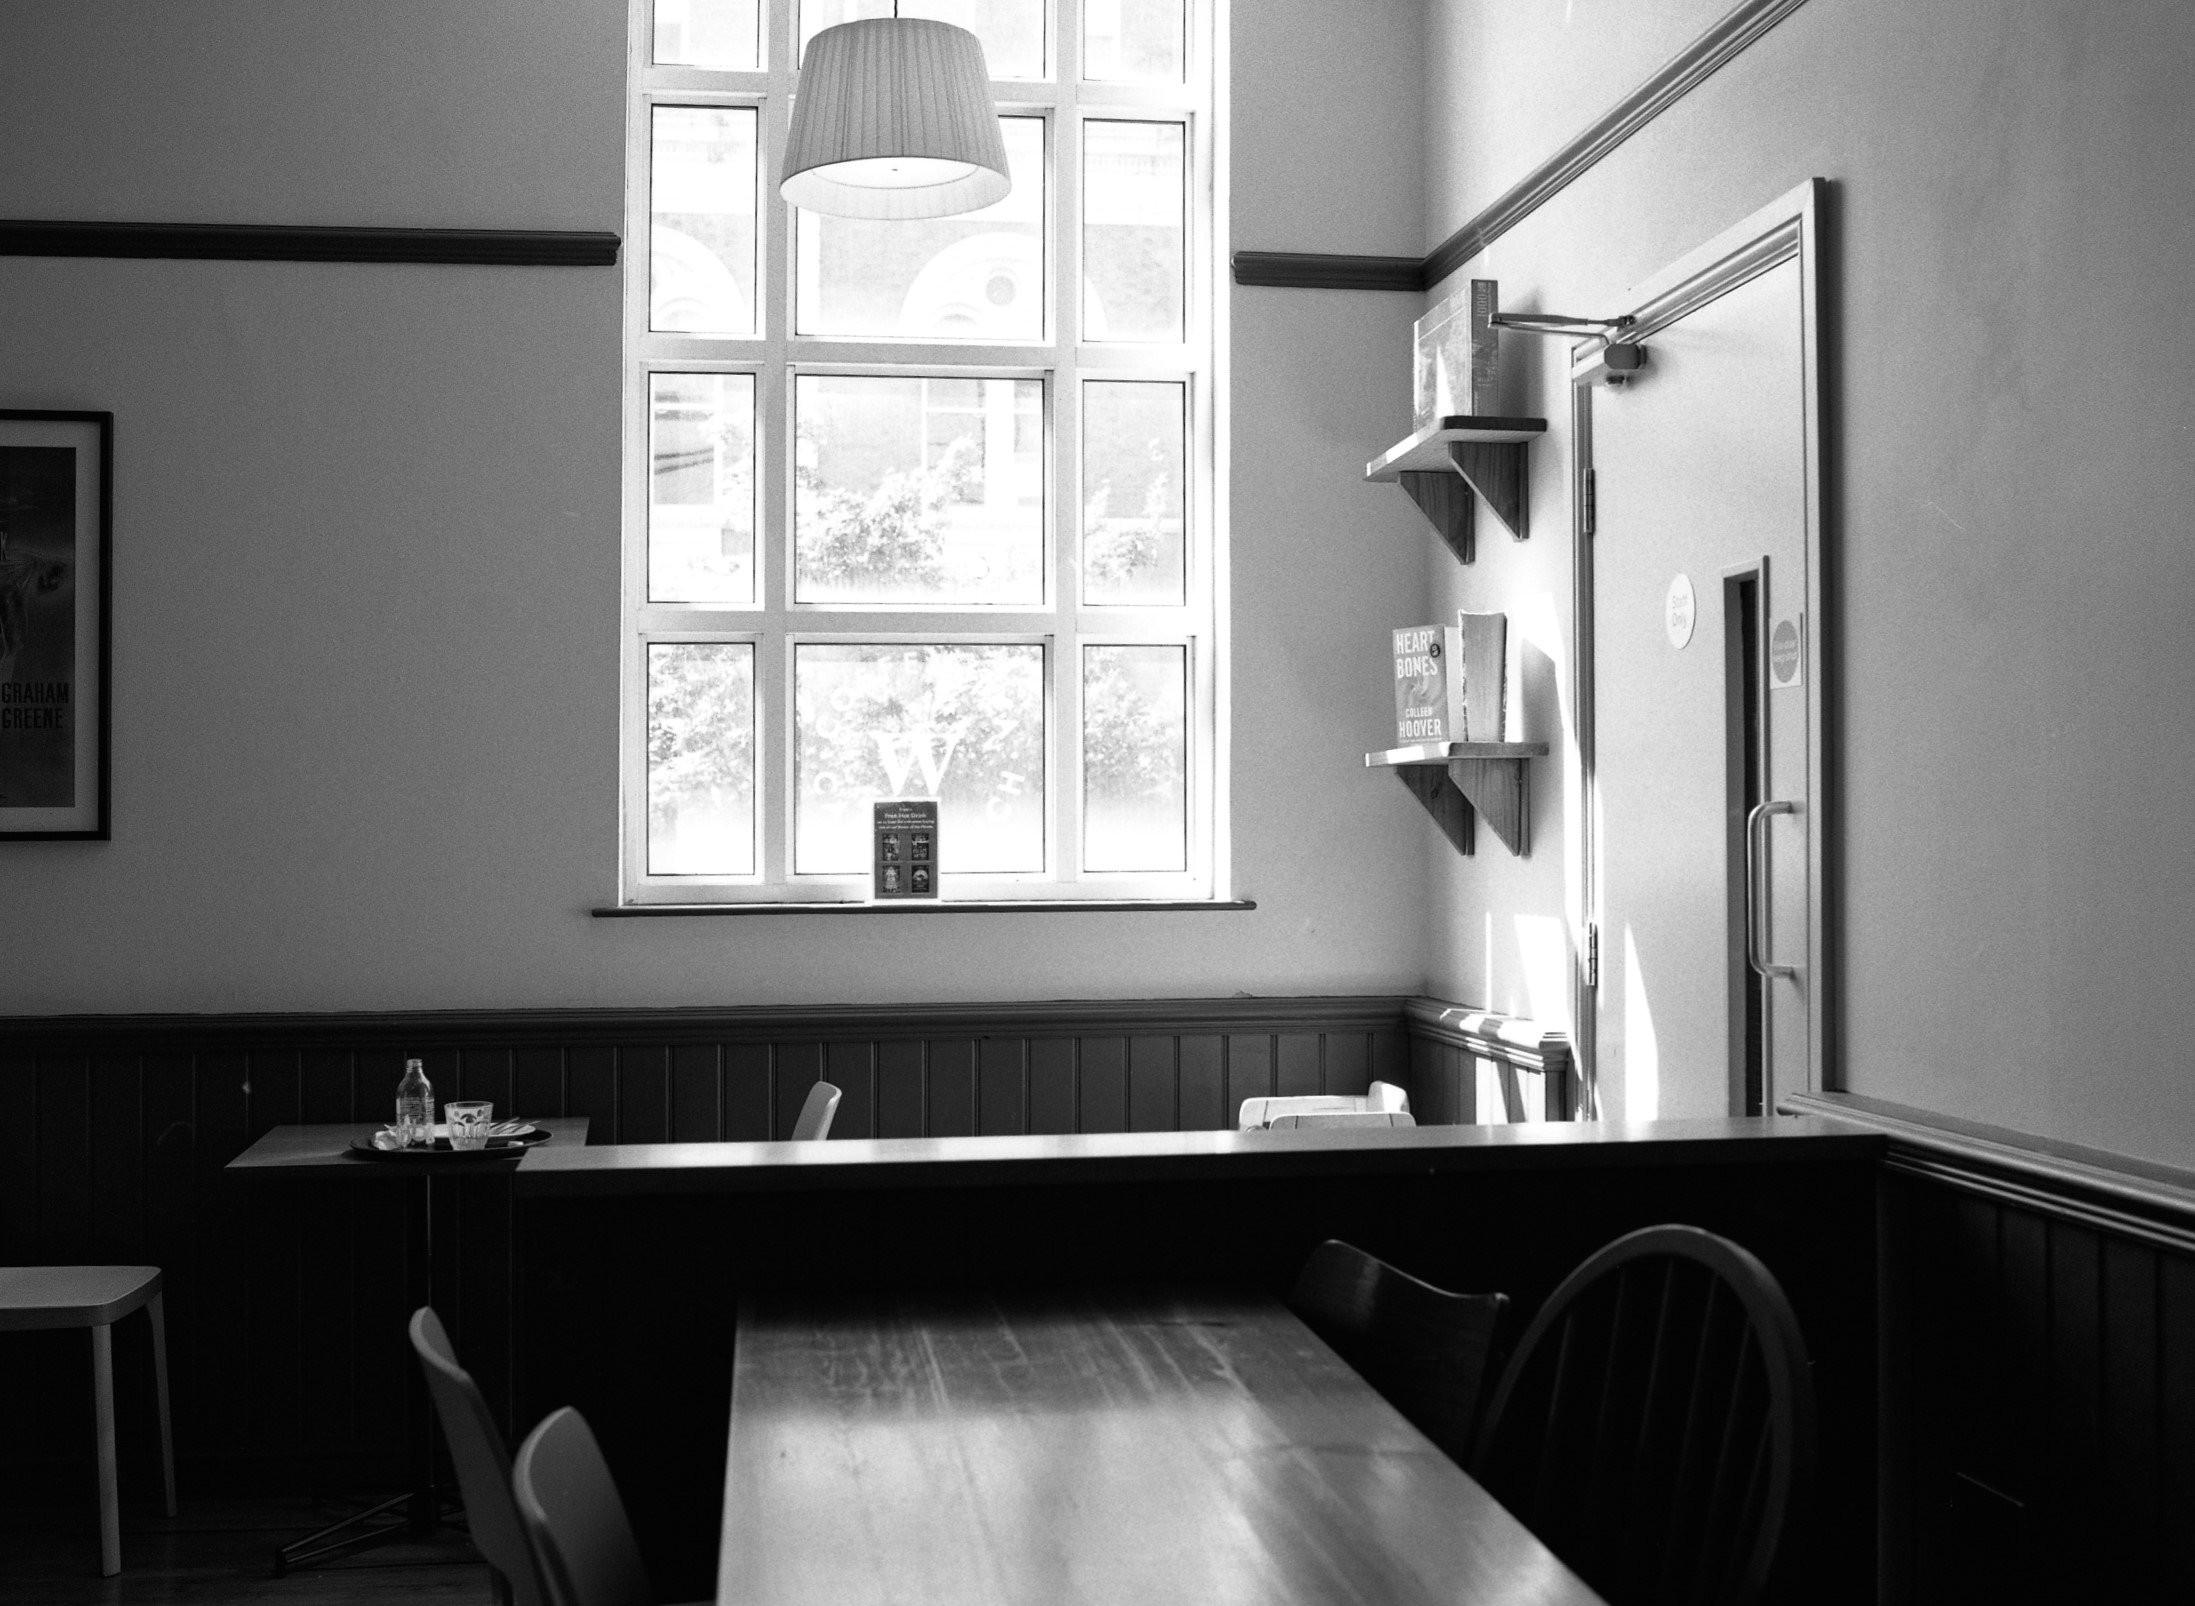
I’ve bought a new photographic gadget (audience looks shocked - several people at the front faint with surprise and have to be carried out…..). It’s a spot meter. You use it to get the best possible results when you take a photograph. Film can only handle a certain range of dark to light. When you set the exposure of the photograph you want to map the range of the film onto the areas of light and dark in the scene that you want to see in the image.
You look through the spotmeter and it shows the light levels in a tiny portion of the scene. You get the levels of the dark and light regions and then set an exposure that will work over that range. I’ve started with a very simple approach. I’m just finding the darkest area and then setting the exposure to two stops below the reading I get from the meter. The spotmeter gives a reading assuming that it is looking at something which is grey. If I push that grey value down towards black I should get a sensible exposure.
I think I’m getting better
Getting used to being able to go out and about. Went for a walk and took some photographs of trees.
A while back I ordered an awesome little laser rangefinder. It arrived last week and I’ve found an excellent holder for it which I can use on my 3D printed camera. I printed the holder this morning and above you can see my fully tricked out camera. It has a viewfinder, level and now a range finder. It might only be able to take one picture at a time, but it certainly looks the part.
I’ve invested in another camera. Well, I say invested. I won’t find out whether or not it was an investment until I try to sell it again. Which, given the quality of the pictures it produces is not going to be any time soon. It’s a Kiev 60 which takes medium format images on 120 roll film. I can develop the pictures at home (as I did the one above).
I think they had two production lines in the factory. One made tanks and the other the Kiev 60. And sometimes they got the parts mixed up. It is a huge device and somewhat heavy. Everything works (which is something of a rarity for this particular brand) and the combination of large negative size and old-school lens design makes for some lovely out of focus effects. I’m going to enjoy carrying this around and taking some pictures over summer. But I may need to get in some weight lifting training first.
Yesterday I took my 3D printed camera around to see Ian and attempted to take his portrait. As you do. I’m still working on my focussing technique, and so what I ended up with was a slightly blurred Ian but a remarkably sharp windowsill behind him. Look at the detail on that M&Ms bag…
Rob Miles is technology author and educator who spent many years as a lecturer in Computer Science at the University of Hull. He is also a Microsoft Developer Technologies MVP. He is into technology, teaching and photography. He is the author of the World Famous C# Yellow Book and almost as handsome as he thinks he is.