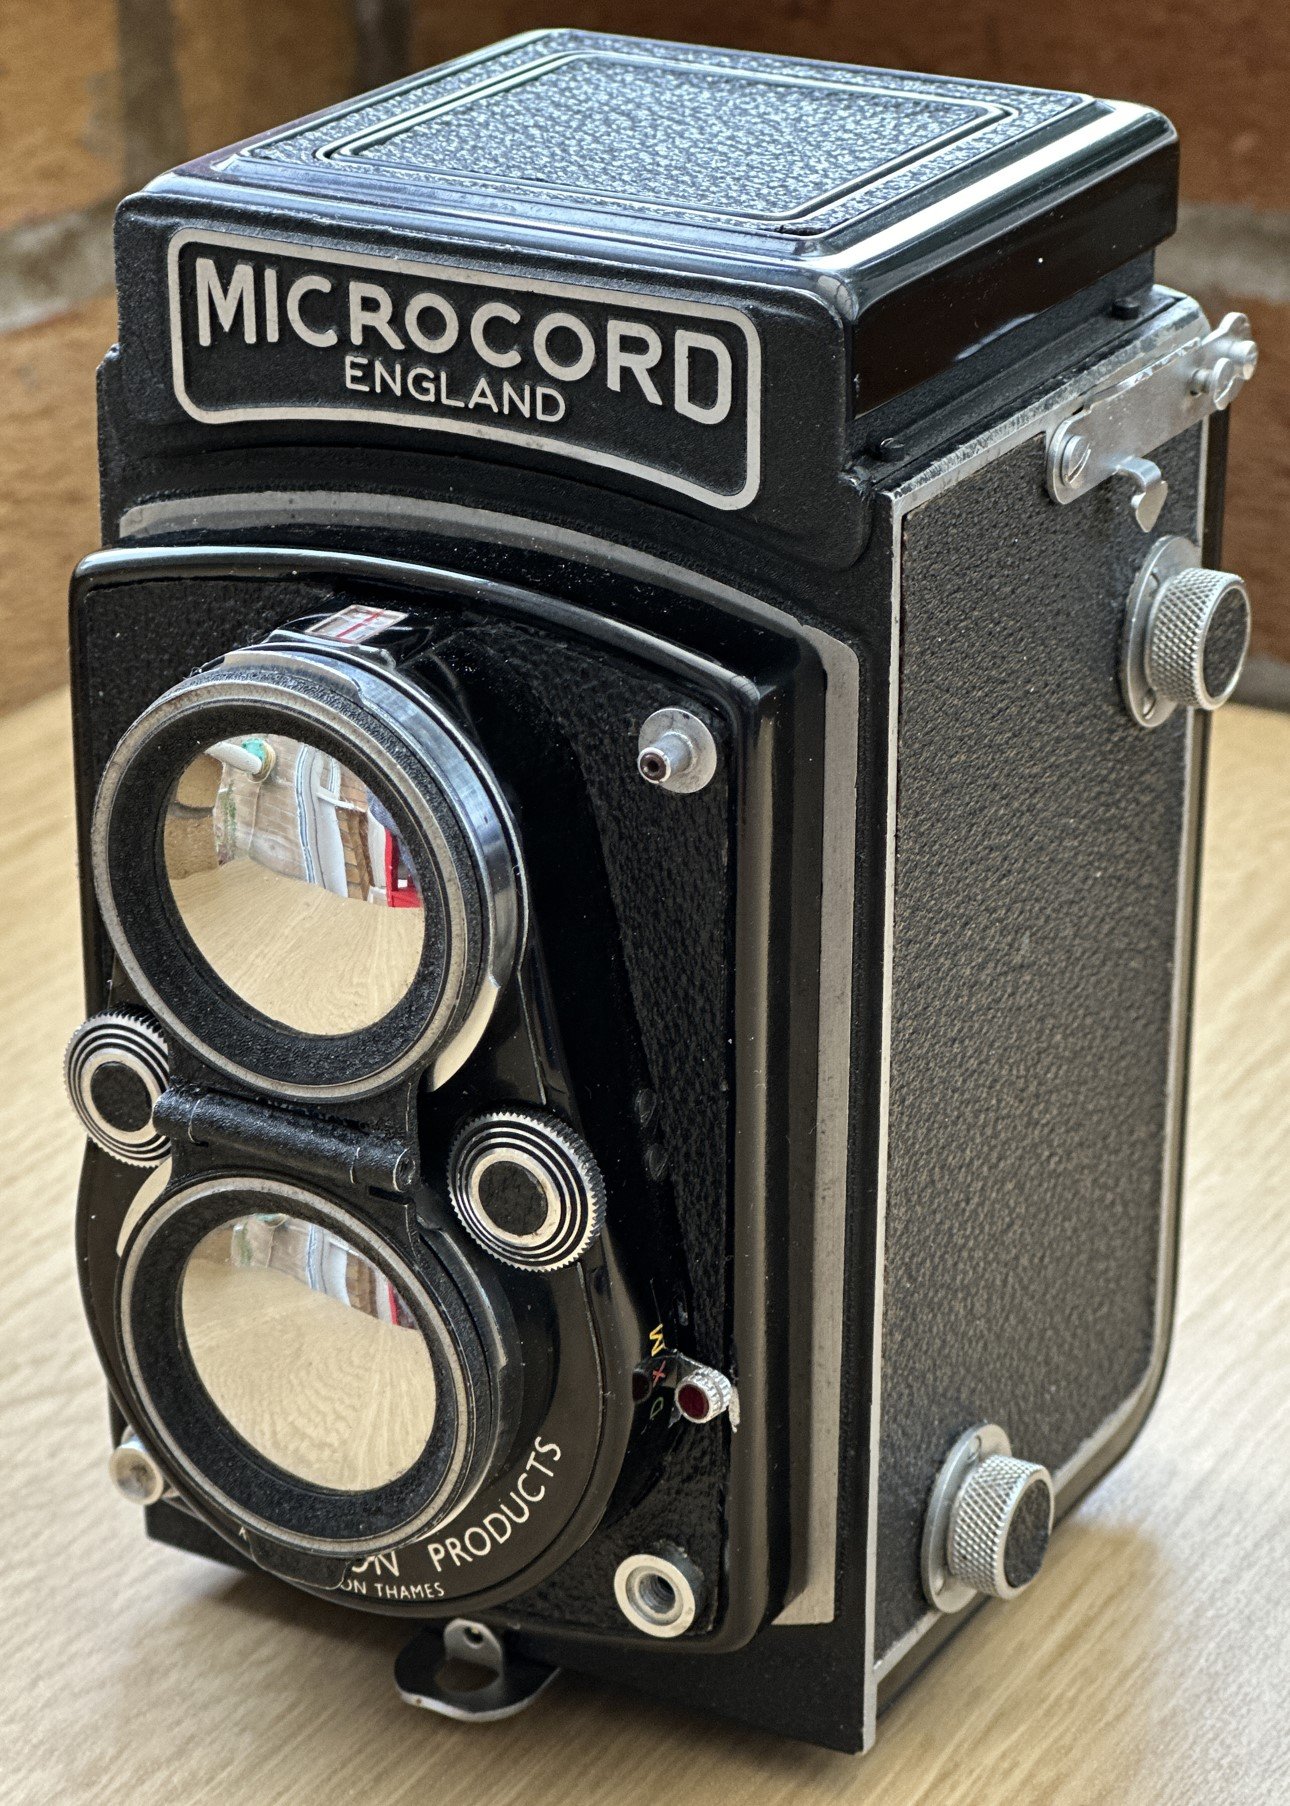
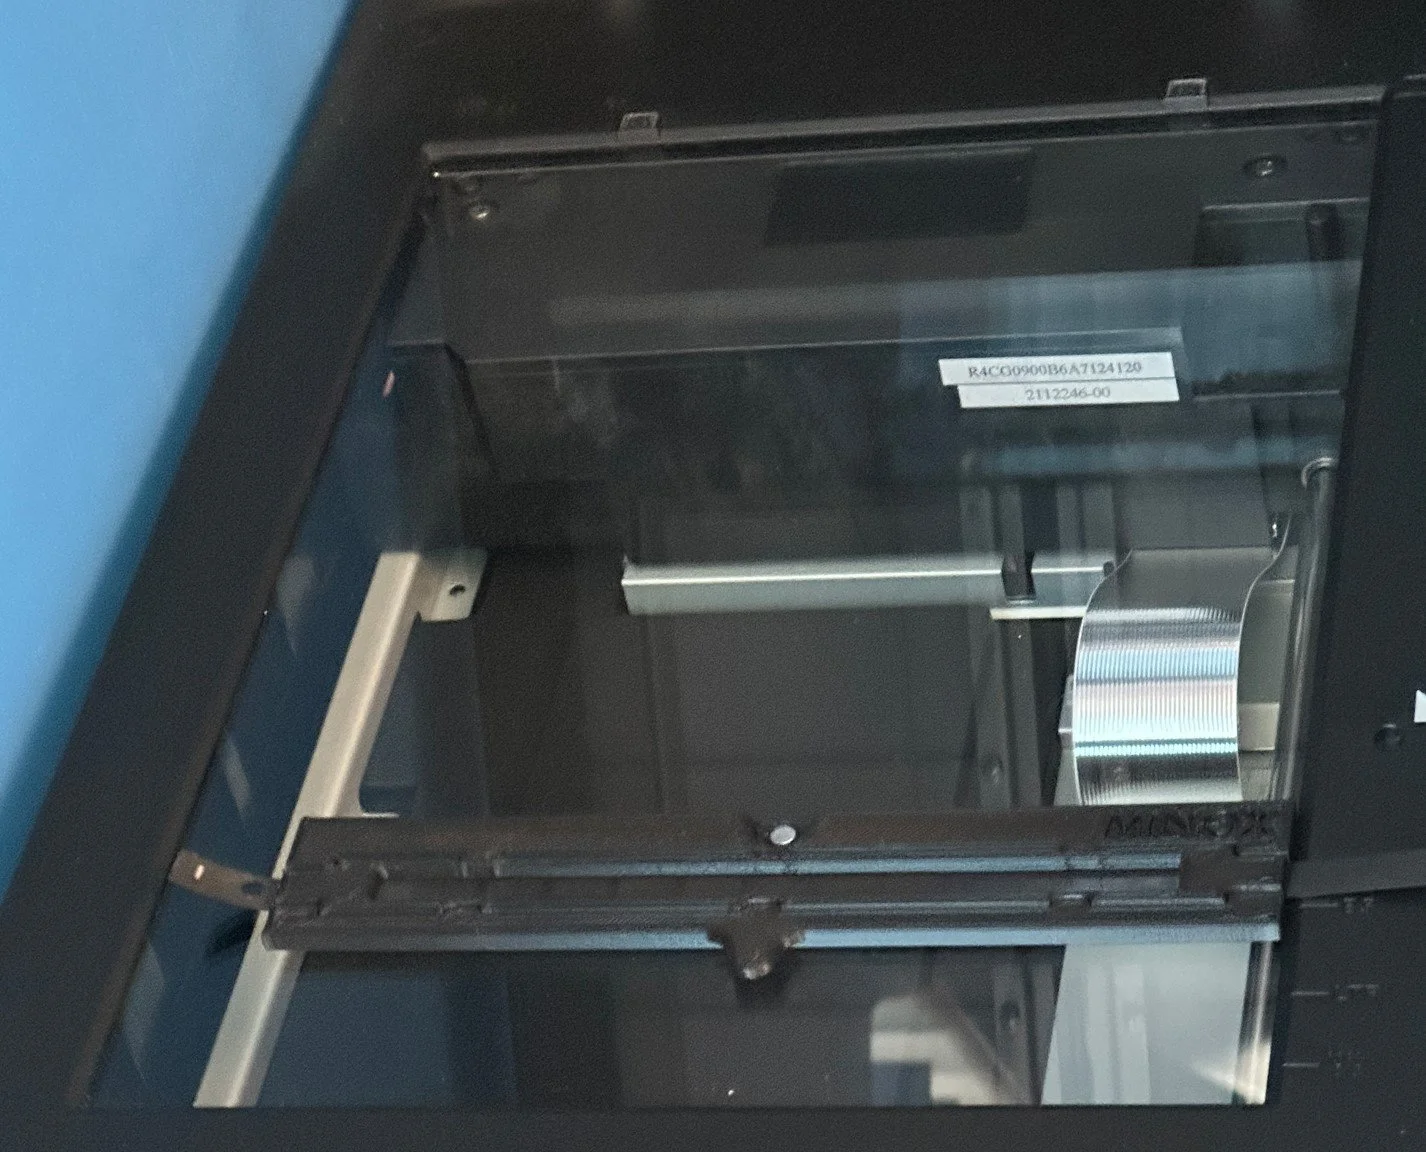
Super Pentax ME Super

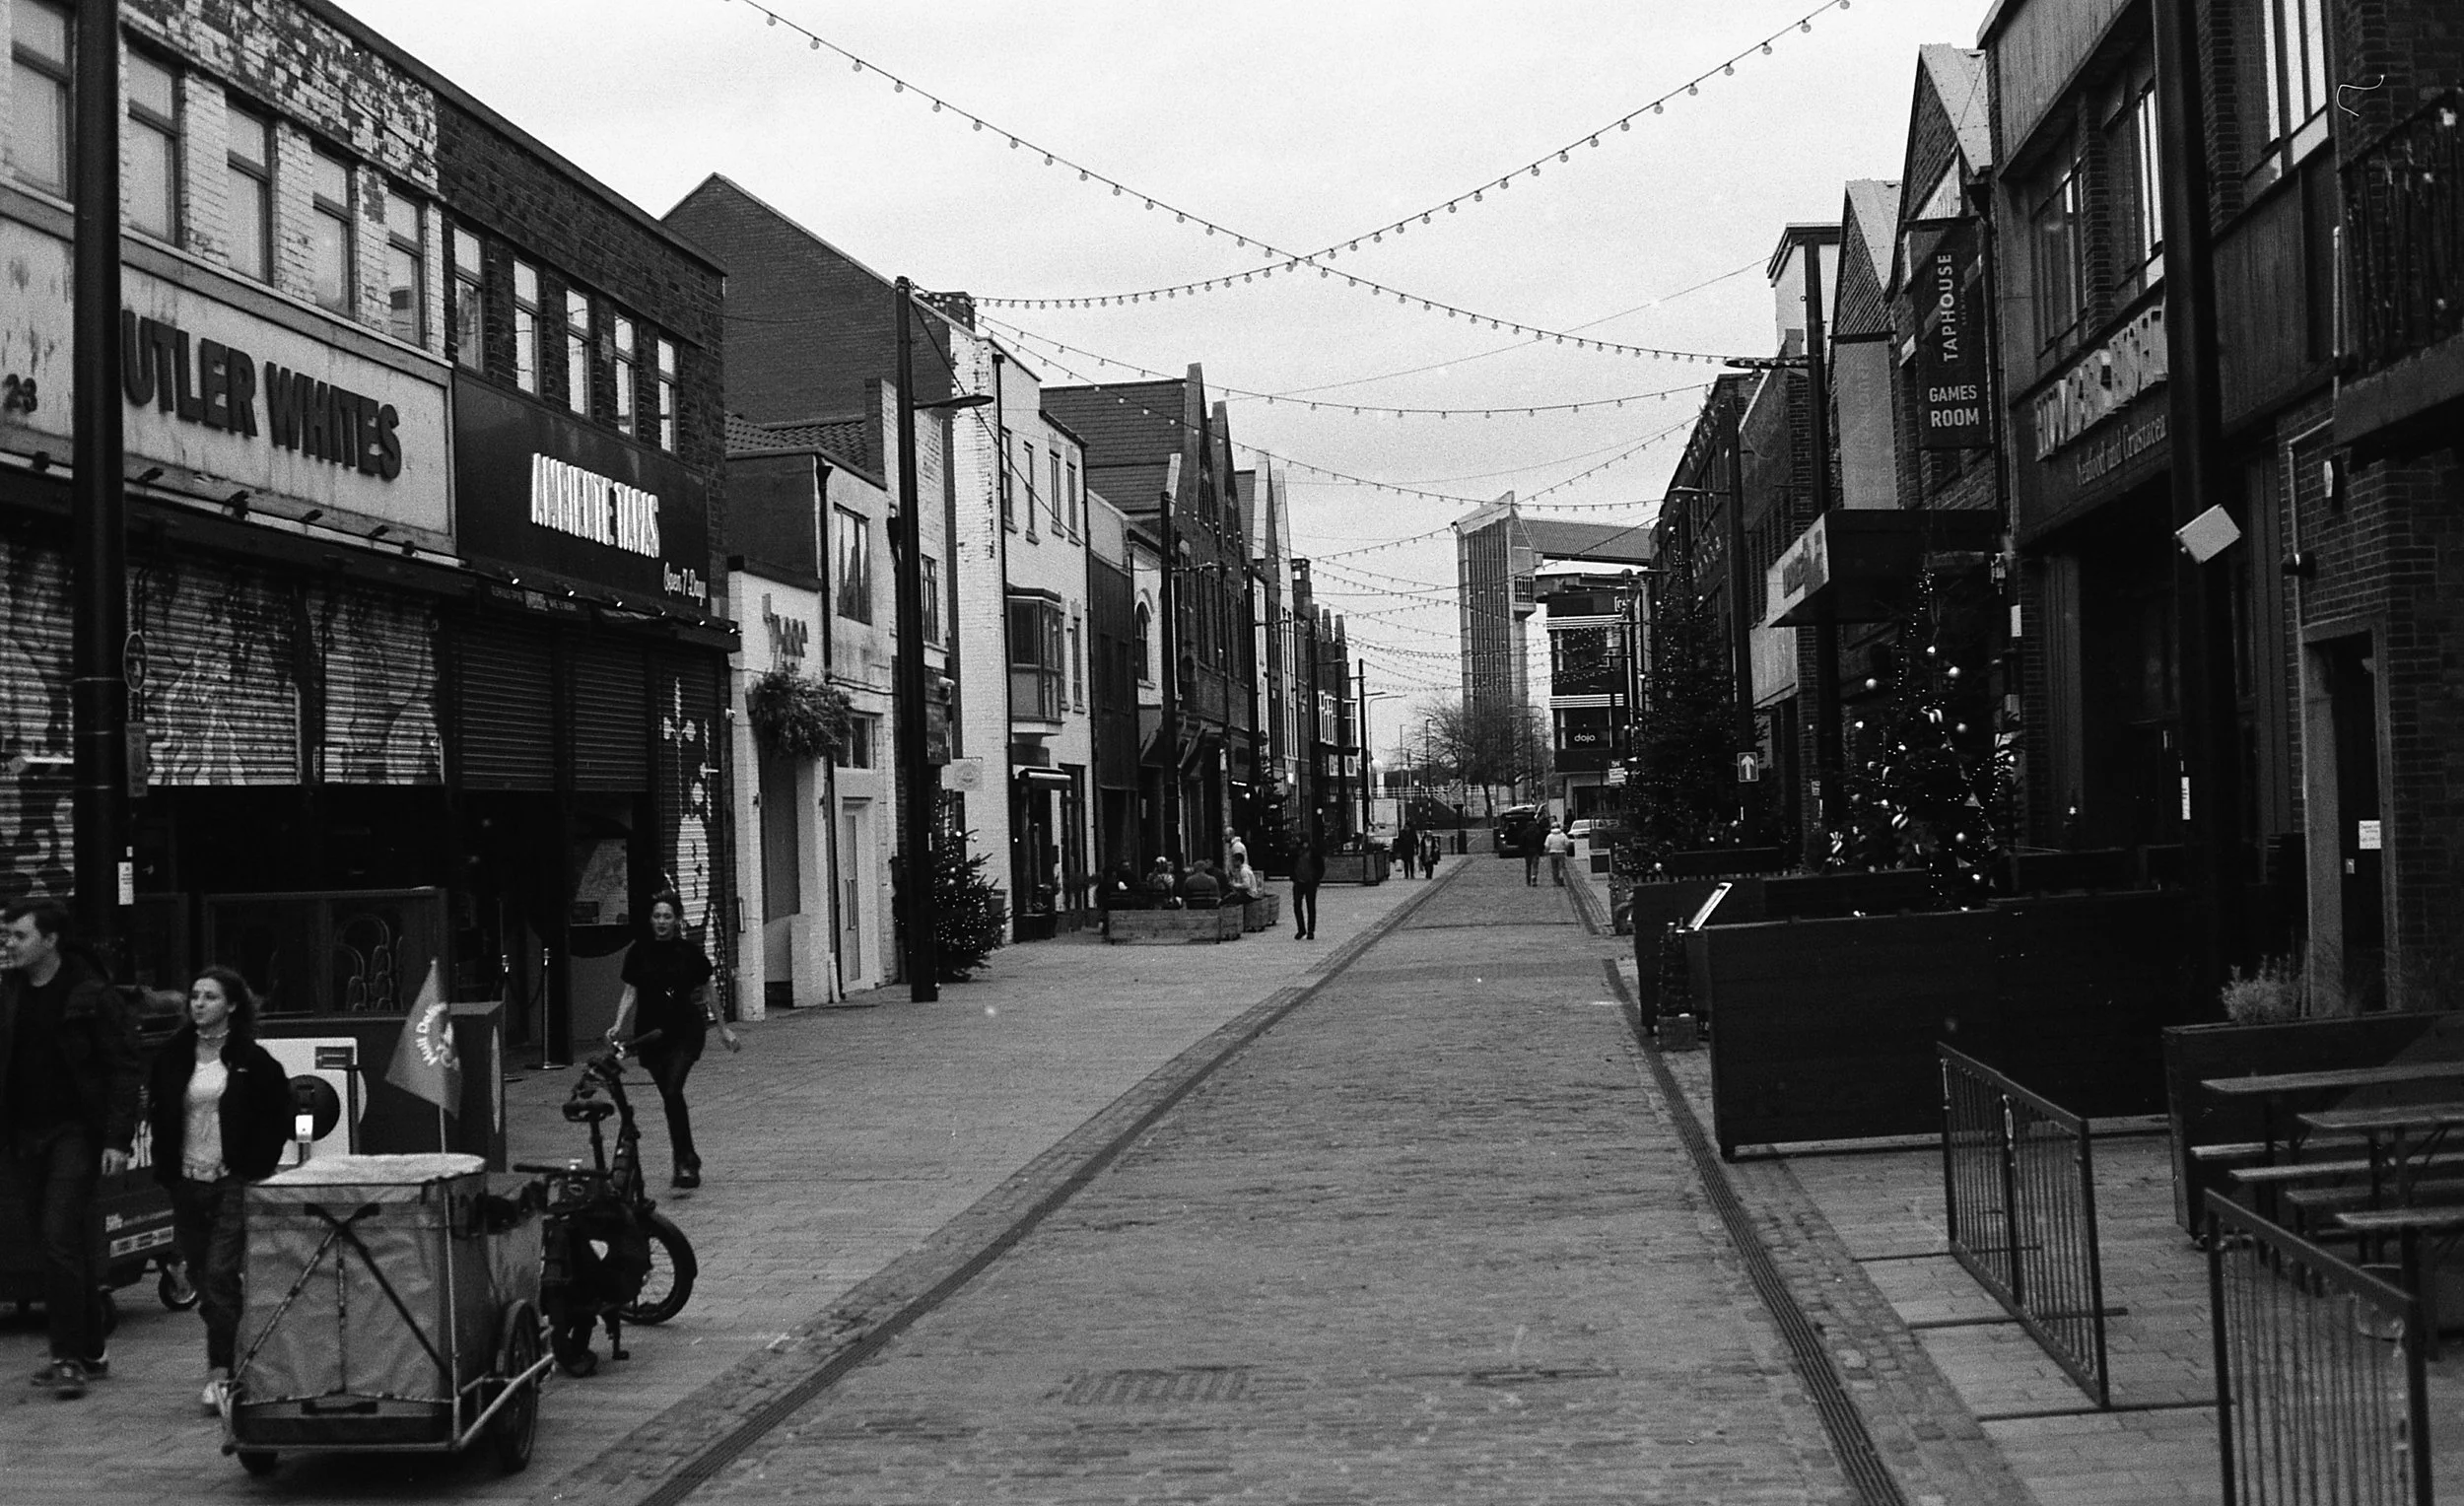
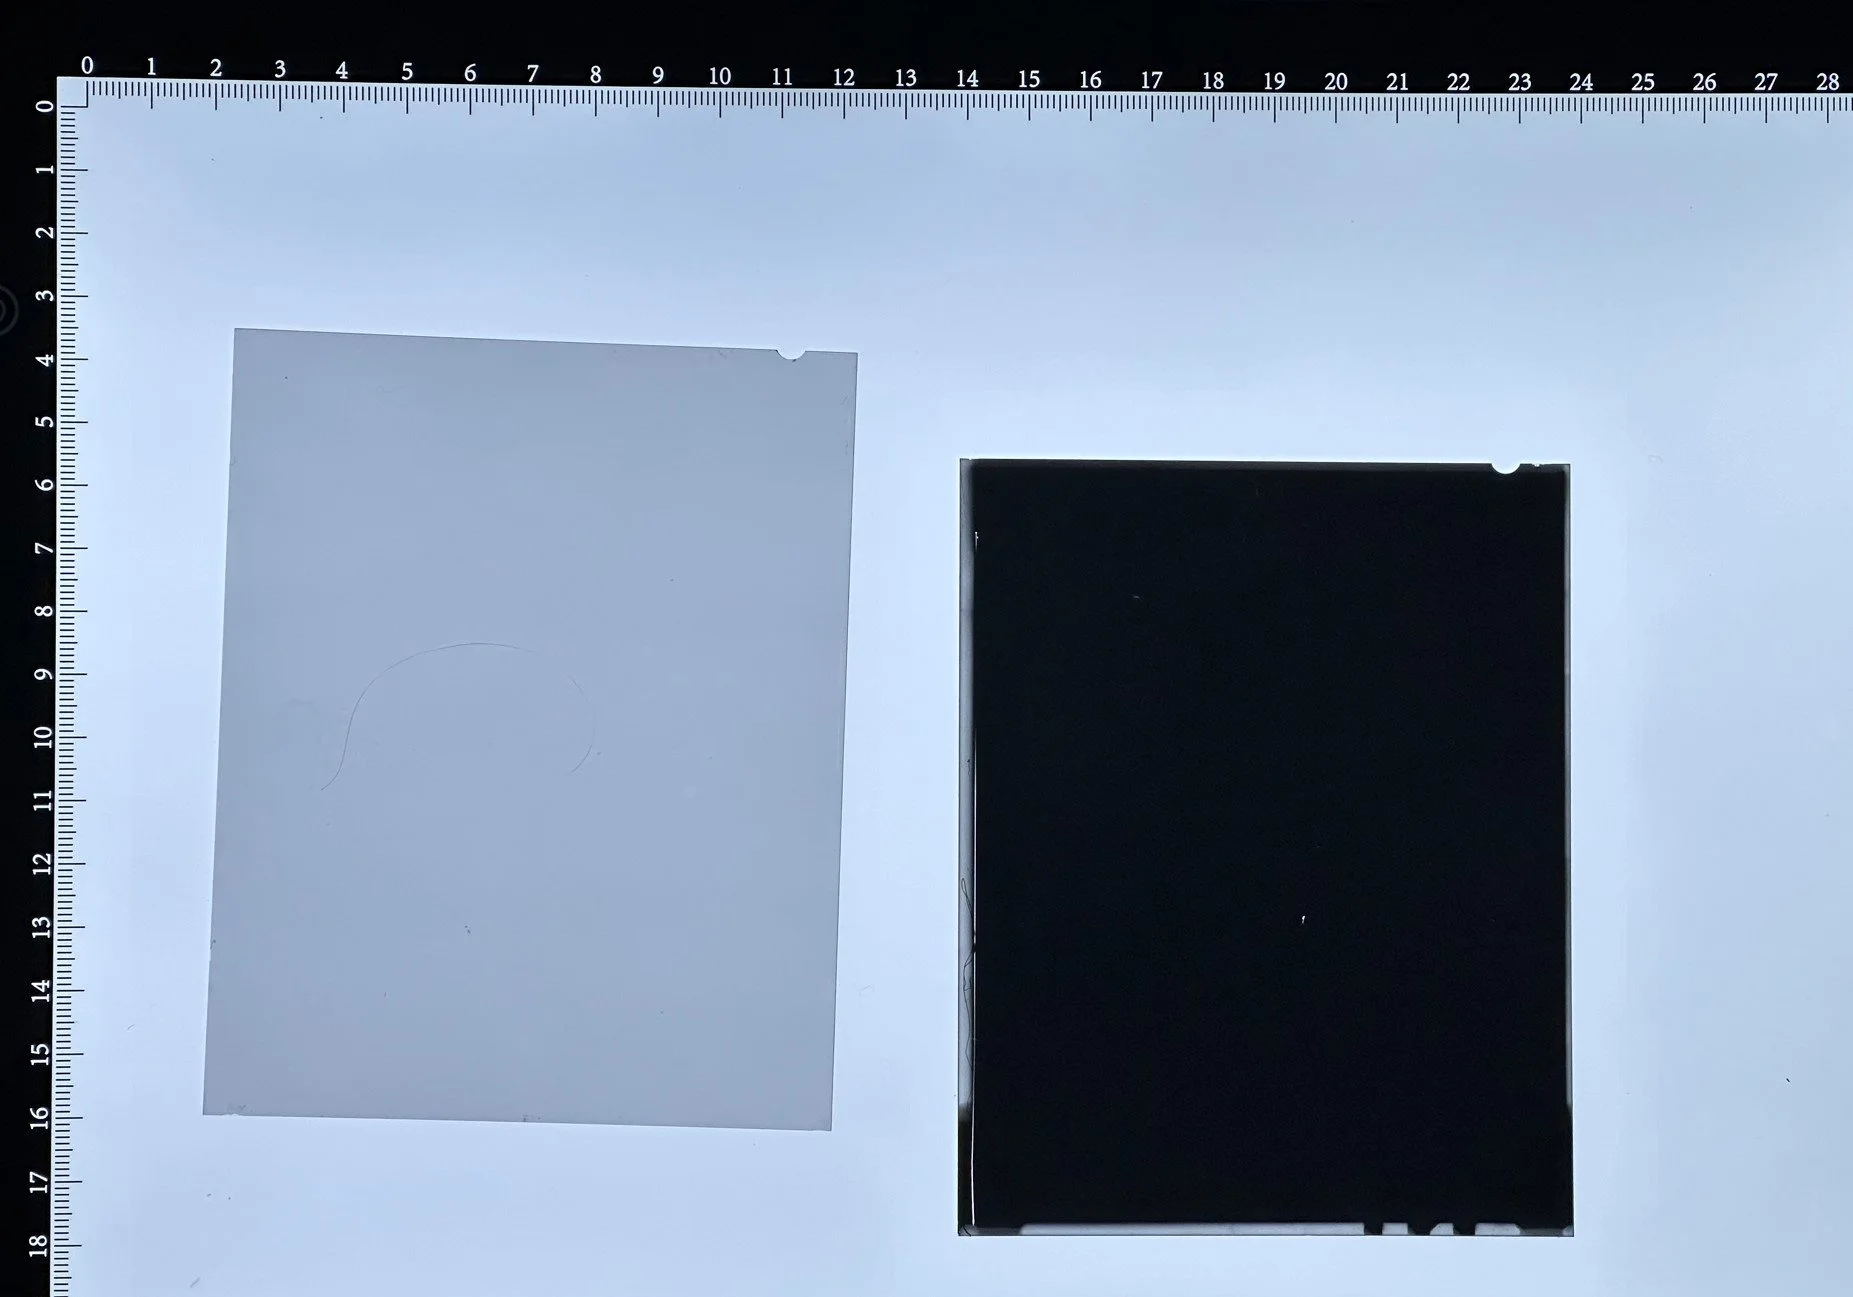
Should really have cleared up the marks on the negative

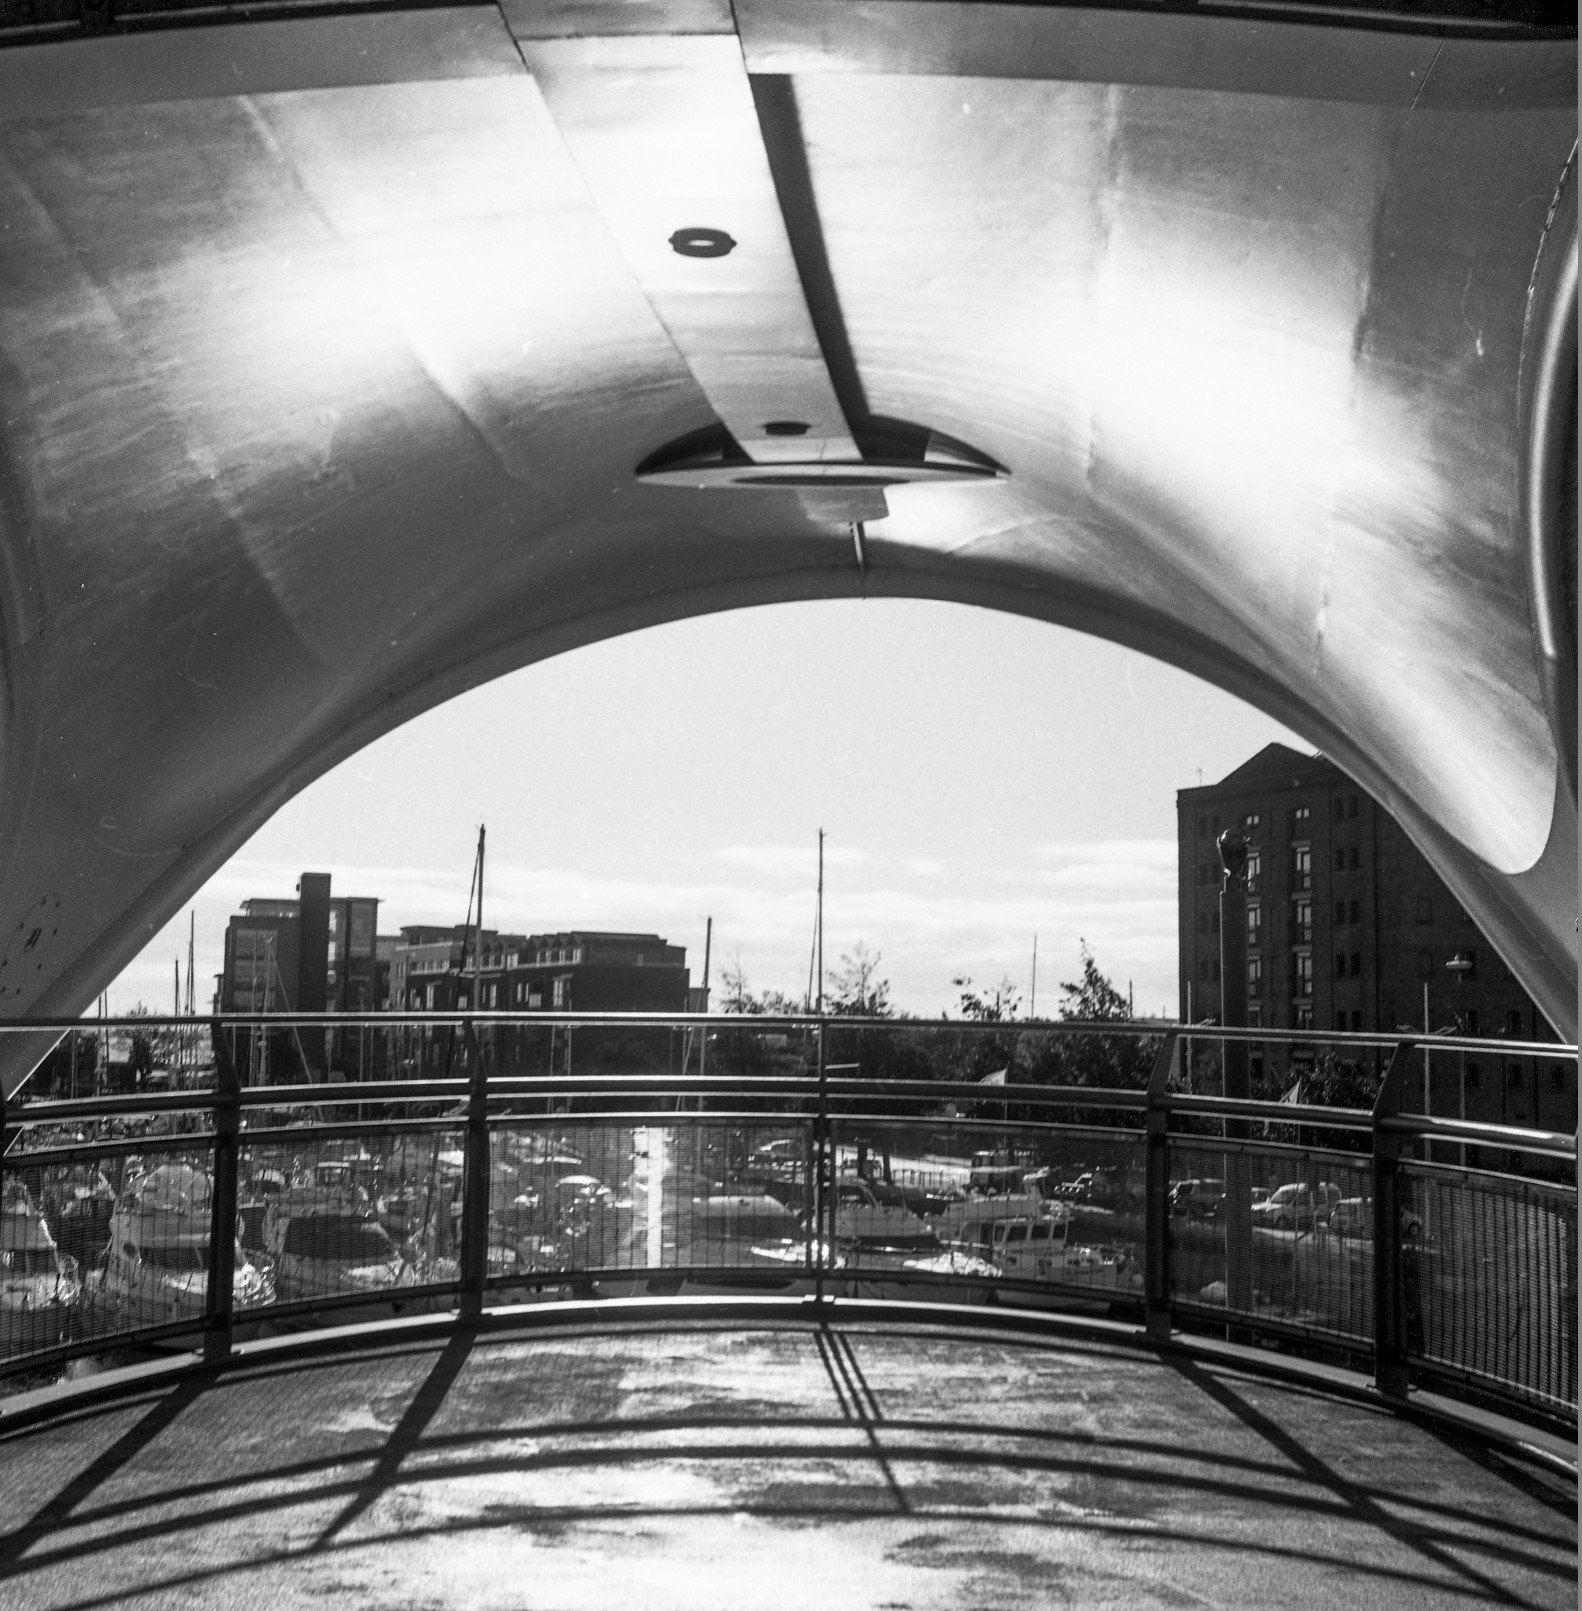
Today I developed the first film from my “super cheap broken Pentax”. The pictures game out great, including some of the family.

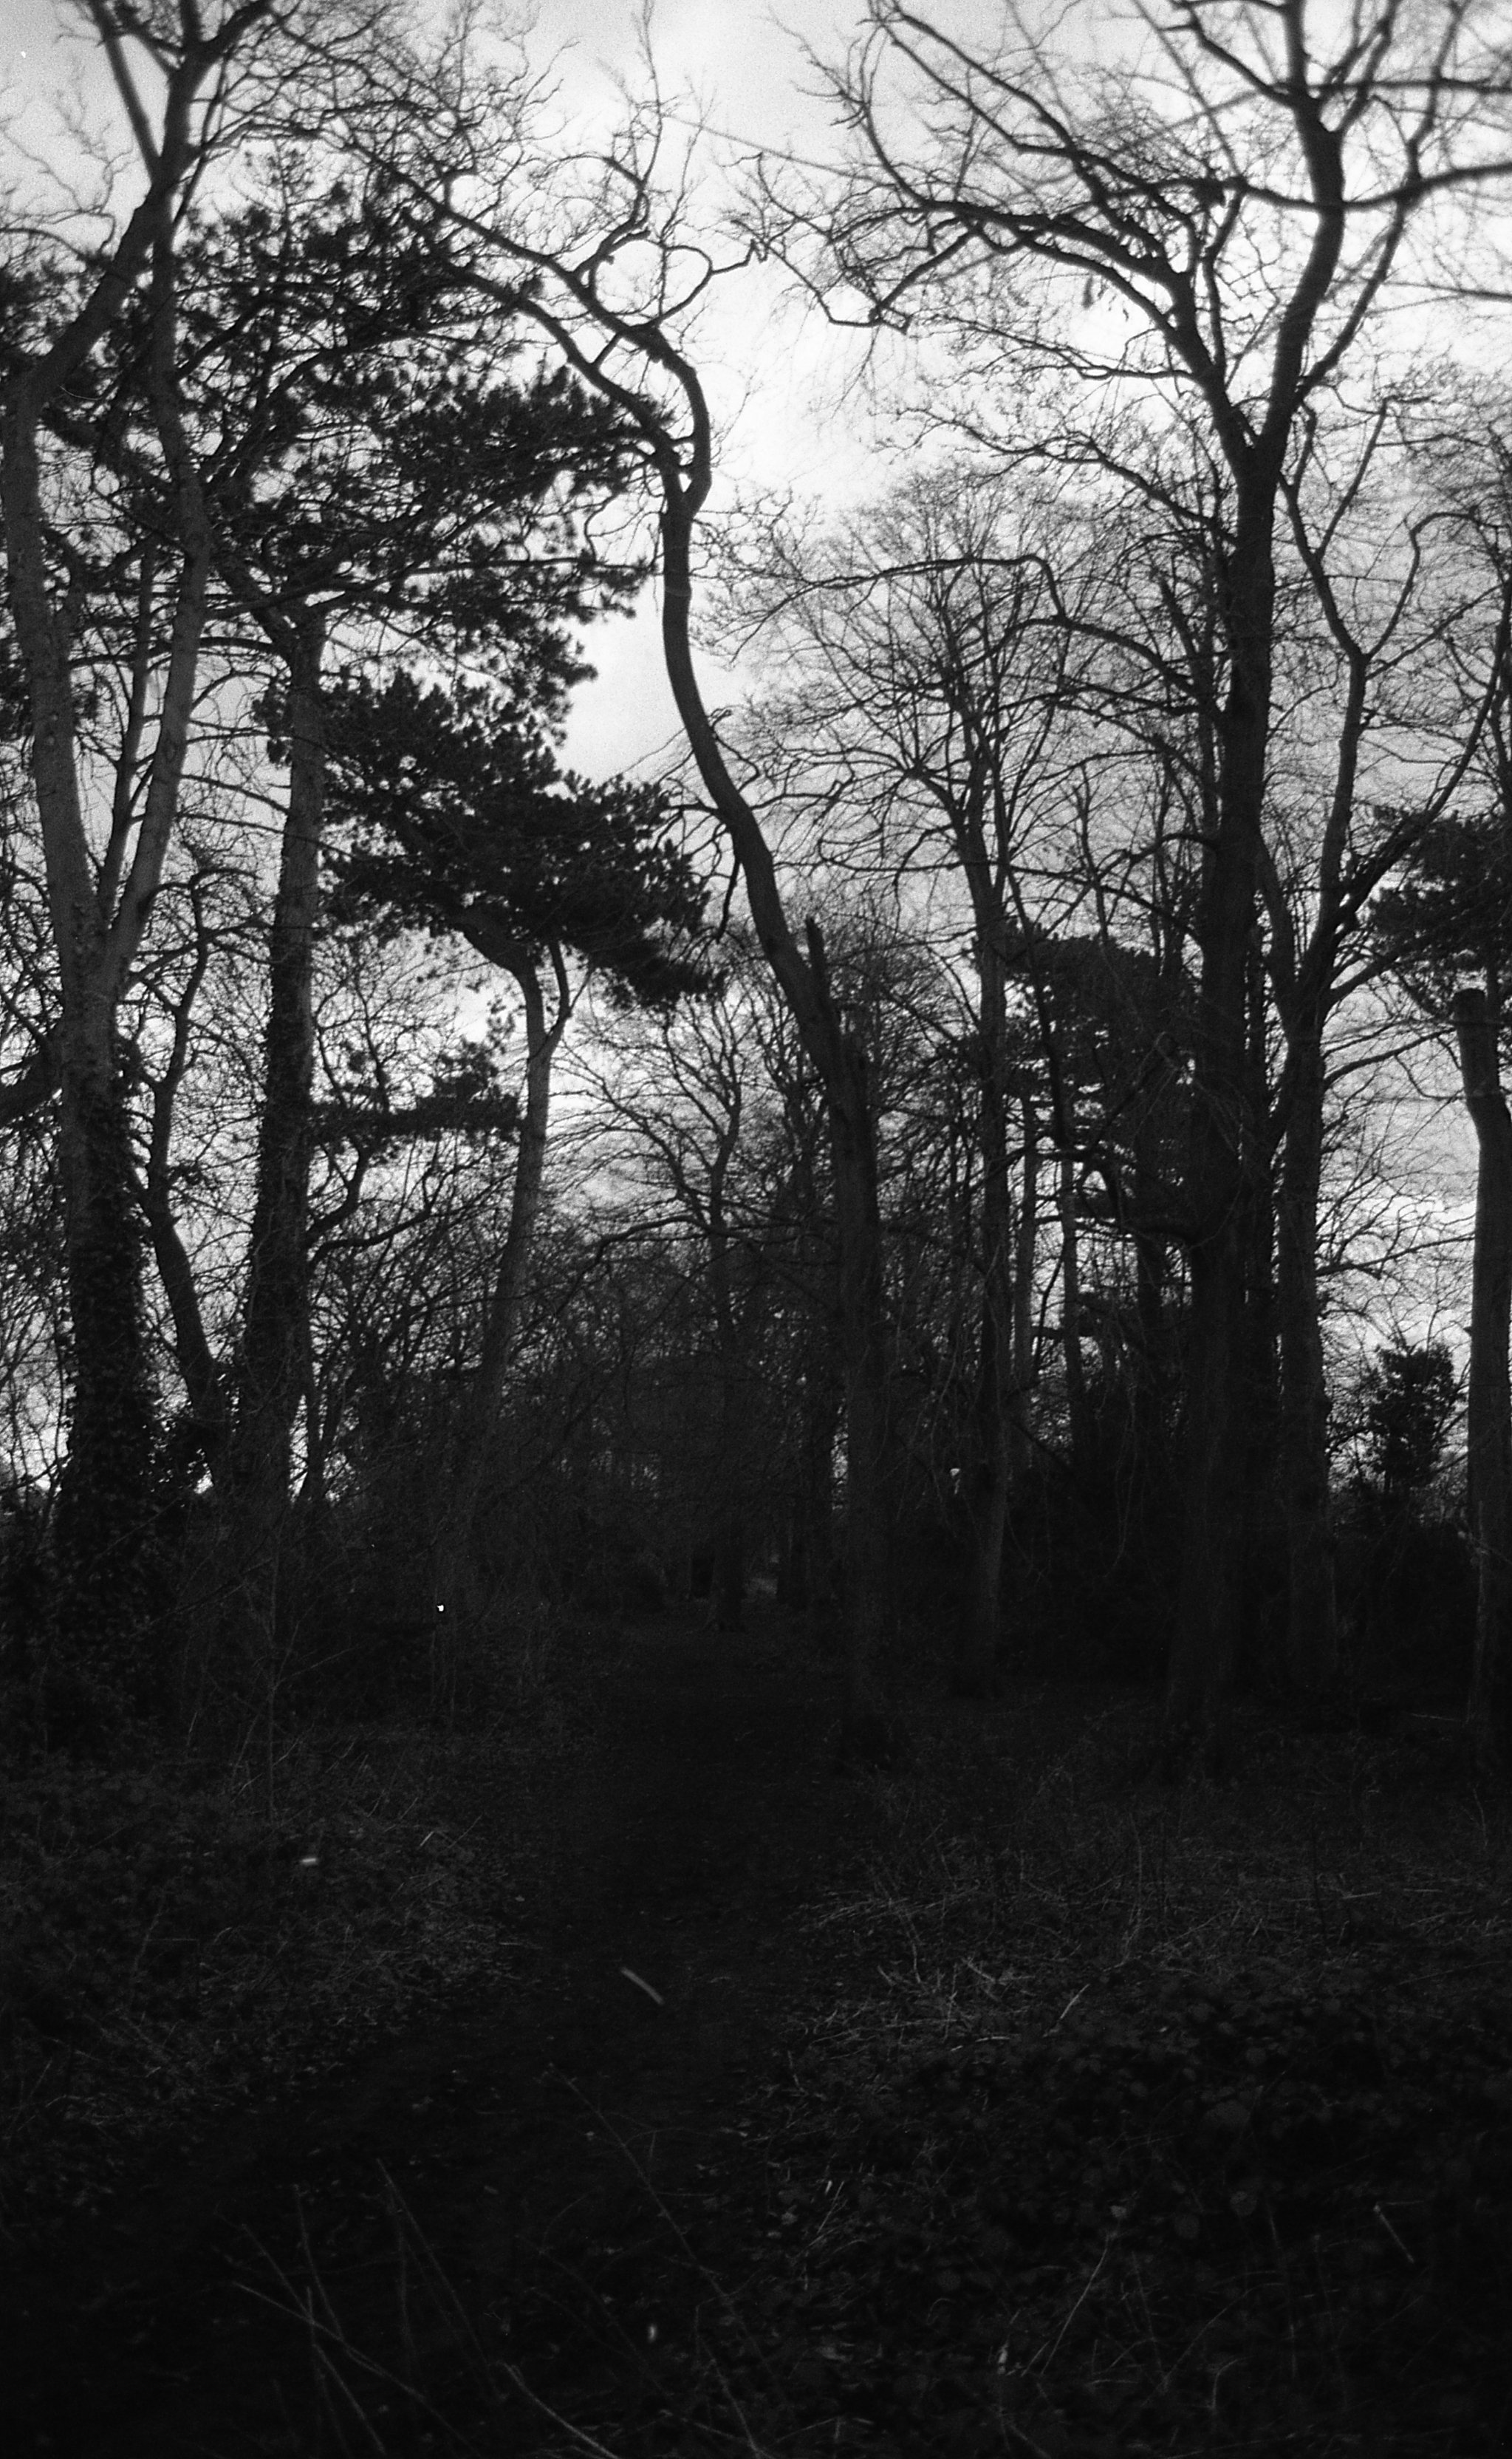
The camera even managed to pull some detail out of the foreground

If you are thinking of doing some film photography you could do a lot worse than pick up a cheap old Pentax like the ME super and run a film through it. These things were made a long time ago, but they are pretty hard to break. Some film SLRs (for example the Pentax K1000) sell for silly high prices, but you can pick up a Pentax ME Super for less than the price of a video game. Not because it is a particularly bad camera, but because it is less fashionable to be seen with. You get automatic exposure and a nice pocketable form factor. And if it breaks you can sell the bits.

Pentax ME Super arrives

It actually looks qute tidy

The broken Pentax ME Super that I bought by mistake arrived today, as did the replacement winder arm. They were a perfect fit, once I worked out that the fixings were all “left-hand thread”. Most screws and bolts are tightened by turning them clockwise, but sometimes this is reversed. The way that the winder lever on the camera works, each time you wind the film on the mechanism turns in a direction that would tend to loosen a clockwise tightened bolt. So they made the winder lever tighten the other way.

The camera itself seems to work fine, although it looks as if it has been sat on or wacked hard on the top (or both) at some time in its life. I’m going to put a film through it to see how it goes.

Camera Battery Complications

They’ve covered every wrong way to do it

If you, like me, have been wondering why your Olympus OM2n camera (you know - the one you bought yourself for Christmas despite having promised not to get any more cameras this year) doesn’t seem to be measuring light very accurately you might be interested in this snippet.

You often find people using LR44 alkaline batteries to power cameras like this. After all, they fit in the hole, the meter needle moves about a bit and the batteries are easy and cheap to get hold of. But they are also a bad idea because these batteries only put out around 1.5 volts when they are brand new. Their output voltage steadily drops over their life, which makes the meter progressively less accurate over time. The fix is to get proper SR44 batteries which are exactly the same size but use a different technology which lasts a bit longer and holds its voltage right to the end.

Comicon with the Mamiya

Black and white dark side

I carried my carefully weighed camera all around Comicon today. It was great. Pro tip: Check your coat in at the cloakroom so that you don’t have to carry it all round the show. It will be the best two pounds you spend on the day.

I took a few pictures. I’m particular pleased with this shot of “The Northern Vader” and a couple of his chums. I was using a large flash on a bracket to the side of the camera. I think it worked very well.

Casual Buzz

There were some cries of surprise when the flash went off in a manner rather similar to a nuclear explosion. But I’d already got the photograph by then….

Dalek central control

I’ve got some more shots in the camera. I’ll develop those when I’ve finished the film off.

Thermometer of lies

I reckon it should be around -20 in here..

I did some film developing today. The developer (the liquid you put the film in to convert the exposed areas into tiny particles of silver) needs to be at a particular temperature for a given development time. I’m a big fan of the Massive Development Chart which gives development times for all kinds of film and developer combinations.

Anyhoo, I’ve been using the thermometer above to measure the temperatures and today I noticed that I had to get the water really warm to get it to the indicated 20 degrees. Which seemed wrong. A quick comparison with a cooking thermometer showed that it was indeed very wrong.

This rang a bell. I’ve noticed that quite a few of my pictures appear grainy and a bit murky. As if they have been developed too long. Which is what would happen if I had the developer at a high temperature. I’ve even been shortening the developer time to compensate for this. It never occurred to me that I was using the wrong temperature. I used the proper temperature and the recommended time and the pictures came out rather well.

Microcord up town

Princes Quay looking good

We got some good weather today so I took the Microcord up town today and grabbed some shots.

There’s a bit of camera shake on this one because I keep catching the camera shutter lever on my fingers.

I really like this old camera. It forces you to move slowly when taking a picture (which can be annoying for people you are with) but I think the results are worth it.

Fun with a Microcord

It has the most amazing lens caps……

Yes, I’ve bought another camera. And yes, it is very old. Actually around the same age as me. It was made by a company called “Micro Precision Products” which started making cameras in the 1940’s and gave up in the 1980’s. They made a range of different types of cameras for press and technical use, and in the 1950s they made a couple of “twin lens reflex” cameras, of which the MicroCord was one. It is based (as in “Here’s one - see if you can copy it”) on Rolleiflex cameras which were popular at the time.

A twin lens reflex camera has two lenses. The top one is used for viewing and the bottom for photographing. You compose and focus by looking down into the top of the camera at a ground glass showing an image reflected from the viewing lens. Both lenses are mounted on a plate which is moved backwards and forwards to adjust the focus. The idea is that if the view in the viewfinder is sharp, the photograph being taken will be too. This was back in the day when you actually had to focus your photographs.

I took this shot on the university campus

I’m still getting used to it, but I’m having fun at the moment.

Close up idiocy

This might be quite artistic if I could think of a good caption…

Developed some pictures today. I’d taken them with a Yashica 124G twin lens reflex camera. I’d used close-up lenses so that I could capture intimate portraits over the table in the restaurant. The close up lenses clip on the camera lens to shorten the focus. It’s all part of my “make photography much harder than just getting out your phone” campaign.

I had two close up lenses, one for the viewfinder lens and the other for the taking lens. But, for reasons I still can’t quite comprehend, I’d clipped both of the close-up lenses on the taking lens which meant that I was taking sharp pictures of the cutlery right in front of the camera rather than the person sitting opposite. I’m not completely unhappy with the result, but I think I’d be a bit happier if it was of what I was expecting.

Scanning Minox negatives

The film got a bit scratched as I was loading it

I love my little Minox camera. It takes tiny pictures on 9mm wide film. I make the film by slicing 35mm film into strips and then loading it into Minox cassettes. Then, once I’ve developed the film I scan the negatives. I use an Epson V750 scanner that I got a while back. It’s quite an old device, but the good news is that scanners age quite well (or at least I hope they do). To hold the negatives on the scanner I use a 3D printed PENSO mask. When I started scanning I got spectacularly bad results, with black streaks everywhere.

I’ve discovered that if I rotate the holders through ninety degrees on the scanner glass, so that they are in a “portrait” rather than a “landscape” orientation they work just fine. This must be due to the way that my scanner shines the light through the film when scanning.

I have no idea why this works, but I’m rather glad it does

Lensboard a gogo

This makes the camera a lot more useful…

Today, after a trip to the dentist for a filling (am I the only person who gets to the dentist half an hour early?), it was time to print yesterday’s lensboard design for my Micro-Press camera. It just fitted. I’m very pleased with myself, even though it was actually a pretty simple design. The board seems quite light-tight and my test pictures came out fine.

The hardest part of the job was finding where I’d put my black filament - the board nearly ended up being printed in shocking pink.

I might do another one with higher infill. This will make it slightly heftier and even more lighttight, but the camera was quite usable with the first version I printed. I’ll put the design on Thingiverse later for those many readers of my blog who have a need for a lensboard for a 1950’s Micro-Press press camera.

Making a lensboard

I already had some code that made rounded cornered plates

One of the truly great things about having a 3D printer is that if you have a need for something you can just print one. My “auction packed” camera arrived last week and today I thought I’d pop a lens in it so that I can try taking some pictures. For these type of cameras the lens is mounted on a plate called a “lensboard” which is then fitted into the camera. This makes it much easier to swap lenses when you are out and about. The camera didn’t come with a lens, but it did have a lensboard.

Unfortunately it was the wrong size. The hole in the middle was too big for the lens I wanted to use. So, I decided to make my own lensboard. I’ve made a quick version in OpenScad and tomorrow I’ll print it out and discover just how wrong it is.

Auction Packed

Well, why wouldn’t you want one of these….

I now see myself as a proper camera collector. Why have one camera that will do what you want when you can have lots of them, each of which does something different? Most of my camera buying action takes place on eBay, but today I had a taste of real life auctioning courtesy of Flints who run online auctions every now and then. I’ve been in the market for a large press camera that takes 4x5 negatives and they had one for sale that appeared only slightly broken. So I fired up the browser, logged into the site and hovered the cursor over the “Bid now” button.

It was great fun to watch. The auctioneer did a splendid job of keeping the whole thing moving along at a good pace, which was kind of important as there were around 500 lots to sell. After a couple of speculative bids on things that I wasn’t that bothered about “my” camera came up in lot 117. I was holding myself to all kinds of promises about not getting carried away and set a rigorous upper price limit. However, it was all a bit of an anti-climax. Nobody else seemed that bothered about the camera and so I got it for a smidge under the suggested lowest price. And that was that.

I watched the auction for a bit longer, but I was very good and didn’t buy anything else. The prices of items did seem impressive, but you had to remember that each item attracts a 30% premium that you had to pay on the sale price, plus VAT and carriage. My camera ended up costing me quite a bit more than the price I bid, but I reckon it is still a bit of a bargain. I’m rather looking forward to it arriving.

Bridlington Comicon

I’ve been to Comicon in Birmingham before. But I’ve never been to the one in Bridlington. Today I fixed that. It was wonderful. I took along a camera (of course) in this case the Mamiya 645. This is a medium format roll film camera that weighs a ton. It weighs even more when you add a large flash gun to it. The good news is that the folks in cosplay were very impressed with the camera. The better news is that some of the pictures came out quite well. I’m really taken with these two heroes of the rebellion.

I also rather like this shot of Gotham’s finest. The whole event was great. There were some lovely stands selling really nice stuff, along with some great artists. It’s obviously very popular, by mid afternoon the Spa Hall in Bridlington was packed. My tip, arrive a little before the start and grab a coffee and “the scone of the day” (so named because it looks like it will take you around a day to eat it). We’ll be there next year. Wonderful stuff.