Hello Scarborough
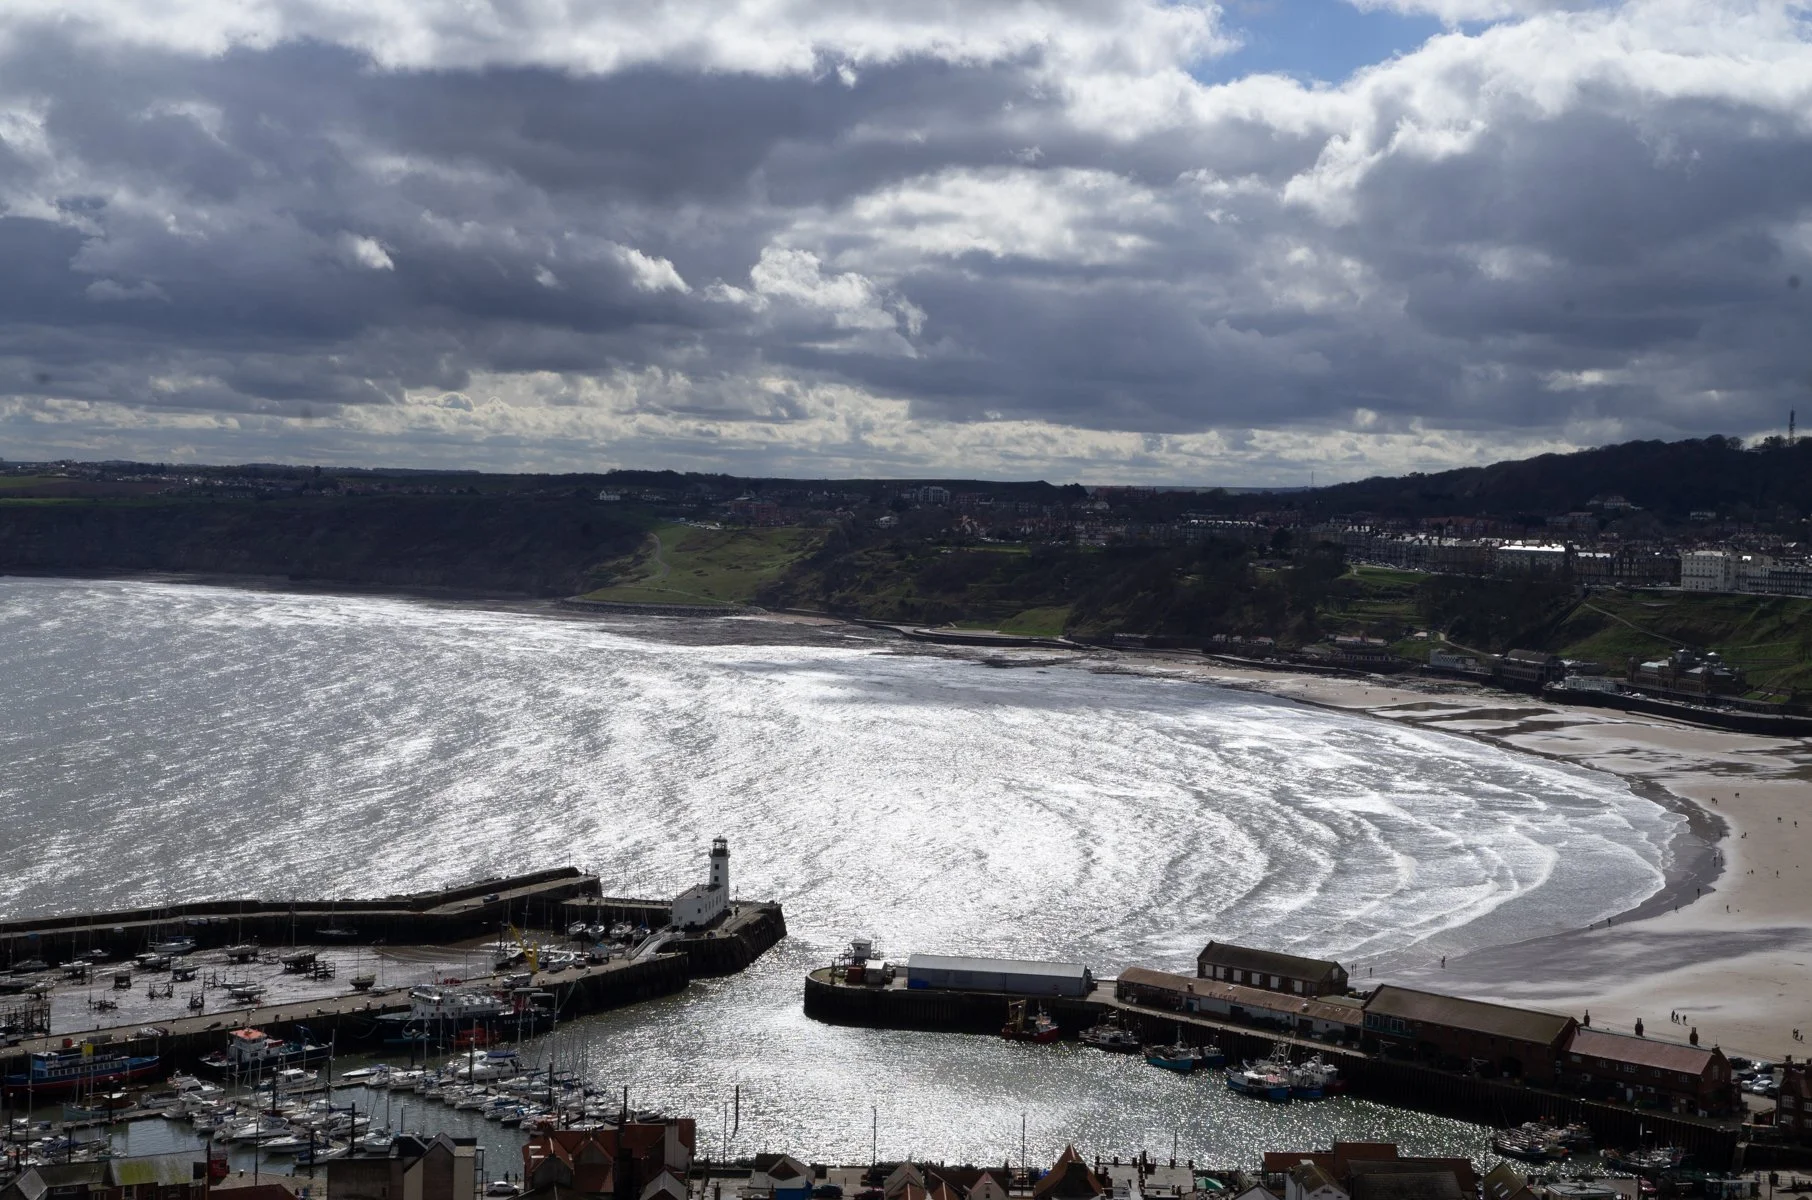
/We spent the day in Scarborough. And the weather was kind to us. Of course I had a camera with me.
We spent the day in Scarborough. And the weather was kind to us. Of course I had a camera with me.
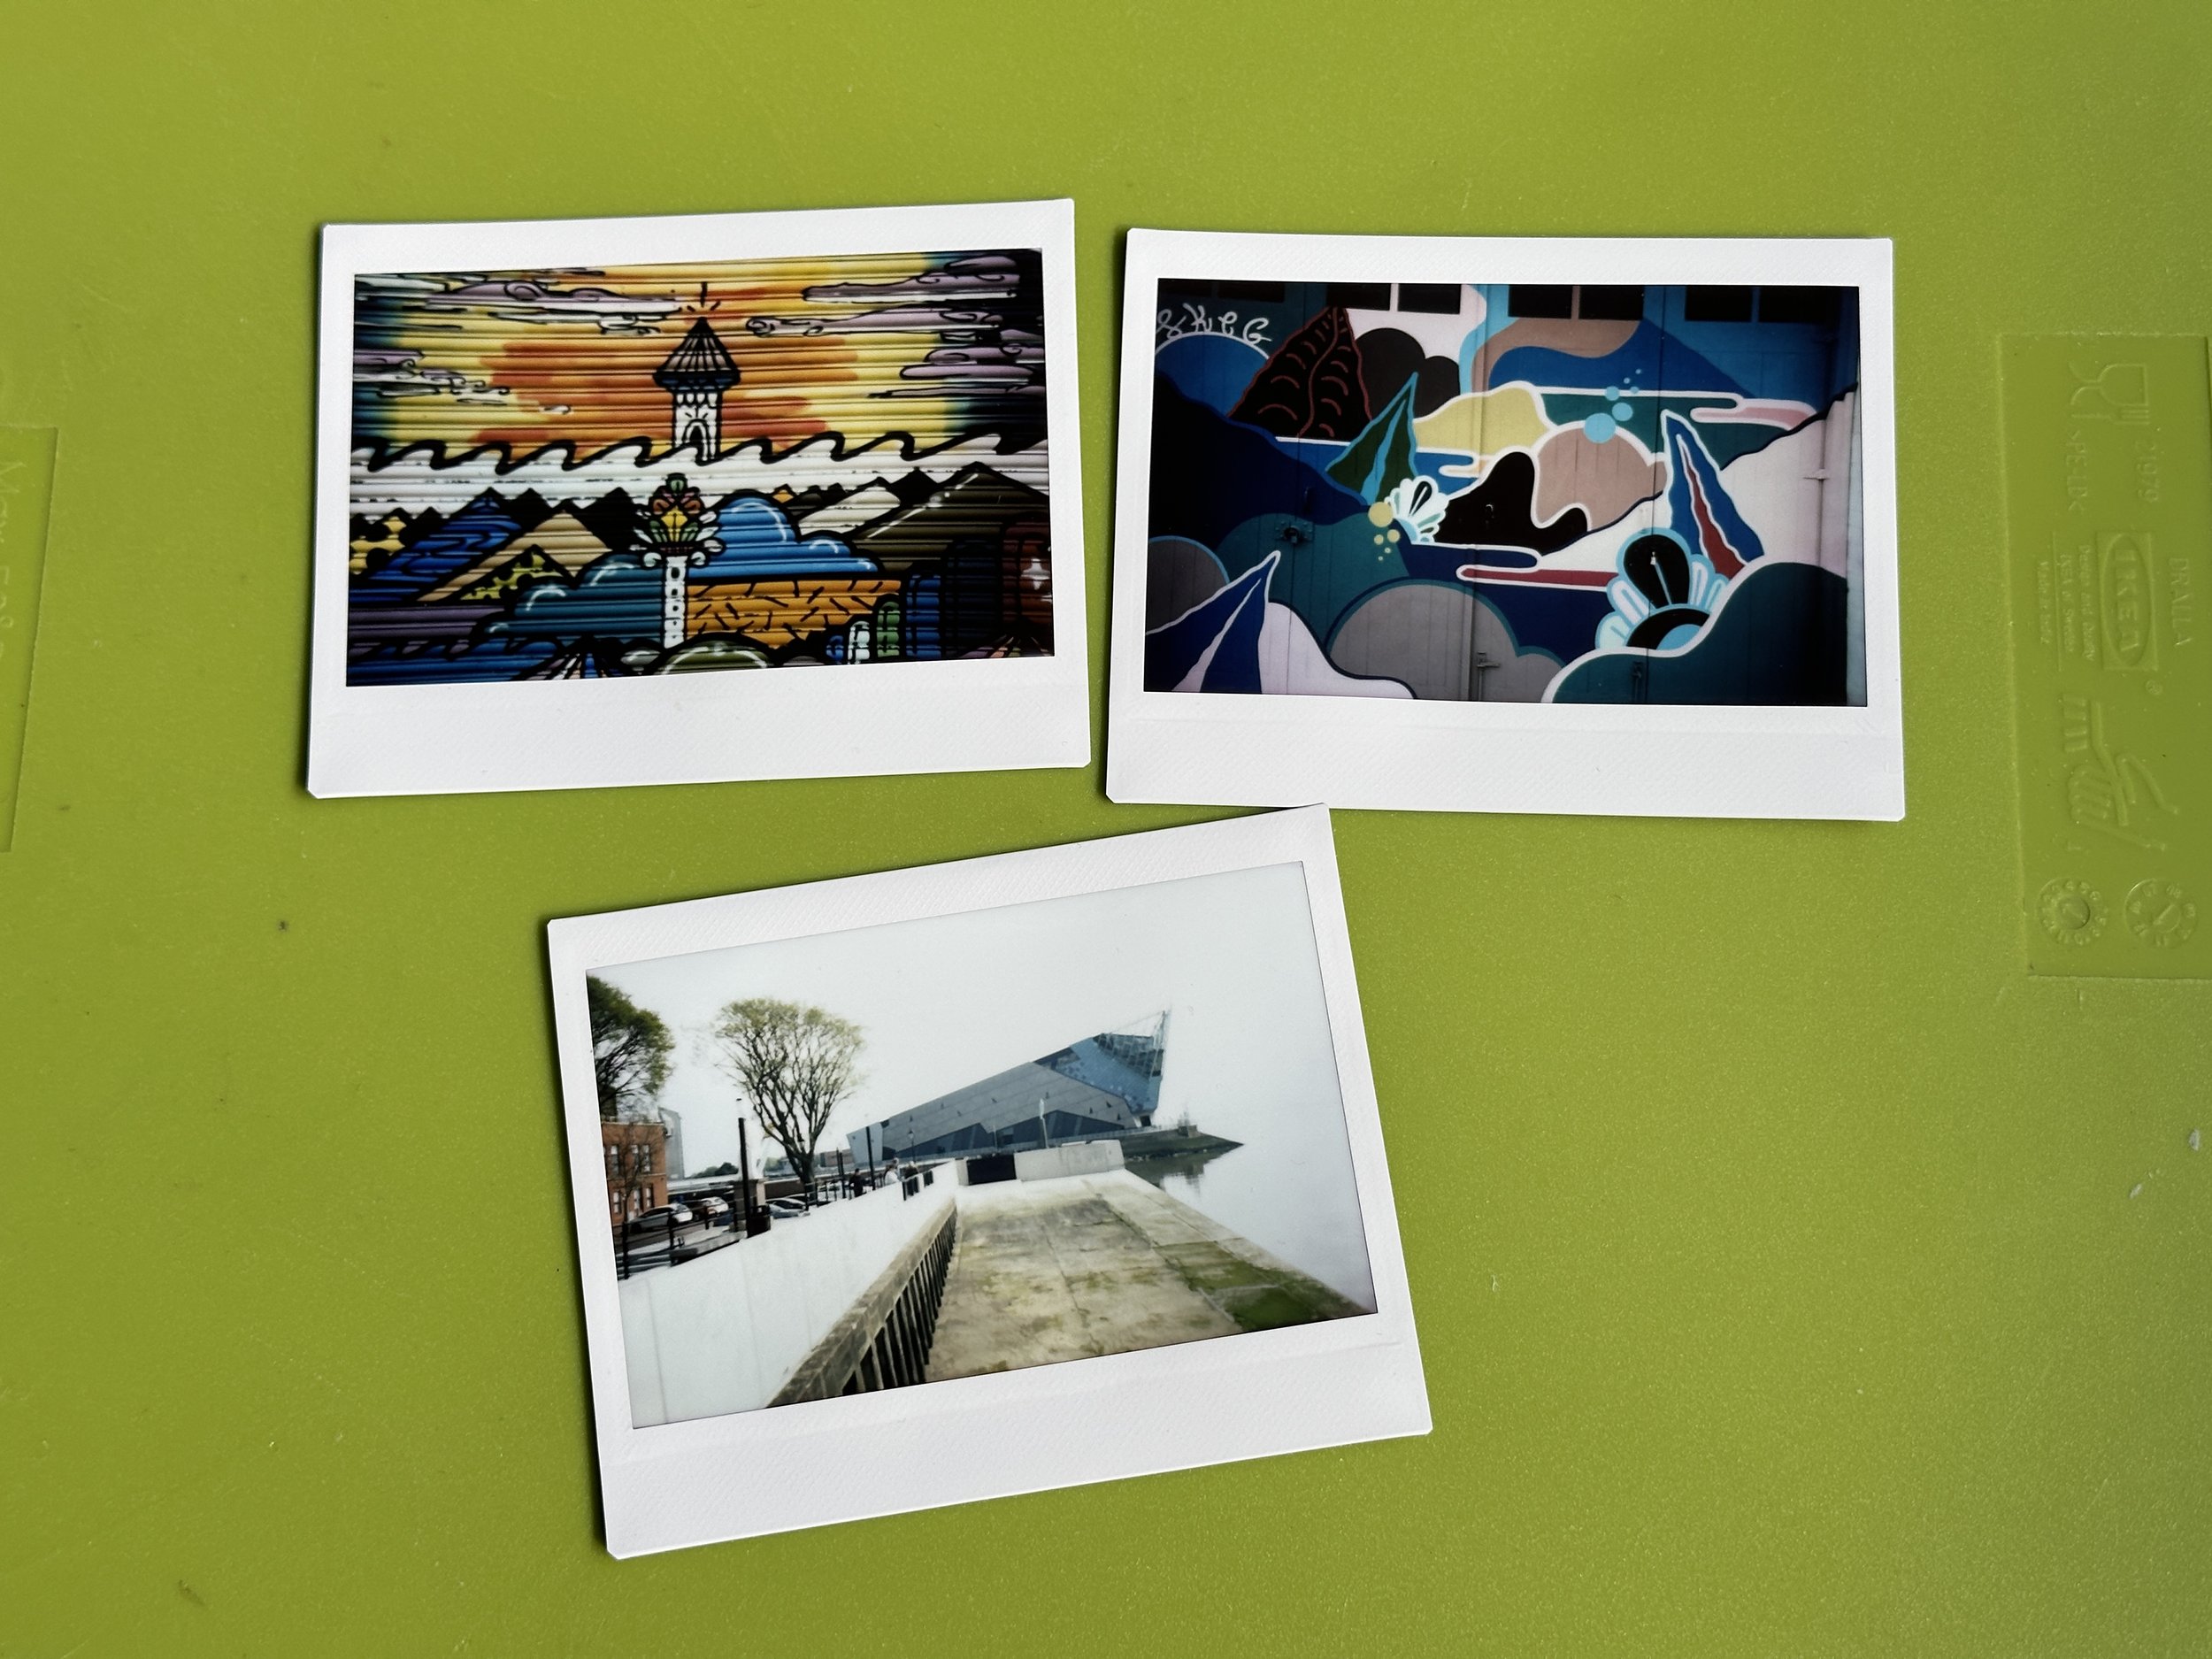
I went to the Photography Show last Saturday. I took a film camera, as you do, and I’ve just got the pictures processed.
Dial telephones are cool again!
Wow
Not something you see every day.
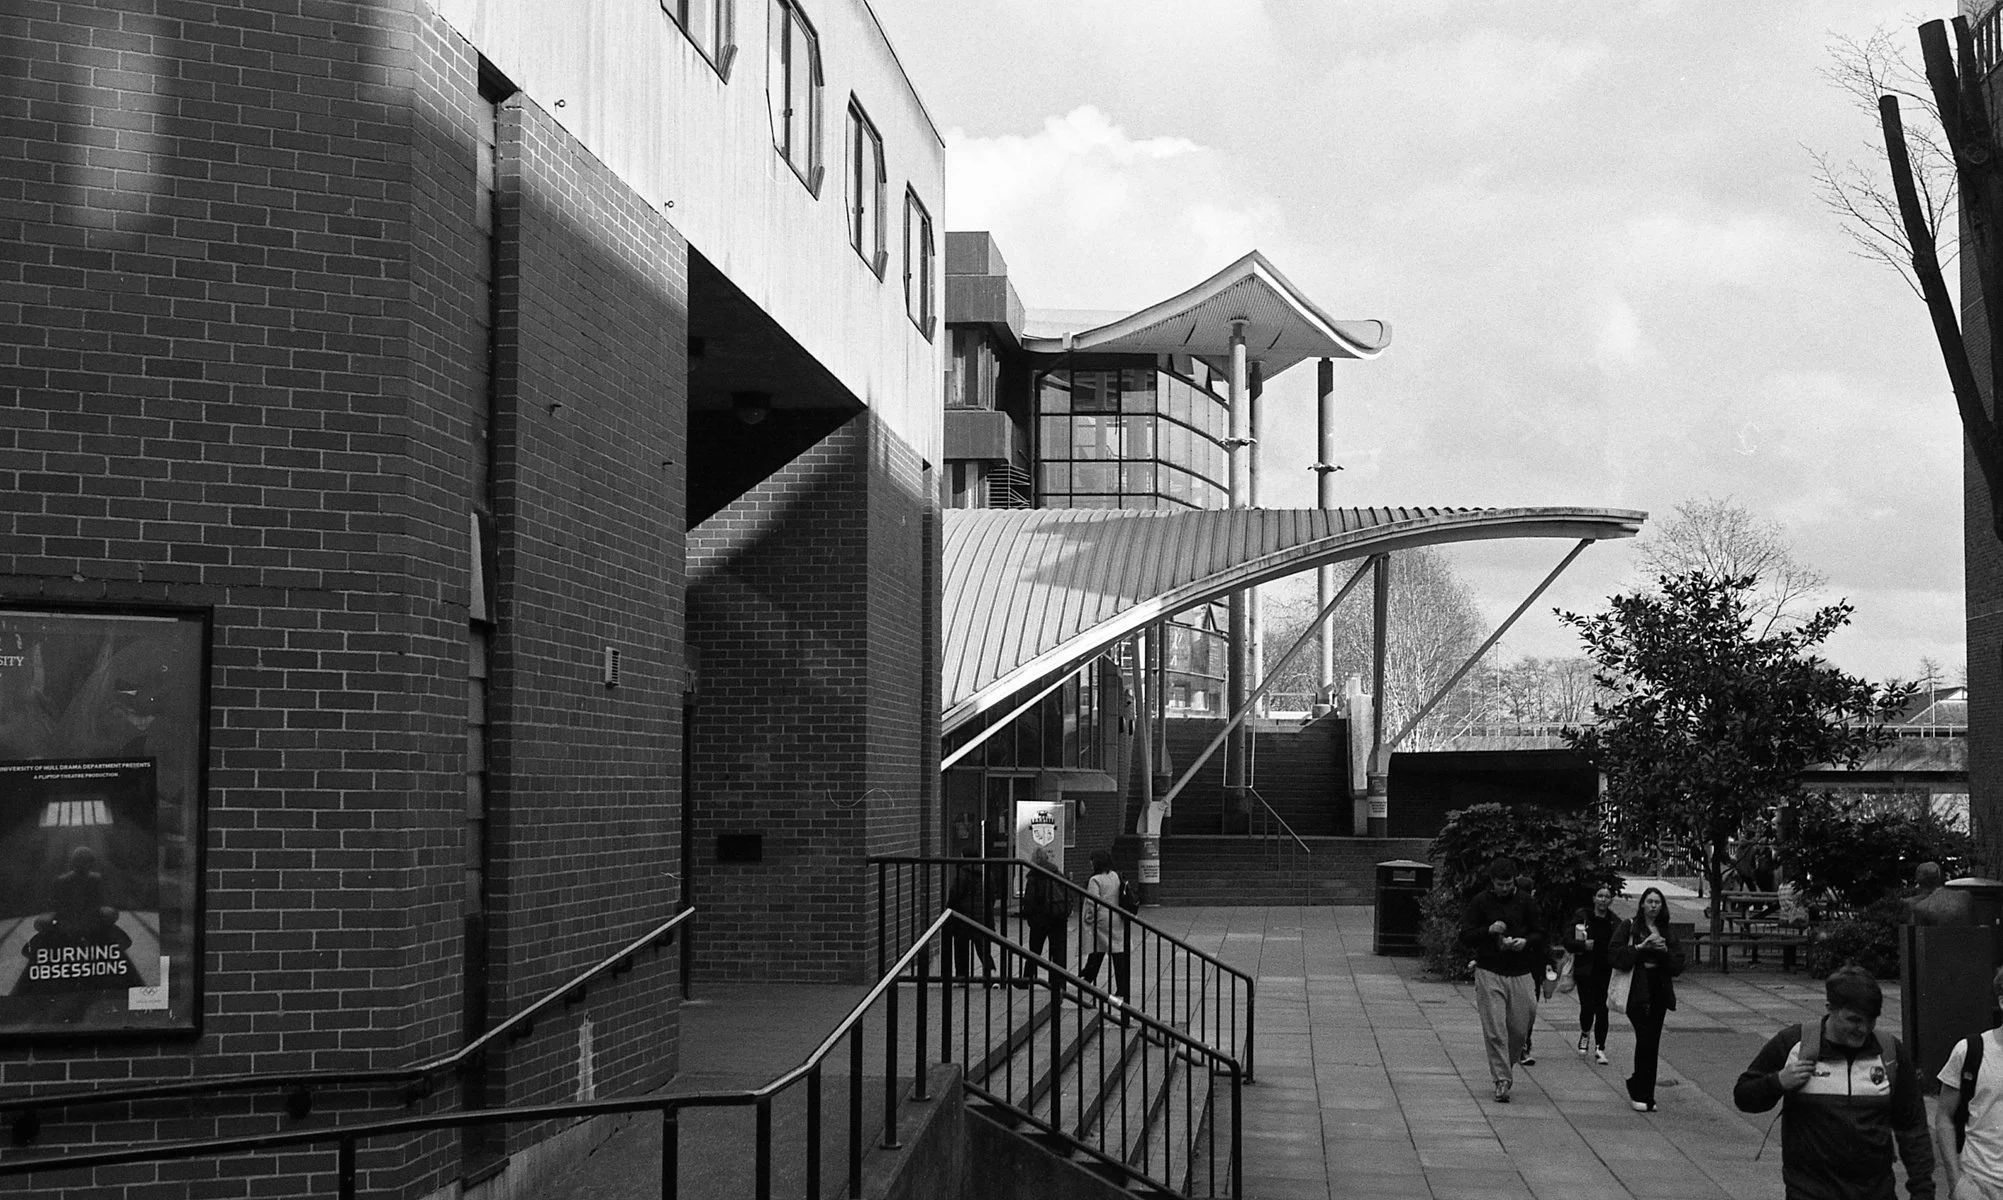
I was in Hull University today so I popped a film in my latest camera and took a bunch of pictures. The light was very good and I’m really happy with the results.
A very attentive robot in the lab
The all important emergency stop switch
Campus looking good
Applied Science
I really should have waited for a train to go by. But then the rainbow would have gone…
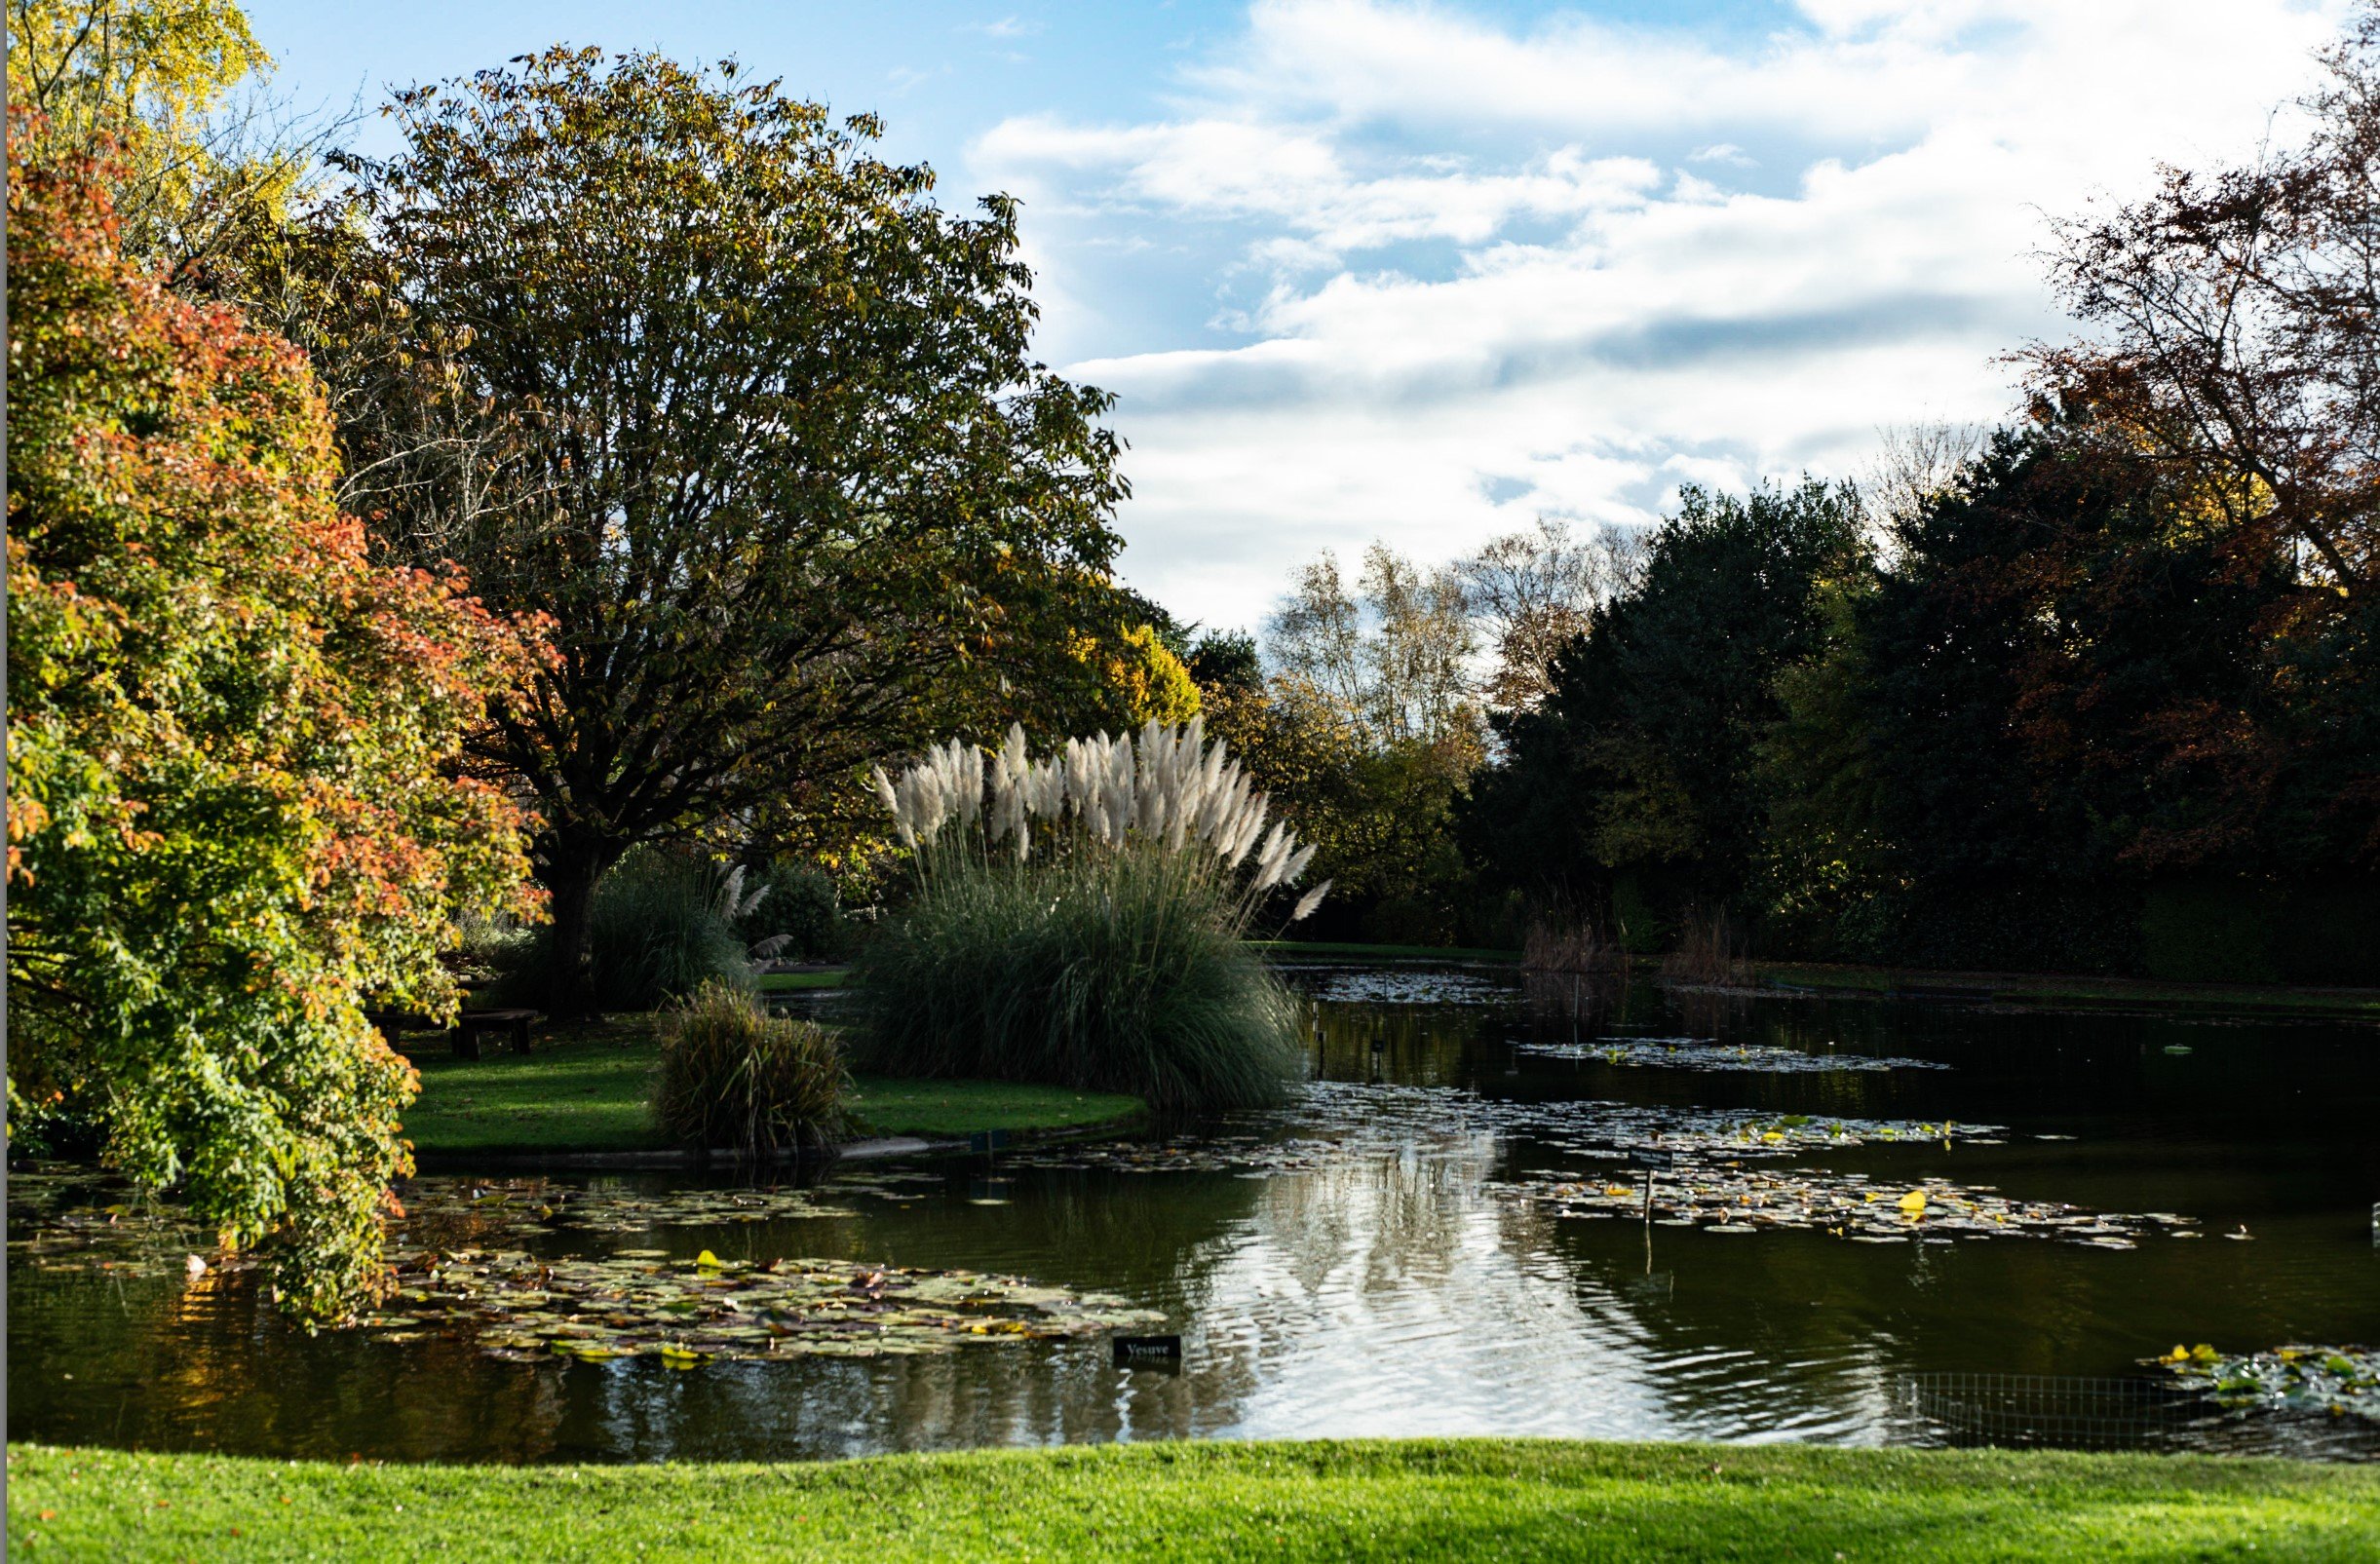
Today finds me in Harrogate with a 45 year old lens. I think it worked rather well.
We actually had some sunshine
It turns out that fifty year old lenses can actually produce quite nice pictures…
After this shot the sun vanished…
I’ve on more piers in the last two days than I have in the last ten years.
Today finds us in Lytham St. Annes. It’s only a couple of miles from Blackpool (you can use the tram to get from one to the other) but it feels like a different world. The huge and wonderful beach is front and centre, although there are still piers and of course arcade machines. We did some kite flying, dug holes and buried bits of each other and all the other things you’re supposed to do on the beach. We even got to watch someone get their car stuck in the sand. Happy days.
The tide does go out a heck of a long way….
The most difficult part of holiday preparation (at least for me) was deciding which camera to take…
We’re having a few days away. Today we headed onto Blackpool’s Golden Mile. Everything you would expect from a British seaside resort. I managed to talk folks out of buying me a “Kiss me quick” hat. But we did have fish and chips for lunch and they were excellent. Then we went up the tower.
This is a view through glass, but I still think it looks pretty OK
Behind the golden Mile
Looking south across the humber. On the left you can see “The Deep”.
I just happened to be up town with my camera, going past Hull Minster when I noticed a sign saying “Tower Tours £6”. I knew they could be booked on-line (you can do it here) but I thought there was no harm in asking if we could go up today. So I asked the question, and a guide was found who told us “I can take you up know if you like.” We liked. The staircase up the tower is a bit tight. My strong advice is make good use of the rope that hangs down the middle. But the views at the top were more than worth it.
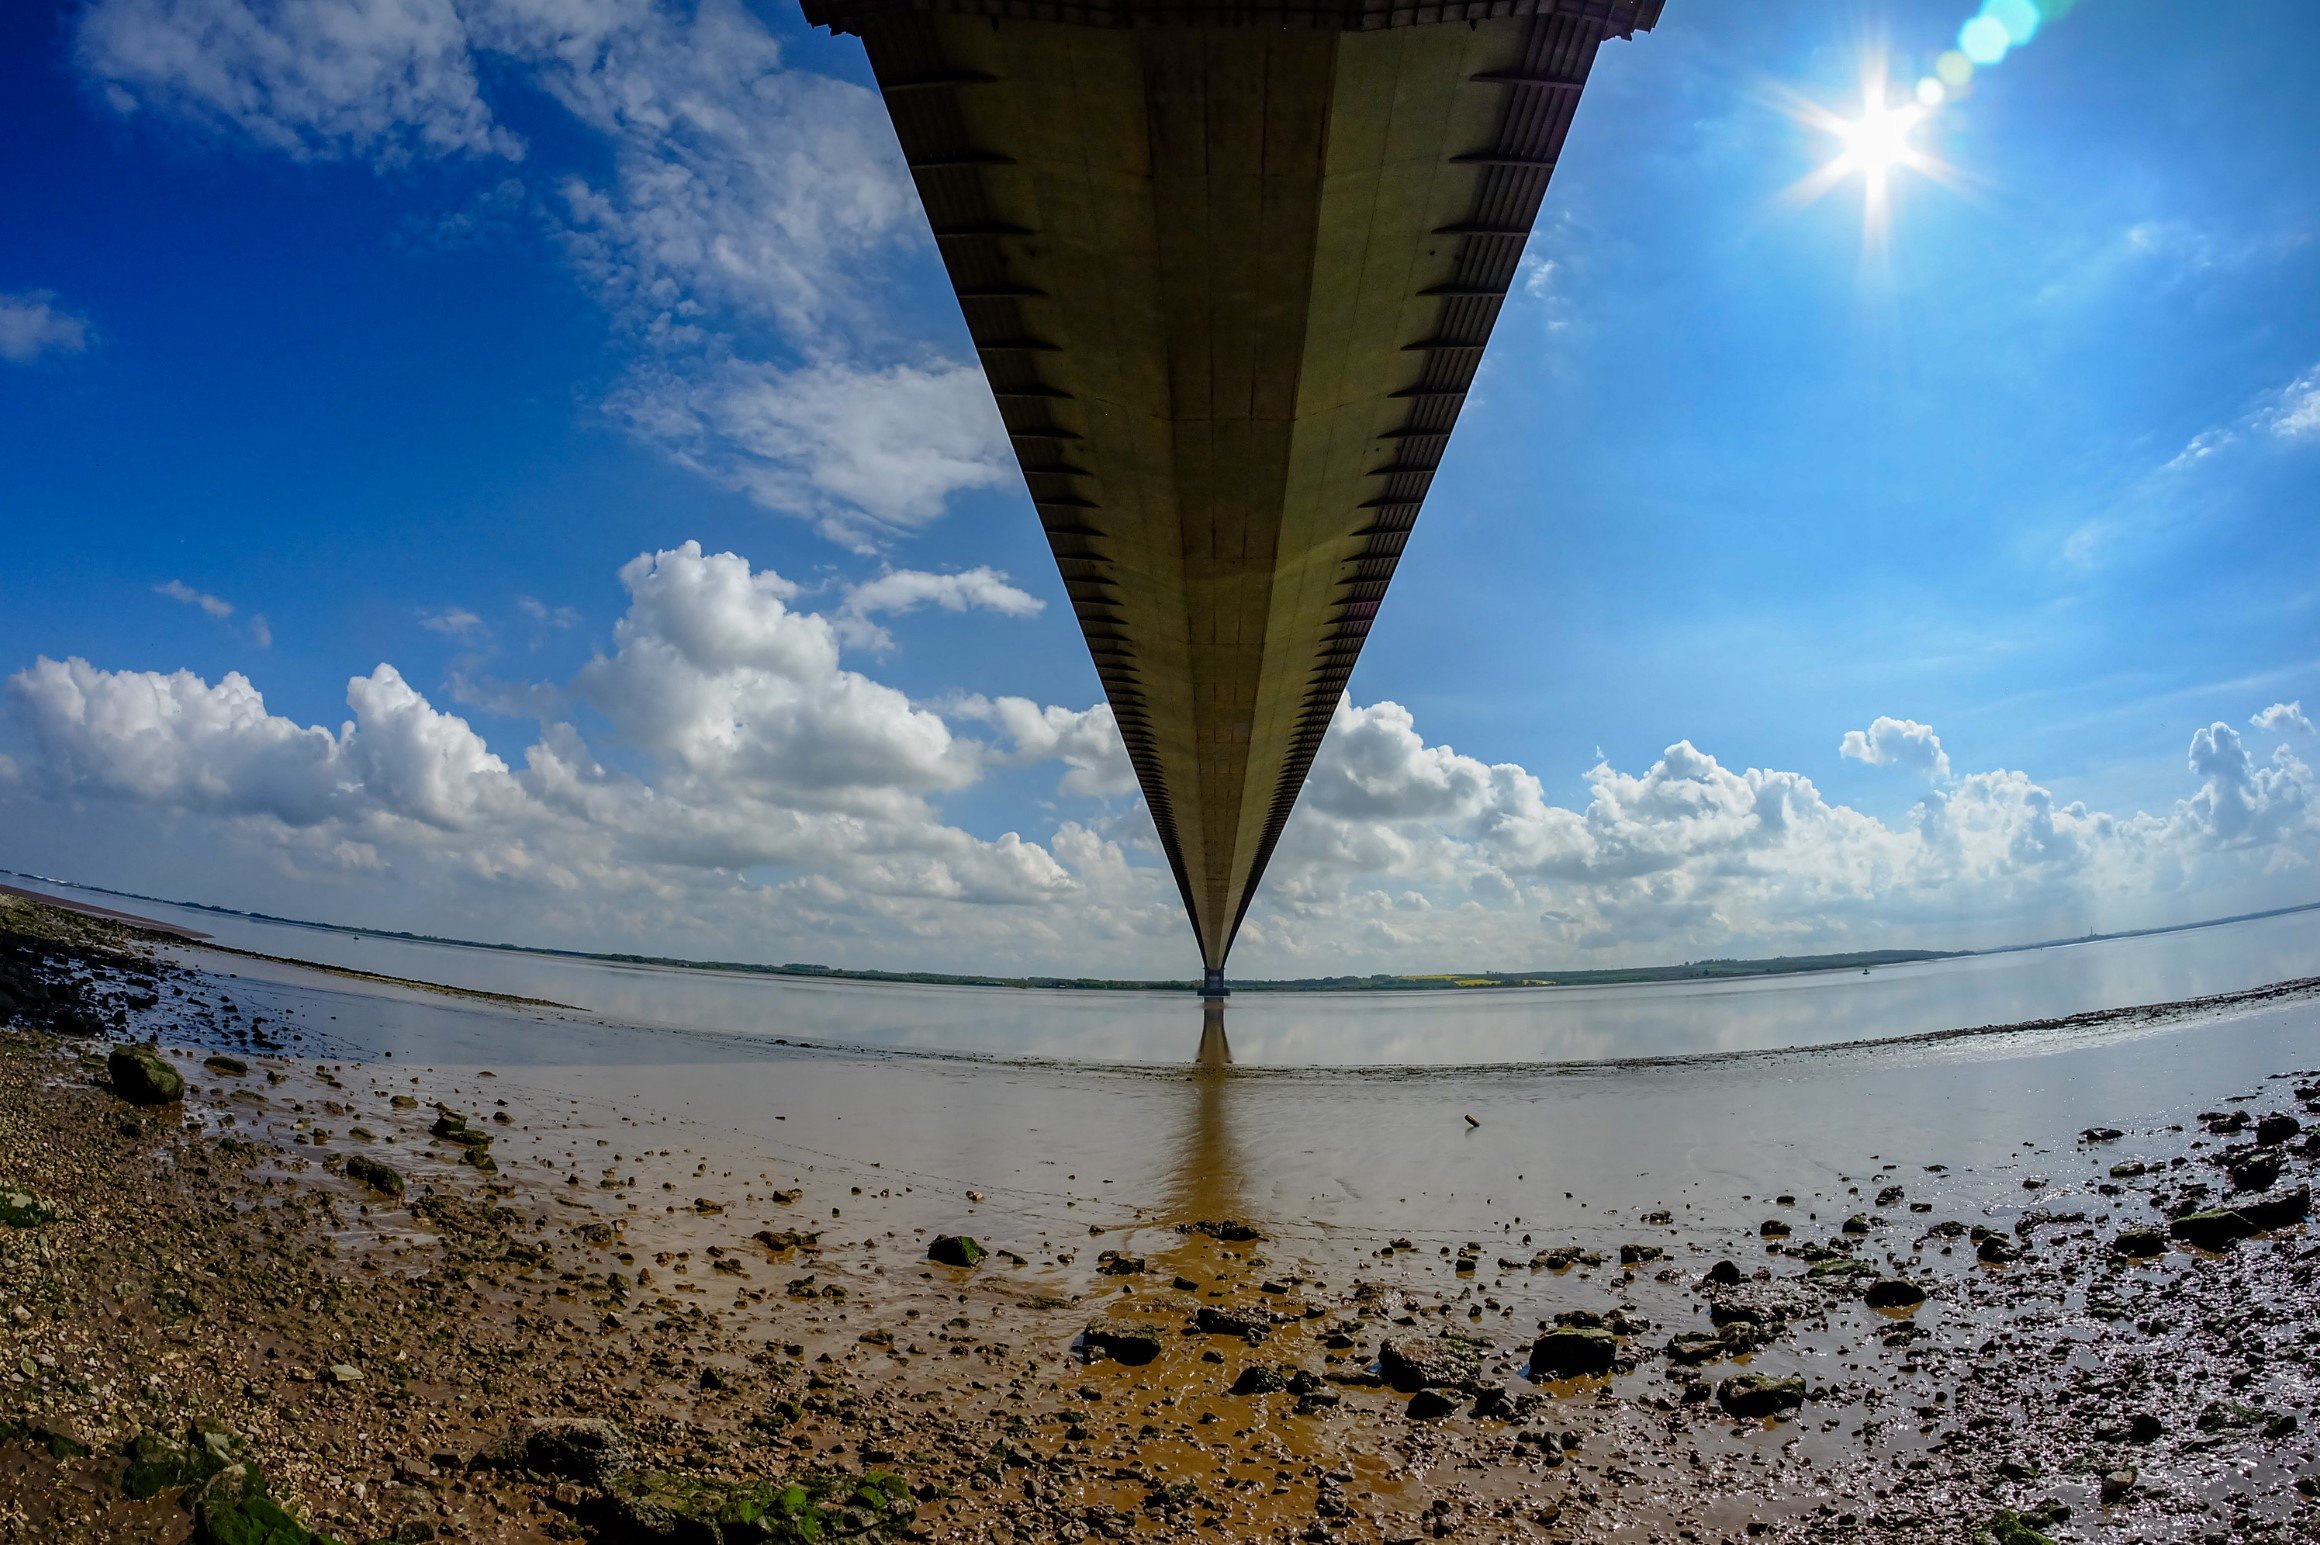
This is the view west. On the left you can see the humber bridge on the horizon.
It was fascinating to hear how the bells and clock worked.
These are the bell ropes, ready for action.
Hull Minster has 12 bells, which apparently is a good number. The walls of the bell room were covered in plaques commemorating different peals rung in the past. Some of them can take three hours to complete. Although, as our guide told us, “Sometimes we just stop and head off to the pub..”
A workbench with a view
We climbed right to the top of the tower, stopping off at the clock room. This was a great experience. We were there for about an hour. If you’re from Hull you should go along and do the tour. If you’re not from Hull you should come to Hull, and then go on the tour.
This film had some lovely pictures on
This is turning into a photography blog. But I can live with that. I’ve started developing my own pictures. The starting point of the process is getting the film out of the roll and into the plastic spiral that goes inside the developing tank. I put the film and the developing tank into a light tight bag with elasticated holes for my hands. I then wrestle the film into the spiral (which reminds me of a pinball game), put the tank and then take it upstairs to add the chemicals etc.
The first time I did this it just worked and I was quite smug about this. The universe must have heard me. After a couple more successful loads I had a complete failure. I actually got cross with the whole thing (a very rare thing for me) and the result was one ruined film. Oh well. At least it gives me a spare film to practice with. I had similar problems today, but this time I had a plan. I rolled the film back onto the spool, put the roll of film into the developing tank (along with the black light-tight centre piece) and took my hands out of the bag for a breather. Then I got my old film and spent twenty minutes practicing until I could do it with my eyes closed (which was kind of the point). Then I tried it again and after a couple of false starts I managed to get the film into the drum and take it upstairs to process. Turns out that its necessary to practice once you’ve used up all your beginner’s luck.
“portrait of the artist as an old man..”
I was quite pleased with how the pictures came out.
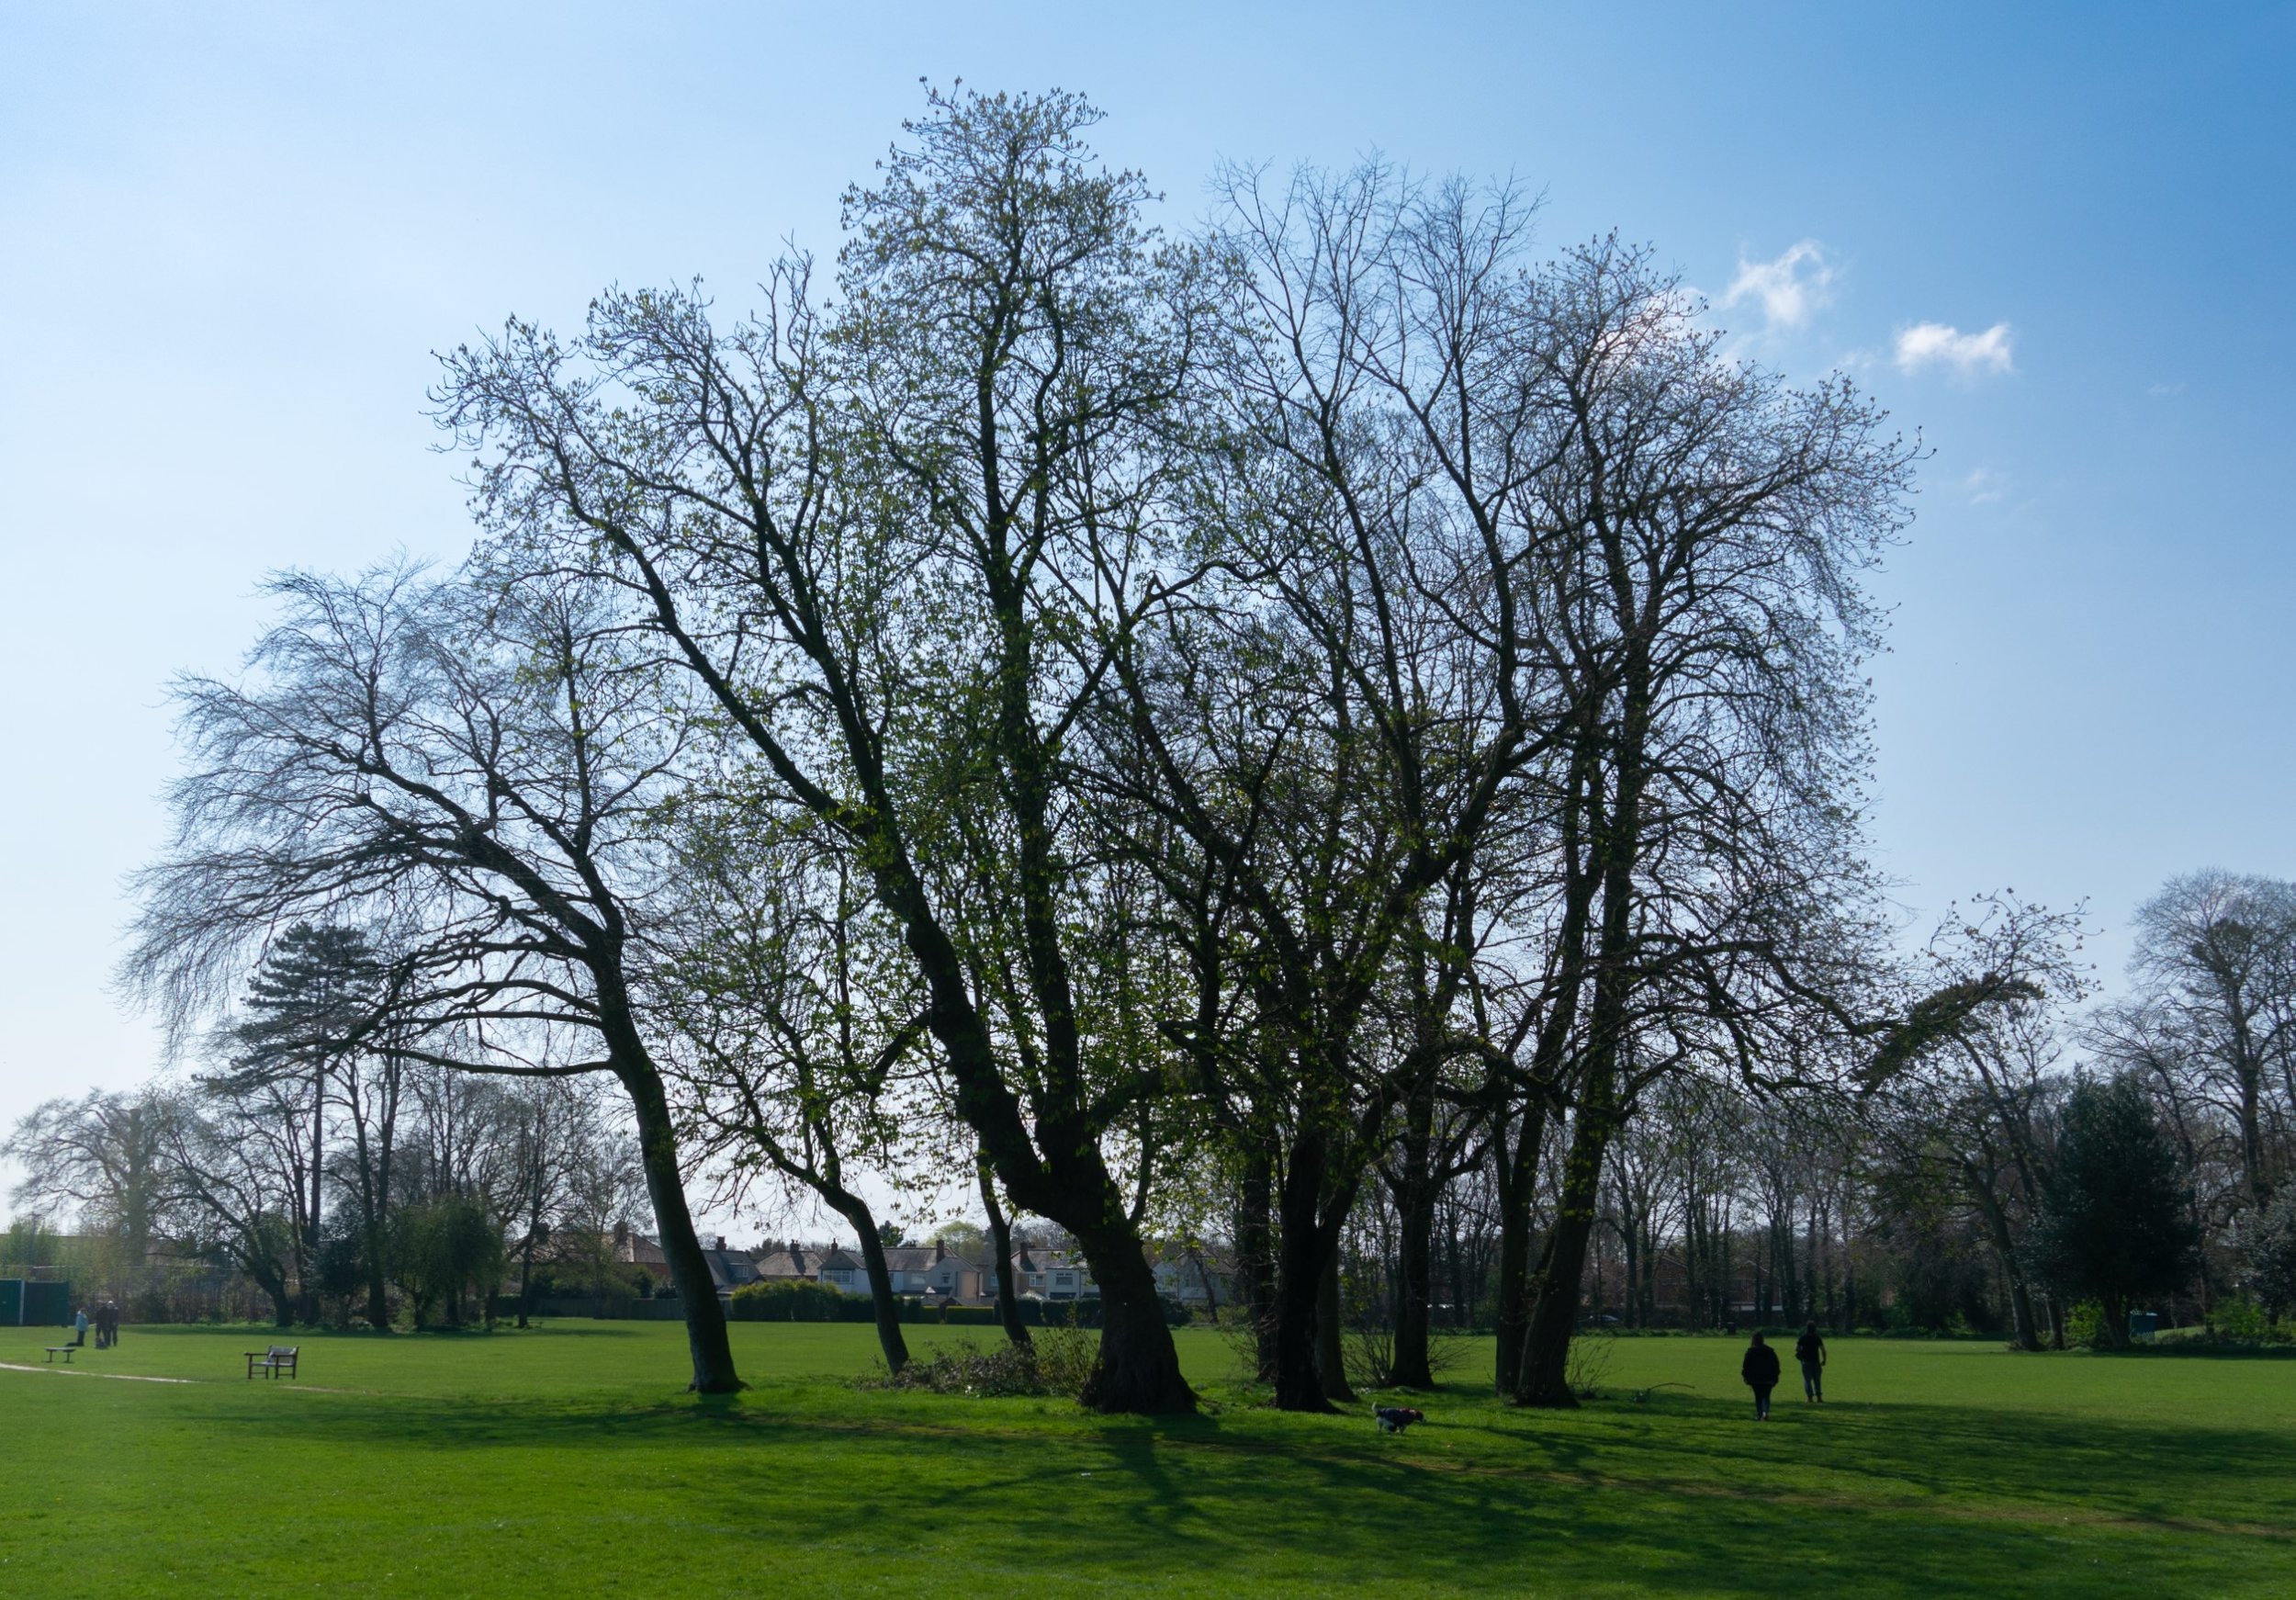
This is my standard “tree test” picture. Now with added leaves.
“Bark and bokeh”
I really should have pushed the bricks together before taking the picture
There is a lot of fun to be had in photography putting lenses from old cameras on the front of newer ones. The picture above was taken with an old Mamiya lens that was, through the magic of adapters, connected to a more modern digital camera. I’m especially impressed with the way the colours have been rendered and how the background is out of focus in a very pleasing way.
An unconventional angle on the deep
I’ve got into the habit of taking old cameras out for a walk. Today it was the turn of the Sigma DP1S that I bought around 10 years ago. This camera is interesting because it has a sensor which reads all three primary colours at the same positions. The Red, Green and Blue detectors are stacked on top of each other. This should improve the way that colours are rendered. I took the camera around the Deep, a lovely place to be.
This is a more conventional view of the deep
Hull Tidal Barrier
The camera doesn’t have the low light or focusing performance of even a cheap smartphone from today, but I do rather like the pictures.
not a bad looking golf course..
Lovely day today. Headed out to Beverley Westwood in search of an ice cream…
One of my favourite spots on the planet
We’re preparing for a trip away. Everybody else is worrying about where to stay, how to get there, what to eat and stuff like that. Me, I’m trying to decide which camera to take. I took one of the contenders out for a walk over the weekend. It’s a 10 year old Fujica X-A1. I put the wacky wide angle lens on it. I’m not unhappy with the results
Looks a bit like the start of star wars….
Sometimes you getgood results if you just press the button to see what happens
Fuji cameras are good with green
You can find all these pictures (and a few more) on my Flickr page.
I’m actually very happy with this picture
The picture above was taken using my 3D printed camera. The lack of any light on the image is actually very pleasing. While the film was in the camera I took it outside, shone torches and bright lights on it and generally waved it around in the brightest areas I could find. And the picture came out completely black. Which means I think that after a whole of of painting and masking it is now light tight.
I’m going to put a spirit level on the camera so I can tell when it is level…
I took the camera out for a walk and came back with this, which I’m quite happy with.
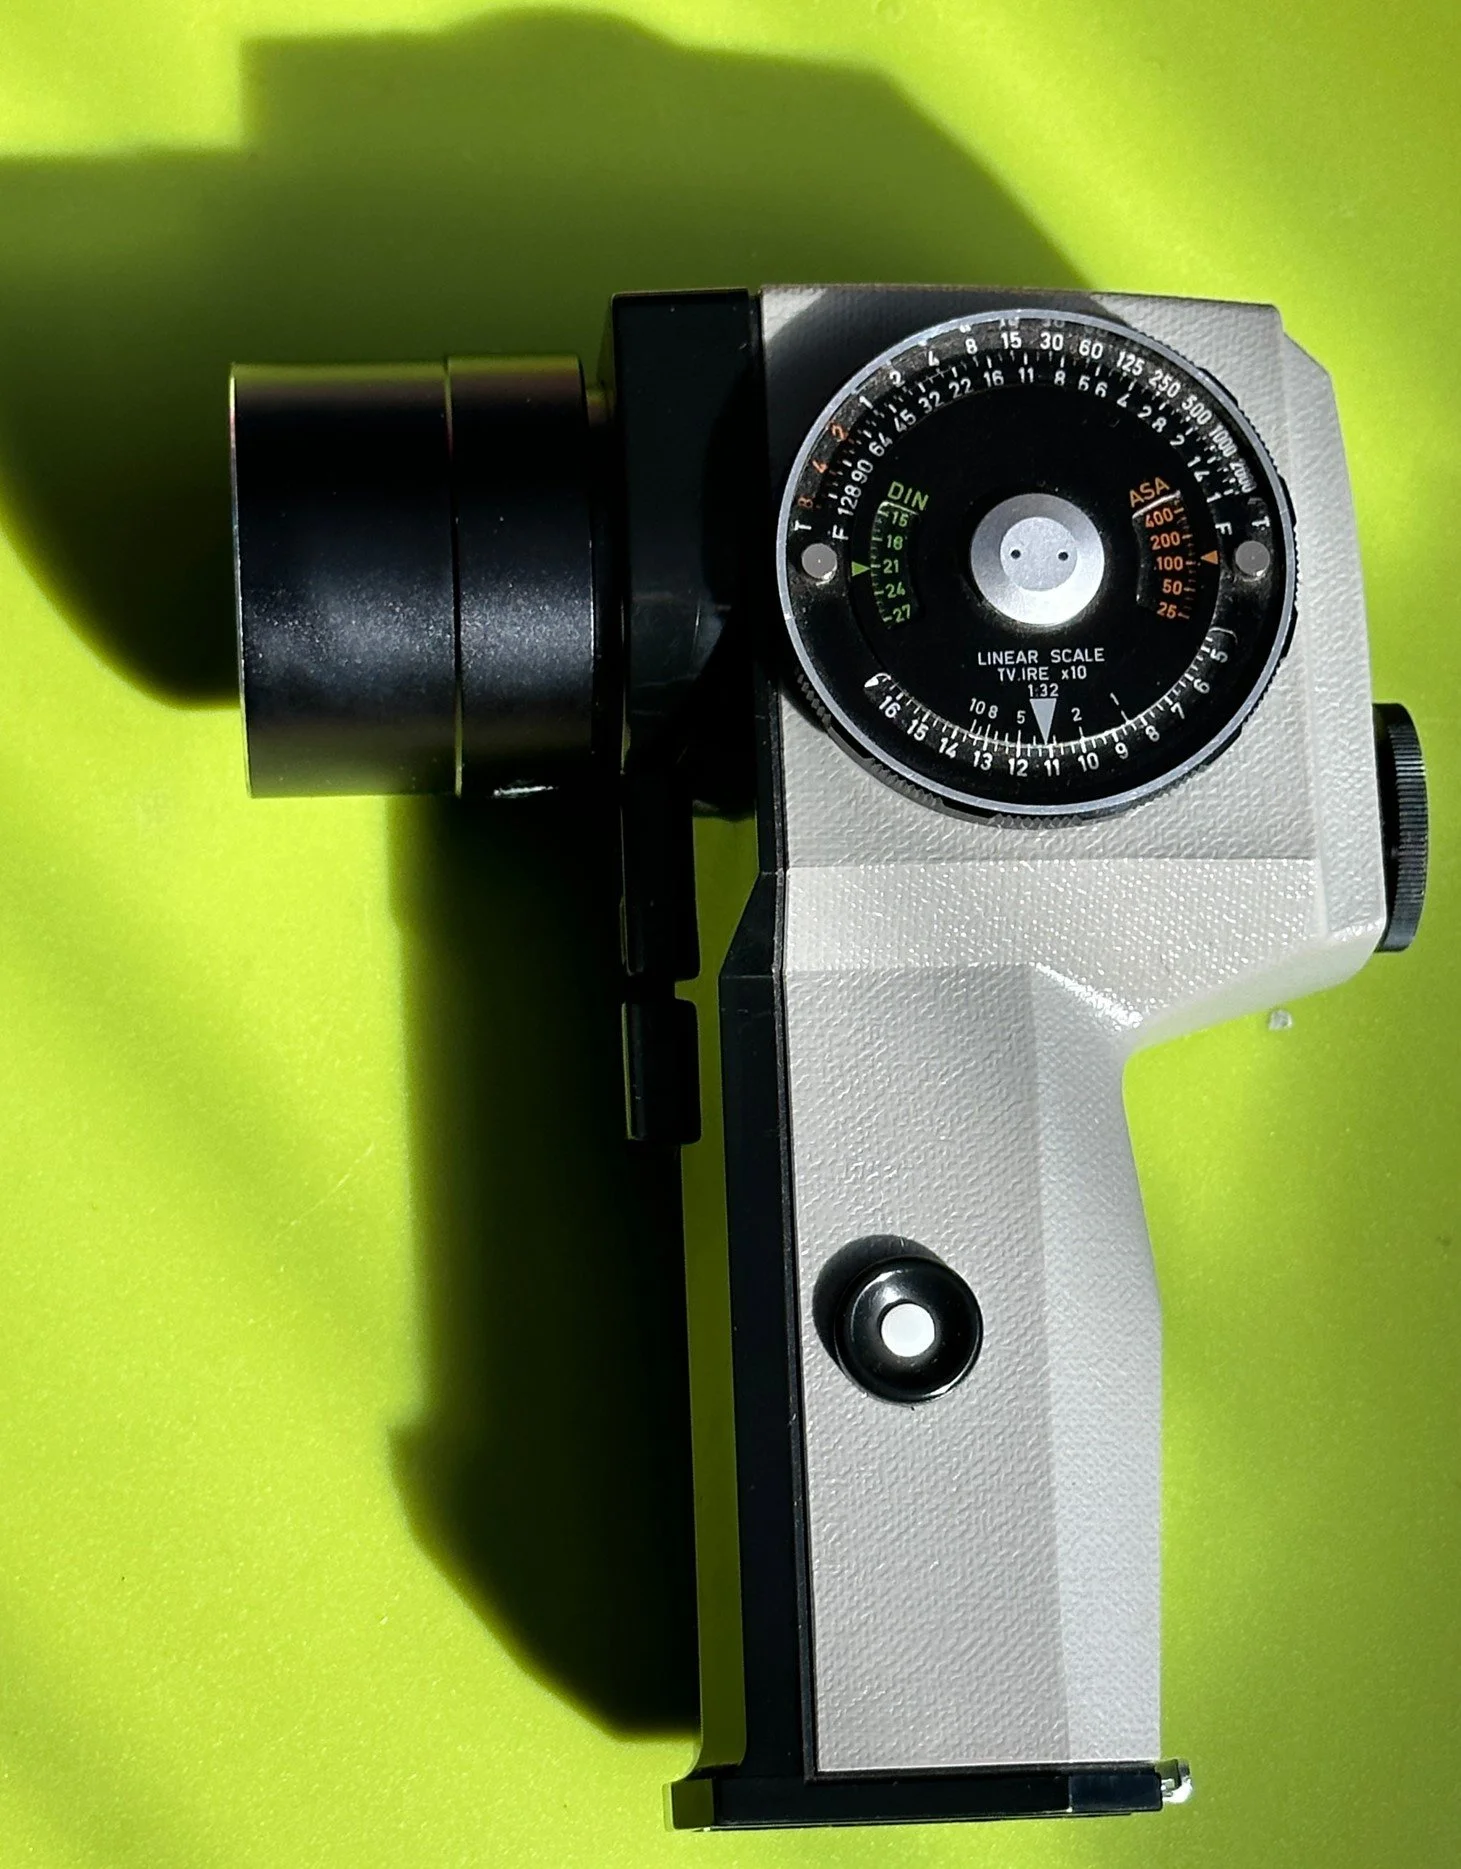
I’ve bought a new photographic gadget (audience looks shocked - several people at the front faint with surprise and have to be carried out…..). It’s a spot meter. You use it to get the best possible results when you take a photograph. Film can only handle a certain range of dark to light. When you set the exposure of the photograph you want to map the range of the film onto the areas of light and dark in the scene that you want to see in the image.
You look through the spotmeter and it shows the light levels in a tiny portion of the scene. You get the levels of the dark and light regions and then set an exposure that will work over that range. I’ve started with a very simple approach. I’m just finding the darkest area and then setting the exposure to two stops below the reading I get from the meter. The spotmeter gives a reading assuming that it is looking at something which is grey. If I push that grey value down towards black I should get a sensible exposure.
I think I’m getting better
Getting used to being able to go out and about. Went for a walk and took some photographs of trees.
Took this picture while we were on our walk this morning. It’s almost as if the squirrel was hiding from us….
I’ve been taking pictures with various wacky cameras for a while, today I thought I’d take some shots with the proper one. The lighting was good and the sky was interesting so off we went. I’m quite pleased with how they came out.
The picture above came out really well. It was taken from the bridge looking down onto the beach. One of those occasions where the light and the subject just come together. Great fun. I should do more of this.
Took the RF70 camera for a walk today. I think I’m getting the hang of it. Although I don’t think I opened the bellows correctly on the right hand side, which added a bit of weird barrel distortion. Still like the picture though.
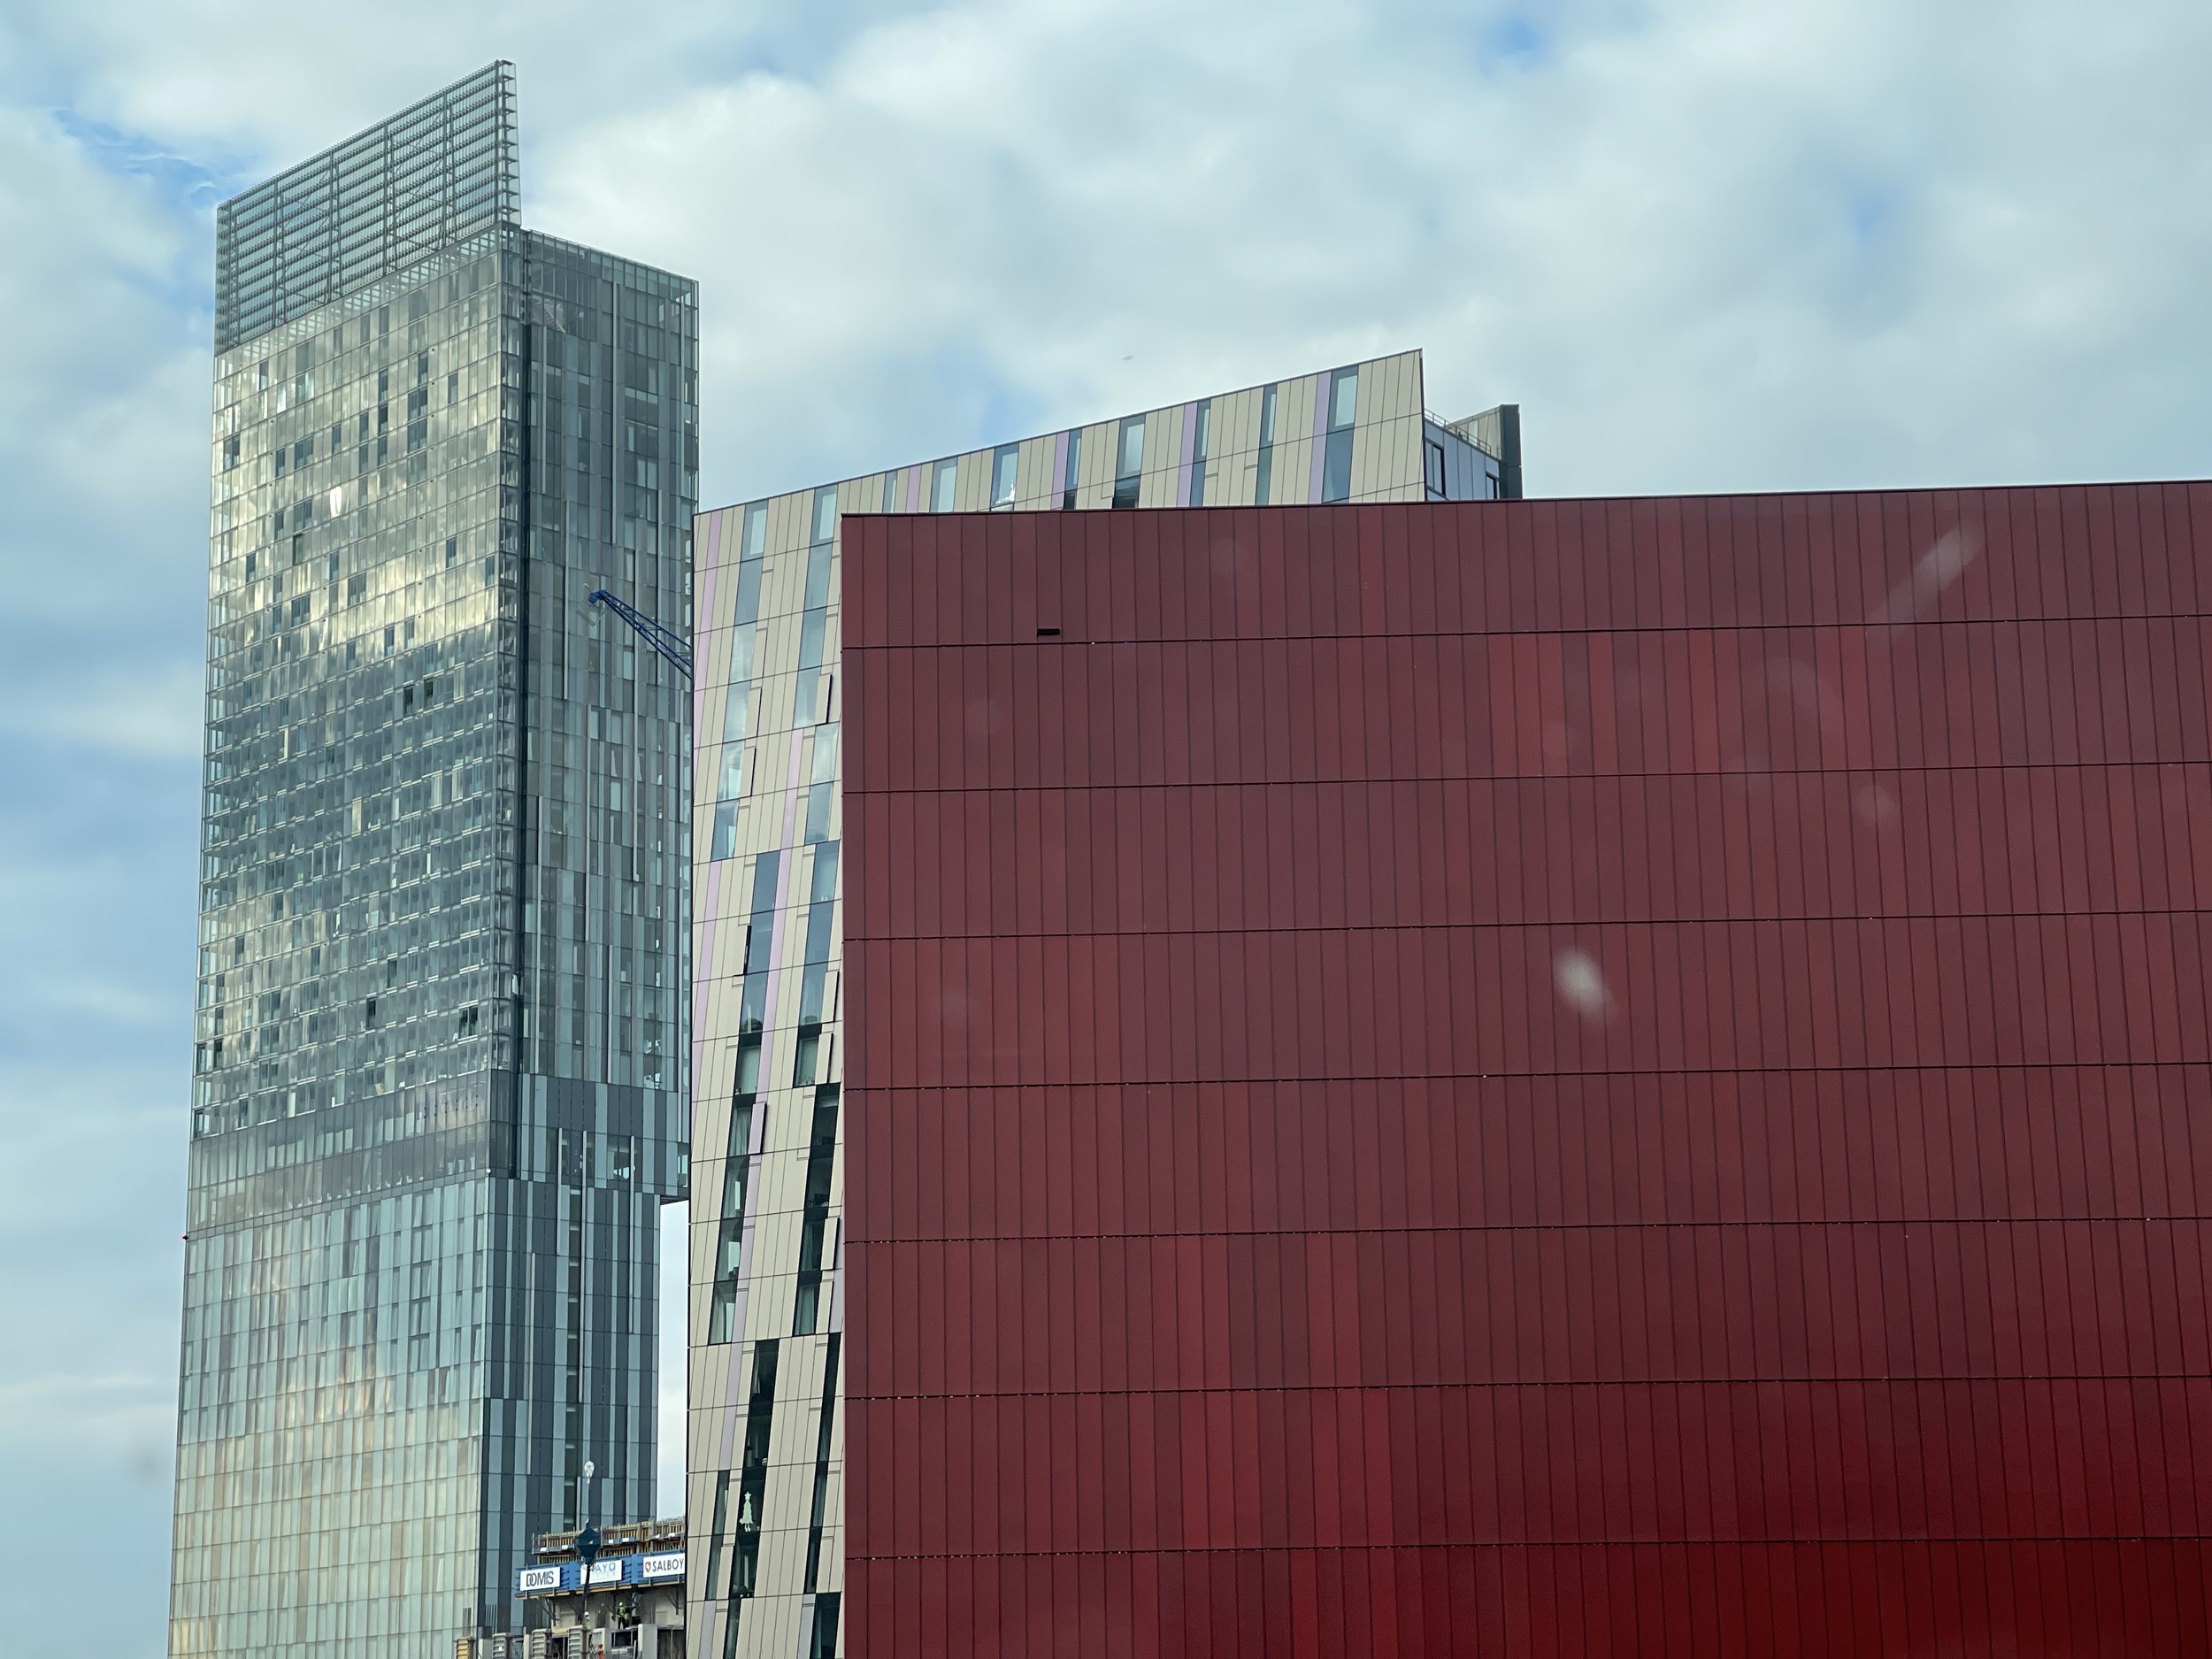
The venue on Monday had a lovely view of the Manchester skyline in the evening. It really was a great location.
Rob Miles is technology author and educator who spent many years as a lecturer in Computer Science at the University of Hull. He is also a Microsoft Developer Technologies MVP. He is into technology, teaching and photography. He is the author of the World Famous C# Yellow Book and almost as handsome as he thinks he is.
Begin to Code with JavaScript is now available for purchase and download. You can find it here